
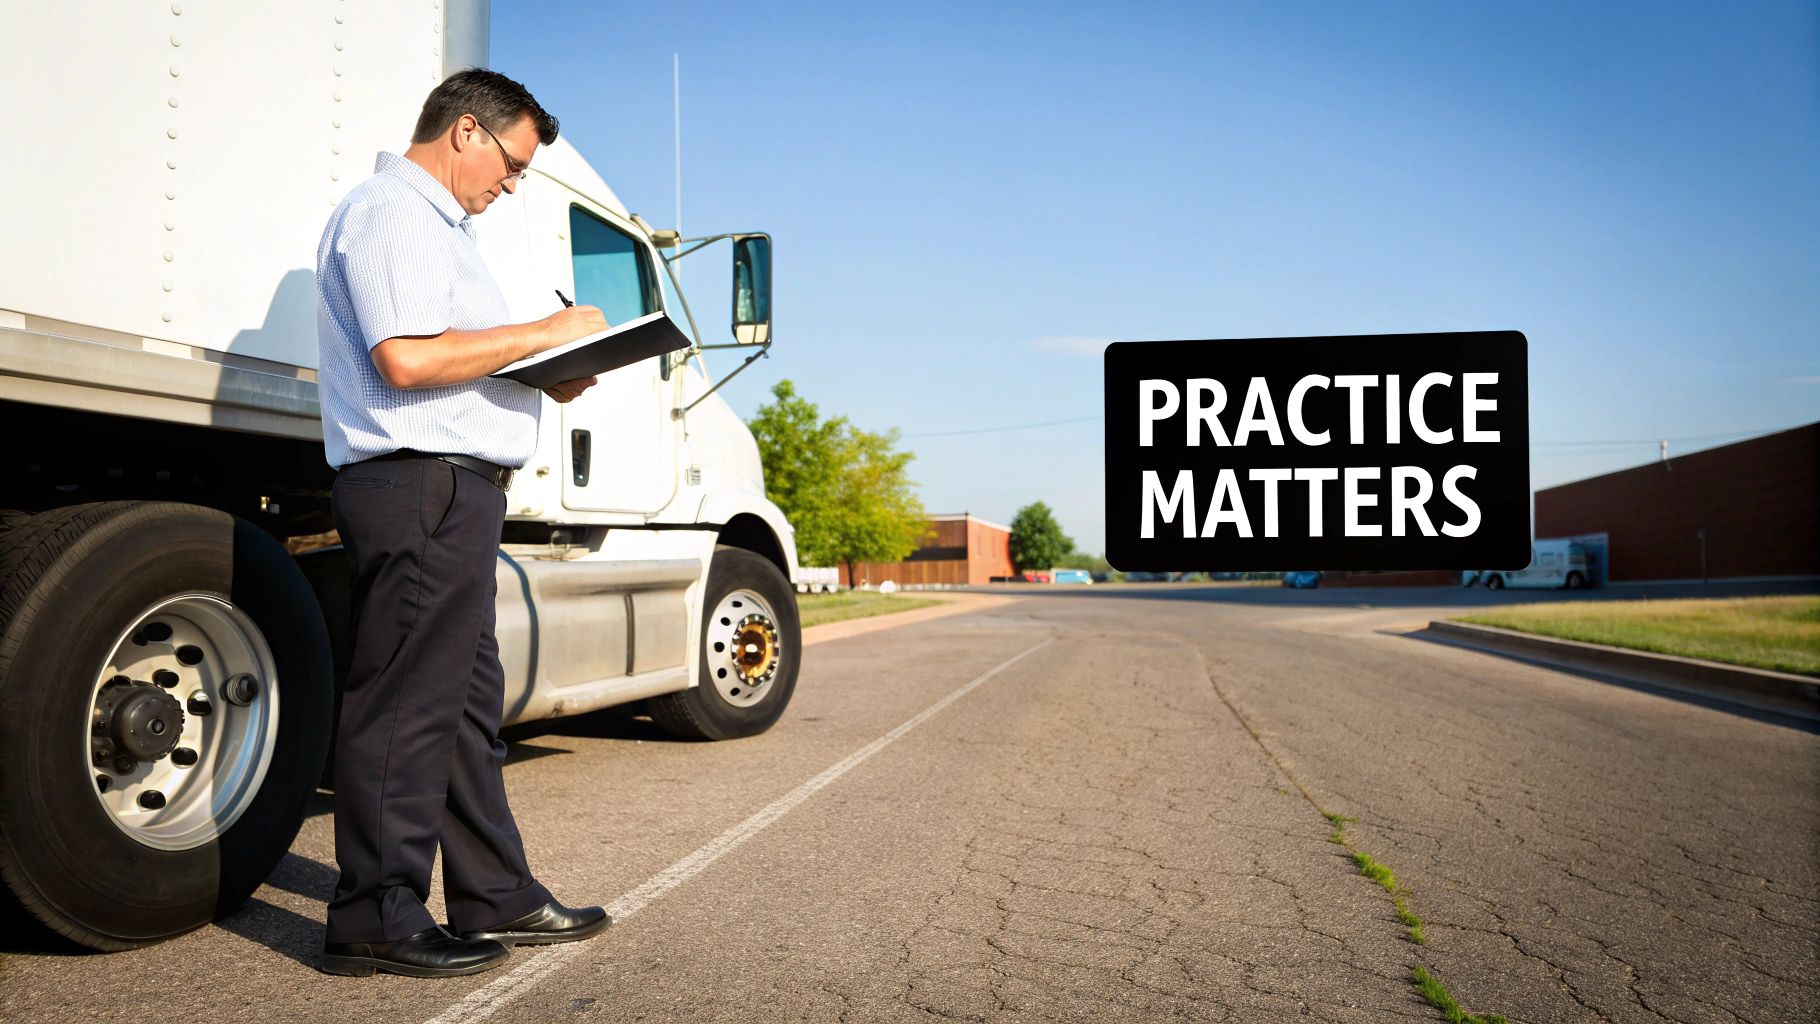
A solid practice air brake test routine is what separates passing your CDL exam from failing it. But honestly, its real importance goes way beyond just getting that piece of paper. Mastering this skill isn't just about the test; it's about embedding the core habits that will keep you safe and profitable for your entire career.
Why Your Practice Air Brake Test Really Matters
It’s easy to see the air brake test as just one more box to check off to get your CDL. That's a rookie mistake. In the real world, this sequence of checks is your first line of defense against equipment failure, expensive downtime, and flat-out dangerous situations on the highway. The muscle memory you build now is what protects you, your truck, and everyone else on the road later.
Think about the pressure of a surprise roadside inspection. During those big enforcement blitzes like the CVSA Roadcheck, guess what the number one reason for putting a truck out-of-service (OOS) is? Brake system violations. Year after year. A single OOS violation means you're sitting on the side of the road, your load is late, and you're facing thousands in fines and repairs.
The Real-World Stakes of a Failed Inspection
Let's talk dollars and cents. The global market for air-brake systems was valued at USD 6.28 billion in 2025 and is on track to hit over USD 10 billion by 2030. That tells you these systems are complex and expensive to fix. For an owner-operator or a fleet, the few minutes it takes to run a proper air brake check is nothing compared to the financial gut punch of a single OOS event.
Every single time you practice, you're doing more than just studying for a test. You're building a professional habit that cuts down your risk of:
- Costly Downtime: An OOS violation can park your truck for hours, sometimes days. It wrecks your schedule and kills your earnings.
- Hefty Fines: The penalties for brake violations aren't cheap. That money comes straight out of your pocket.
- Preventable Accidents: There's no room for error with brakes. A slow leak or a sticky valve you could have caught in the yard can lead to a disaster on the interstate.
The real goal isn't just to pass the test; it's to get to a point where you understand your brake system instinctively. That's what gives you the confidence to spot a small problem before it becomes a big one.
From Test Preparation to Professional Habit
During the hands-on part of your CDL exam, the examiner is watching to see if you can perform these checks correctly and under pressure. They want to see that you don't just know the steps, but that you understand why you're doing them. This is where talking them through the procedure as you do it—verbalizing each step—really proves your competence.
This skill is crucial even if you start out driving a truck with hydraulic brakes. Sooner or later, you'll likely want to move up to a vehicle that requires an air brake endorsement. If you have that restriction on your license, looking into an E restriction removal course is a smart move that opens up a lot more job opportunities.
Ultimately, consistent practice takes the air brake test from a nerve-wracking exam requirement and turns it into a simple, second-nature part of your daily pre-trip. It's the best thing you can do to make sure your rig is safe, compliant, and ready to make money every single day.
Getting A Handle On The Air Brake Knowledge Test
Before you can even think about the hands-on inspection, you have to pass the written air brake knowledge test. This isn't just a vocabulary quiz; it's a test designed to make sure you truly understand the why behind every part and every procedure. It’s about knowing how the whole system works together to keep a massive vehicle safely under control.
Success here boils down to a few key things: being able to identify critical components on sight, knowing the essential pressure ranges by heart, and recalling the exact sequence for every safety check. The questions are often tricky, specifically designed to catch people who only have a surface-level grasp. For instance, can you explain the difference between the supply pressure gauge and the application pressure gauge? You'll need to know what each one tells you about the system's health.
Core Knowledge Areas You Must Master
The air brake test isn't just one big topic; it’s broken down into several key areas. Focusing your study time on these specific domains will make your preparation much more effective and a lot less overwhelming.
You really need to prioritize these concepts:
- System Components: You’ve got to be able to name and describe the function of every major part. We're talking everything from the air compressor and governor to the brake chambers, slack adjusters, and various control valves.
- Air Pressure Ranges: Knowing your numbers is completely non-negotiable. This includes the governor cut-in and cut-out pressures, the low-pressure warning signal range, and the pressure when the spring brakes are designed to automatically engage.
- System Checks & Procedures: This is all about sequence. You need to have the steps for the static leak test, the applied leak test, and the checks for the low-pressure warning and spring brake activation memorized cold.
A big part of the test also goes beyond simple facts and into real-world scenarios and troubleshooting. You'll likely see questions asking what you should do if you find excessive water in the air tanks or how to spot a dangerous leak. This is where building a solid foundation really pays off, much like how a deep understanding of the CDL general knowledge test sets you up for success with broader road safety situations.
Building An Effective Study Plan
Trust me, just reading the CDL manual from front to back is one of the worst ways to prepare. That kind of passive reading leads to forgetting the information almost as fast as you read it, especially when you're under the pressure of the actual test.
You have to get active with the material. Adopting strategies that force your brain to actually process and recall the information is what makes it stick.
A huge mistake I see new drivers make is assuming they know the material just because they've read it a few times. The real test is this: can you explain it out loud in your own words, or better yet, draw the system from memory? If you can't, you don't know it well enough yet.
Try working these active study techniques into your routine. Here’s a look at the key knowledge areas and the kinds of details you'll be expected to know inside and out.
Key Knowledge Areas For The Air Brake Test
This table breaks down the most critical components of the air brake system. Focus on not just what they are, but how they function and the specific numbers associated with them.
| System Component | What You Must Know | Common Question Type |
|---|---|---|
| Air Compressor & Governor | Its function, how it's powered, and the specific PSI ranges for governor cut-in (around 100 psi) and cut-out (around 125 psi). | "At what air pressure should the governor stop pumping air into the tanks?" |
| Brake Chambers & Slack Adjusters | The purpose of each, how they work together to apply the brakes, and the maximum allowable pushrod travel (typically 1 inch for clamp-type chambers). | "What is the primary function of a slack adjuster?" or "When should you check slack adjuster pushrod travel?" |
| Air Tanks (Reservoirs) | Their purpose (storing compressed air), the importance of draining them daily, and why multiple tanks are used in a system. | "Why is it important to drain your air tanks at the end of each driving day?" |
| Low-Pressure Warning | The specific pressure range (55-75 psi) where the light and/or buzzer must activate. | "The low air pressure warning must activate before the tank pressure falls below what PSI?" |
By creating a structured plan that uses these active learning methods, you turn studying from a chore into a focused, effective strategy. Try sketching the air brake system from memory, using flashcards for all the key PSI numbers, and explaining the different leak tests out loud to a friend. This hands-on approach is your best bet for being ready for any question the real exam throws your way.
Your Hands-On Air Brake Inspection Routine
The written exam is about what you know, but the hands-on inspection is where you prove you can actually do it. This is where theory hits the pavement. An examiner isn't just listening for you to rattle off keywords; they're watching your every move. They want to see a confident, systematic process that proves the vehicle is safe to roll.
Think of your in-cab inspection as a performance. You need to know your lines and your blocking cold. That means you have to talk through every single check, explaining what you’re doing and why you're doing it. This isn't just for show—it's how you prove your competence to the examiner.
Setting The Stage For A Perfect Test
Before you even think about touching a valve, a few non-negotiable safety steps come first. Nailing these shows the examiner you take safety seriously right from the get-go.
- Secure the vehicle: First thing, always. Make sure the parking brake is set and the wheels are chocked. Skipping this is a rookie mistake and a fast track to failing the test.
- Key on, engine off: Turn the key to the "on" position. This wakes up the electrical systems and gauges you'll be watching like a hawk.
- Check your air pressure: Glance at your gauges. You need to be at full pressure, right around the governor cut-out of 125 psi. If you're low, you'll have to fire up the engine and build it up before the official test sequence can begin.
Getting this initial setup right lays the groundwork for a smooth inspection. From here, you’ll dive into the core tests that become second nature for any professional driver. These aren't just for the exam; they're daily habits. Mastering them now is just one piece of the puzzle, much like our complete guide to the pre-trip inspection shows how everything fits together.
The Static and Applied Leak Tests
This two-part check is the absolute heart of the in-cab inspection. Its whole purpose is to find any air leaks that could leave you without brakes when you need them most.
You'll start with the static leak test. Release the parking brake (and the trailer brake on a combination rig), and then watch the needle for one minute. You can't lose more than 2 psi. This tests the whole system for leaks while it's just sitting there. You need to be listening intently for that faint hiss of escaping air.
Next up is the applied leak test. Put firm, steady pressure on the brake pedal and hold it for a full minute. After the first little drop in pressure, the system must not lose more than 3 psi for a straight truck/bus or 4 psi for a combo. This mimics holding the truck on a hill and tells you if there are leaks when the brakes are actually working.
Pro Tip: Kill the radio and any fans before you start the leak tests. A tiny leak is tough to spot on the gauge, but in a dead-quiet cab, you can often hear it. Make sure you say it out loud: "I am now listening for any audible air leaks."
Following a simple study process is the key to getting these steps down pat.
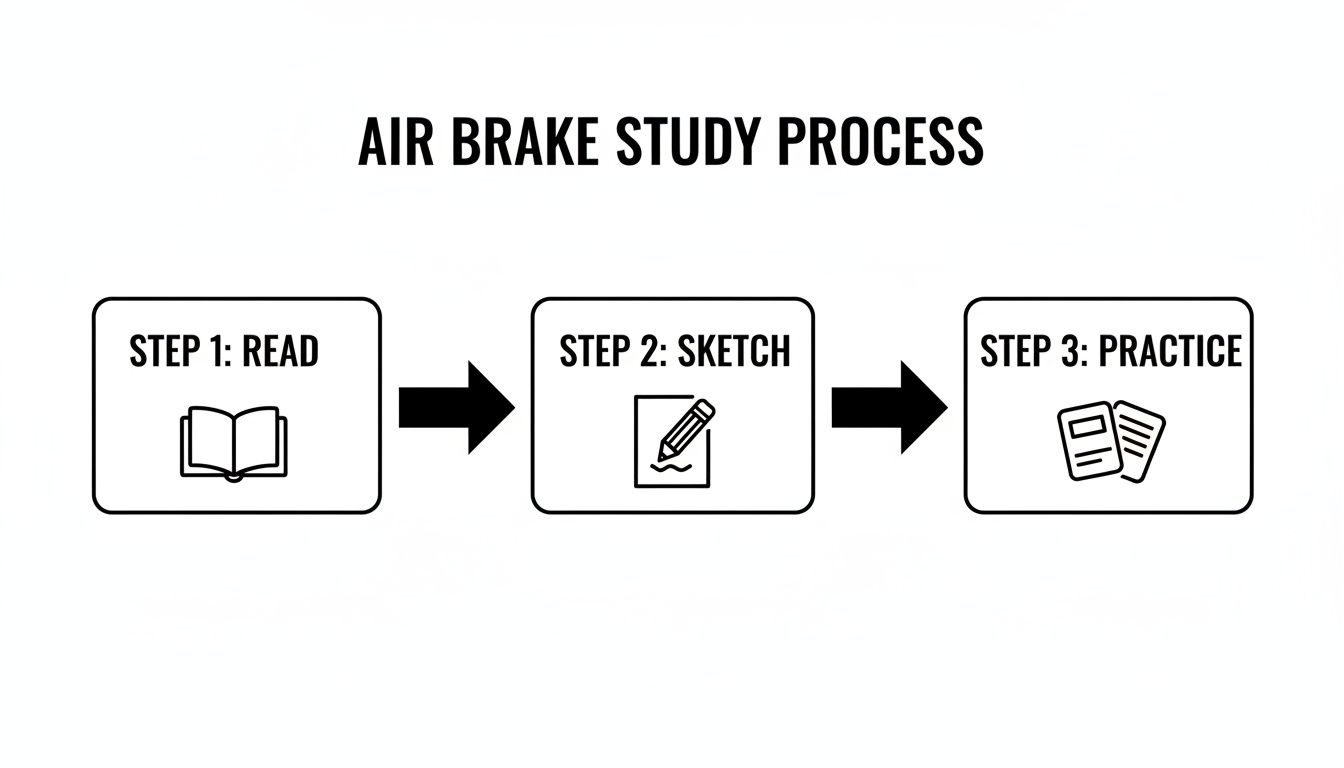
As you can see, it’s a cycle: read the manual, sketch out the system so you truly understand how it works, and then get in the truck and practice the steps until they're muscle memory.
Verifying The Safety Alarms And Spring Brakes
Once you've confirmed the system holds air properly, it's time to check its safety features. You need to make sure the low-pressure warnings work and that the spring brakes pop out like they're supposed to.
Begin fanning the brake pedal to bleed the air pressure down. The low-pressure warning light and/or buzzer has to kick in before the pressure gets below 55 psi. As you pump the brakes, call out the numbers as the needle drops: "90 psi… 80 psi… 70 psi…" When the alarm finally goes off, state it clearly: "My low-pressure warning has activated at approximately 60 psi, which is within the legal range."
Keep fanning those brakes. The spring brakes (the yellow parking brake valve) must automatically pop out somewhere between 20 and 45 psi. This is a critical failsafe. It’s what stops the truck if you have a catastrophic air loss. Once that valve pops, you'll do a quick tug test—put the truck in a low gear and gently try to pull forward to confirm the spring brakes have engaged and are holding you tight.
Getting the Most Out of Sample Questions
Watching videos and getting your hands on a real air brake system are huge parts of your training. But when it comes time for the written test, your best friend is a solid strategy for tackling sample questions.
This isn't about memorizing answers word-for-word. It’s about learning to think like the folks who write the test. You need to get inside the questions and truly understand the "why" behind every correct answer.
If you just mindlessly click through practice quizzes, you can trick yourself into thinking you're ready. The real exam will throw curveballs, rephrasing questions to catch anyone who only memorized a list. The goal is to build real-deal confidence by understanding why one answer is right and, just as important, why the others are dead wrong.
The Timed Practice Test Strategy
To get ready for the real thing, you have to practice under real conditions. That means putting yourself on the clock.
When you first start, don't worry about speed. Take your time and focus completely on getting the answers right. As you start feeling more confident with the material, begin to tighten your time limit. This trains you to work faster without sacrificing accuracy.
You'll get better at spotting the key detail in a question and quickly tossing out the obviously wrong choices. This saves you valuable time for those trickier questions that make you stop and think. It's a disciplined approach that pays off big time when the clock is ticking on test day.
Here's a pro tip: Always, always review your mistakes right after a practice test. Don't just glance at the right answer and move on. Force yourself to open the CDL manual and find the exact paragraph that explains the concept you missed. That's how a mistake becomes a powerful learning moment.
A Closer Look: Annotated Sample Questions
Let's break down a few typical questions. This isn't just about giving you the answers; it's about walking you through the thought process you need to develop. Master this, and you'll be ready for anything they throw at you.
Question 1: The air compressor governor controls when the compressor will pump air into the storage tanks. At what pressure should the governor typically cut out?
- A) 100 psi
- B) 125 psi
- C) 60 psi
- D) 45 psi
Correct Answer: B
Let's break it down: "Cut-out" pressure means the air tanks are full, and the governor is telling the compressor to take a break. That sweet spot is between 120-125 psi. The "cut-in" pressure—when it starts pumping again—is around 100 psi (Option A). The other numbers are distractors tied to different warnings. The low-pressure warning light and buzzer come on around 60 psi (Option C), and the spring brakes can start to engage below 45 psi (Option D). They're testing if you know the difference between these critical numbers.
Question 2: You are performing an applied air loss test. For a single vehicle, the maximum acceptable leakage rate is:
- A) 2 psi in one minute
- B) 3 psi in one minute
- C) 4 psi in one minute
- D) 5 psi in one minute
Correct Answer: B
Let's break it down: This question is designed to see if you know the specific leak rates for the different tests. For an applied test (with your foot on the brake), the rule for a single truck is no more than a 3 psi loss in one minute. The 2 psi limit (Option A) is for a static test (no brakes applied). The 4 psi limit (Option C) is for a combination vehicle. They're making sure you've got the details straight.
Question 3: If your vehicle has an alcohol evaporator, what is its primary purpose?
- A) To clean the air in the system
- B) To reduce the risk of ice in the air brake valves in cold weather
- C) To add lubricant to the system
- D) To cool the air coming from the compressor
Correct Answer: B
Let's break it down: Compressing air creates moisture, and in the winter, that moisture can freeze and cause your brakes to fail. That's where the alcohol evaporator comes in. It mists alcohol into the system, which acts like antifreeze and prevents ice from forming in your lines and valves. This question checks your knowledge of secondary components and how they relate to real-world driving conditions, like bad weather.
Why This Matters on the Road
Drilling down into these details isn't just about passing a test; it's about your safety and the safety of everyone around you. There's a reason for all this. Decades of safety data from programs like the CVSA’s International Roadcheck prove that drivers who are properly trained on their brake systems are involved in fewer accidents.
When you take the time to truly understand the why behind every system and every rule, you're not just studying for an exam. You're preparing for a professional career and becoming part of a tradition of safety.
Ready to put these skills to the test? Jump into our first comprehensive air brakes practice test and start applying these analytical techniques.
Common Mistakes To Avoid On Test Day
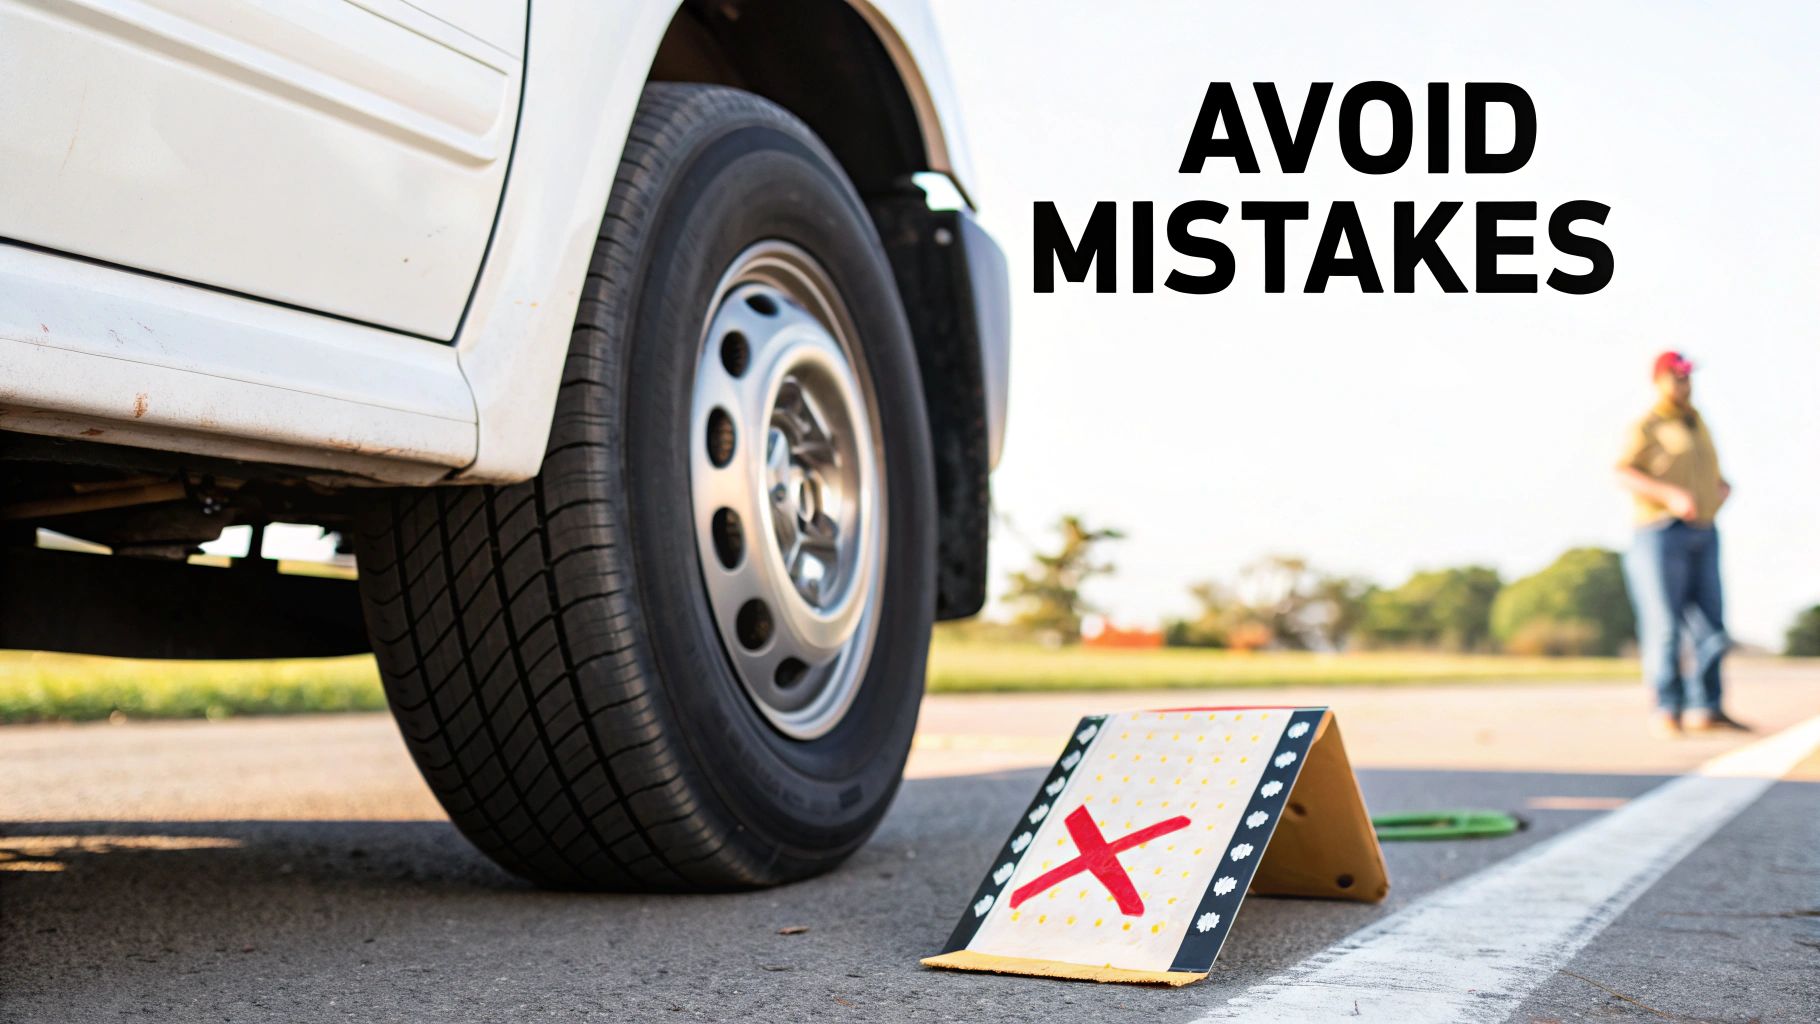
Knowing your stuff is only half the battle. I've seen countless well-prepared students get tripped up on test day by simple, avoidable mistakes. The pressure gets to you, and suddenly things you know like the back of your hand slip away.
Learning to recognize these common traps ahead of time is one of the smartest things you can do. Let’s walk through the pitfalls I see most often, for both the written exam and the hands-on inspection.
The biggest mix-up on the written test? The pressure ranges. It happens all the time. People swap the governor cut-out pressure (around 125 psi) with the cut-in pressure (around 100 psi). Or they blank on the low-pressure warning, which absolutely has to go off before the pressure drops below 55 psi.
These aren't just numbers to memorize for a test; they are critical safety figures. The best way to burn them into your brain is to actively drill them. Don't just read the manual. Make flashcards and hammer them every day until you can't get them wrong.
Messing Up The Hands-On Inspection
When you get to the practical, hands-on portion of the test, the mistakes are less about what you know and more about how you show it. Think of it as a performance—and the examiner is your audience.
- Going Silent: This is a big one. The examiner can't read your mind. If you don't say what you're checking, you get zero credit for it. You must talk through every single step, loud and clear.
- Forgetting the Basics: Failing to chock the wheels or set the parking brake before you even start is an instant red flag. It shows the examiner you’re missing the most fundamental safety habits.
- Guessing on the Leak Tests: The one-minute timing for the static and applied leak tests isn't a suggestion. Don't just count in your head. Use your watch or the truck’s clock, and make a point to announce when you start and stop the timer.
These slip-ups almost always come down to nerves. The only real cure is to practice your script until it’s automatic. Get out there by the truck and run through the entire inspection sequence out loud, again and again.
Your goal is to be so well-rehearsed that your mouth can run on autopilot even if your brain is a little scrambled by test-day jitters. Practice the words just as much as you practice the actions.
Taming Your Test-Day Nerves
Look, test anxiety is real. It can make you second-guess answers you absolutely know and forget steps you've done a hundred times. The biggest mistake you can make is letting that anxiety get the best of you.
The night before, put the books away. Seriously. Your brain needs to rest and lock in what you've studied. Get a solid night's sleep and have a good breakfast. Show up to the test center feeling prepared, not frazzled.
During the written test, read every question twice before even glancing at the answers. They love to use tricky wording. For the hands-on inspection, take a deep breath before you start. Move with purpose and speak clearly. If you blank out, just pause for a second to reset yourself. Rushing only makes things worse.
If you want one last confidence boost, running through another in-depth air brake practice test is a great way to prove to yourself that you’re ready to stay calm under pressure.
Your Top Questions About the Test Answered
After you've spent hours with the CDL manual, a few specific questions always seem to stick. When you're gearing up for something as critical as your air brake endorsement, getting straight answers is the best way to walk into the test with confidence.
Let's clear up some of the most common questions I hear from new drivers about both the written knowledge test and the hands-on inspection. Getting these details sorted out now will make a huge difference on test day.
How Many Questions Can I Miss On The Air Brake Test?
This is usually the first thing everyone wants to know. For almost every CDL knowledge test out there, including the air brake endorsement, the magic number is 80%. The test typically has between 25 and 35 questions, meaning you can miss somewhere between 5 and 7 questions and still walk out with a pass.
But here’s a pro tip: don't aim for the minimum. That's a dangerous game to play. Study with the goal of acing it. Always double-check your state's official CDL manual for the exact number of questions and passing score, as there can be slight variations from one state to another.
What’s The Fastest Way To Learn The Air Brake Inspection?
There's a world of difference between memorizing the steps on paper and actually performing them smoothly while an examiner watches you. The absolute fastest way to master the hands-on inspection is through a combination of repetition and verbalization.
You need to physically walk through the entire inspection, in the correct order, while saying every single step out loud. It might feel a little strange at first, but this process builds both muscle memory and locks the sequence in your brain.
- Build a routine: Always start the inspection from the same spot on the truck. This creates a consistent flow you won't forget under pressure.
- Lean on a checklist: When you're just starting, use a checklist straight from your CDL manual. It's the best way to make sure you don't miss a single component.
- Practice until it’s second nature: The goal is to get to the point where you can perform the entire check from memory, calling out each step without even thinking about it.
Watching videos of certified instructors demonstrating the inspection is also a great way to see how it's done before you try it yourself.
The real secret is talking it out. When you say, "I am now checking for a maximum air loss of three PSI in one minute," you're cementing that detail in your mind way more effectively than just thinking it.
What Happens If I Fail The Air Brake Test?
Failing is a gut punch, for sure, but it is absolutely not the end of the road. Most states will let you retake the test, often after a short waiting period—sometimes as little as one business day.
The trick is to see it as a learning experience, not a failure. If you can, ask the examiner for feedback on what you missed. Take that information, go straight back to your study materials, and hammer those weak spots. Hitting the practice tests again and running through the hands-on inspection a few more times is the best way to make sure you nail it on the next go-around.
Are Online Practice Tests Actually Like The Real Exam?
Yes, the good ones are. High-quality online practice tests are an incredible tool because they're often built with questions pulled from official CDL manuals from all over the country. This makes them a fantastic way to check your knowledge and get used to the style of questions you'll face on the real test.
But don't make the mistake of using them instead of the manual. Think of them as a supplement. Your state's official CDL manual is the final authority. Use a practice air brake test online to find out where you're struggling, then dive back into the manual to shore up that knowledge.