Think of a comprehensive CDL hazardous materials study guide as your personal roadmap to acing the HazMat endorsement test. It’s built to take complex federal regulations and break them down into bite-sized, understandable topics, from hazard classes and placarding rules to critical safety procedures. Getting a handle on this material is your ticket to better-paying jobs and a more specialized trucking career.
Your Journey to a HazMat Endorsement
Earning your HazMat (H) endorsement is a major milestone in any professional driver's career. It’s not just another stamp on your license—it’s a credential that proves your expertise and commitment to safety. This opens the door to more specialized, and often much more lucrative, hauling opportunities.
This guide is your game plan. We'll translate the dense, legal jargon of regulations into practical, real-world knowledge you can actually use on the road. We'll start with the fundamentals and build your understanding from the ground up, making sure you have a solid foundation before we get into the nitty-gritty.
Why the HazMat Endorsement Matters
Getting your H endorsement makes you a more valuable driver, plain and simple. Companies in just about every industry—from manufacturing and healthcare to energy—rely on qualified professionals to transport materials that keep the country running. You'll be joining an elite group of drivers trusted with some of the most sensitive cargo on the road.
But the process is about more than just passing a written exam. It's about truly understanding your responsibilities, which include:
- Public Safety: You're not just a driver; you're a guardian on the road, responsible for ensuring these materials get from A to B without a single incident.
- Regulatory Compliance: Knowing the federal rules inside and out is crucial for avoiding massive fines and keeping your driving record spotless.
- Emergency Preparedness: If a leak, spill, or accident happens, you need to know exactly what to do, step by step.
The business of moving hazardous materials is huge. In the U.S. alone, the Federal Motor Carrier Safety Administration (FMCSA) estimates that over 2 million CDL holders are involved in transporting these essential goods.
When you go for this endorsement, you're not just studying for a test. You're training to become a critical link in the supply chain, responsible for materials that fuel our economy and touch our daily lives.
What to Expect in This Study Guide
We'll take this one step at a time, building your expertise progressively. We’ll start with the nine distinct hazard classes, teaching you how to identify each one by its specific risks and the common materials you'll see. From there, we’ll get into the practical side of things: how to apply placards correctly, read shipping papers like a pro, and understand the rules for keeping different types of cargo safely separated.
Each section is designed to be a stepping stone, giving you the clarity you need to walk into your test feeling confident—and, more importantly, to be a safe and competent driver out on the road. Before we dive in, make sure you meet all the basic standards by checking out our guide on CDL requirements. Your path to becoming a respected, highly-valued HazMat professional starts now.
Decoding the Nine Classes of Hazardous Materials
To haul hazmat safely, you've got to learn how to speak its language. The very foundation of that language is the nine distinct hazard classes set by the Department of Transportation (DOT). The best way to think about these classes isn't as a list of random numbers to memorize, but as clear, instant warnings that tell you the primary danger a substance poses.
Getting a firm handle on these classes is a huge part of any good CDL hazardous materials study guide. It’s the first real step toward reading shipping papers correctly, slapping the right placards on your trailer, and truly understanding the risks you’re managing. Each class represents a different kind of threat—from a sudden explosion to a slow-acting poison.
Class 1 Explosives
First up, Class 1: Explosives. This covers anything with the potential to detonate or combust in a hurry. The danger here is all about sudden, violent energy release that can cause massive destruction from blast waves and flying shrapnel.
Think about the raw power of dynamite or the instant ignition of ammunition and fireworks. Those are classic examples. Hauling these materials demands extreme caution and sticking to strict rules for routing and handling.
Class 2 Gases
Next, we have Class 2: Gases. This class gets a little tricky because the danger is often invisible. It's broken down into three main divisions based on the specific risk.
- Division 2.1 Flammable Gases: This is stuff like propane or acetylene, which can ignite with just a spark.
- Division 2.2 Non-Flammable, Non-Poisonous Gases: Think nitrogen or helium. Here, the danger comes from high pressure or the gas's ability to displace oxygen in a confined space, leading to suffocation.
- Division 2.3 Poisonous Gases: These are the scariest of the bunch. Inhaling even a tiny amount of something like chlorine gas can be fatal.
Class 3 Flammable and Combustible Liquids
Class 3: Flammable Liquids are some of the most common hazmat you'll see on the road. This class covers liquids that give off flammable vapors at relatively low temperatures, making them incredibly easy to ignite.
Gasoline, diesel, and alcohol are things you see every day. The big risk is fire and explosion, which is why there are so many rules about proper ventilation and keeping sparks far, far away.
Class 4 Flammable Solids
This class is for materials that aren't liquids but are still easy to set on fire. Class 4: Flammable Solids is also broken down into three more specific groups.
- Division 4.1 Flammable Solids: These are things like safety matches that can be ignited by simple friction.
- Division 4.2 Spontaneously Combustible: These materials can actually catch fire on their own, without a spark, just from contact with the air. A pile of oily rags is a perfect, and dangerous, real-world example.
- Division 4.3 Dangerous When Wet: Just like it sounds, these materials react with water to create a flammable gas. Certain kinds of batteries and chemicals fall into this category.
Class 5 Oxidizers and Organic Peroxides
Materials in Class 5 might not burn on their own, but they can cause or seriously fuel the combustion of other materials. Think of them as adding gasoline to a fire, making a small flame burn hotter and spread faster.
Oxidizers, like ammonium nitrate (a key ingredient in fertilizer), feed oxygen to a fire. Organic Peroxides are often unstable and can react violently to heat or friction.
The infographic below gives you a quick visual of some of the most common hazard classes you’ll encounter.
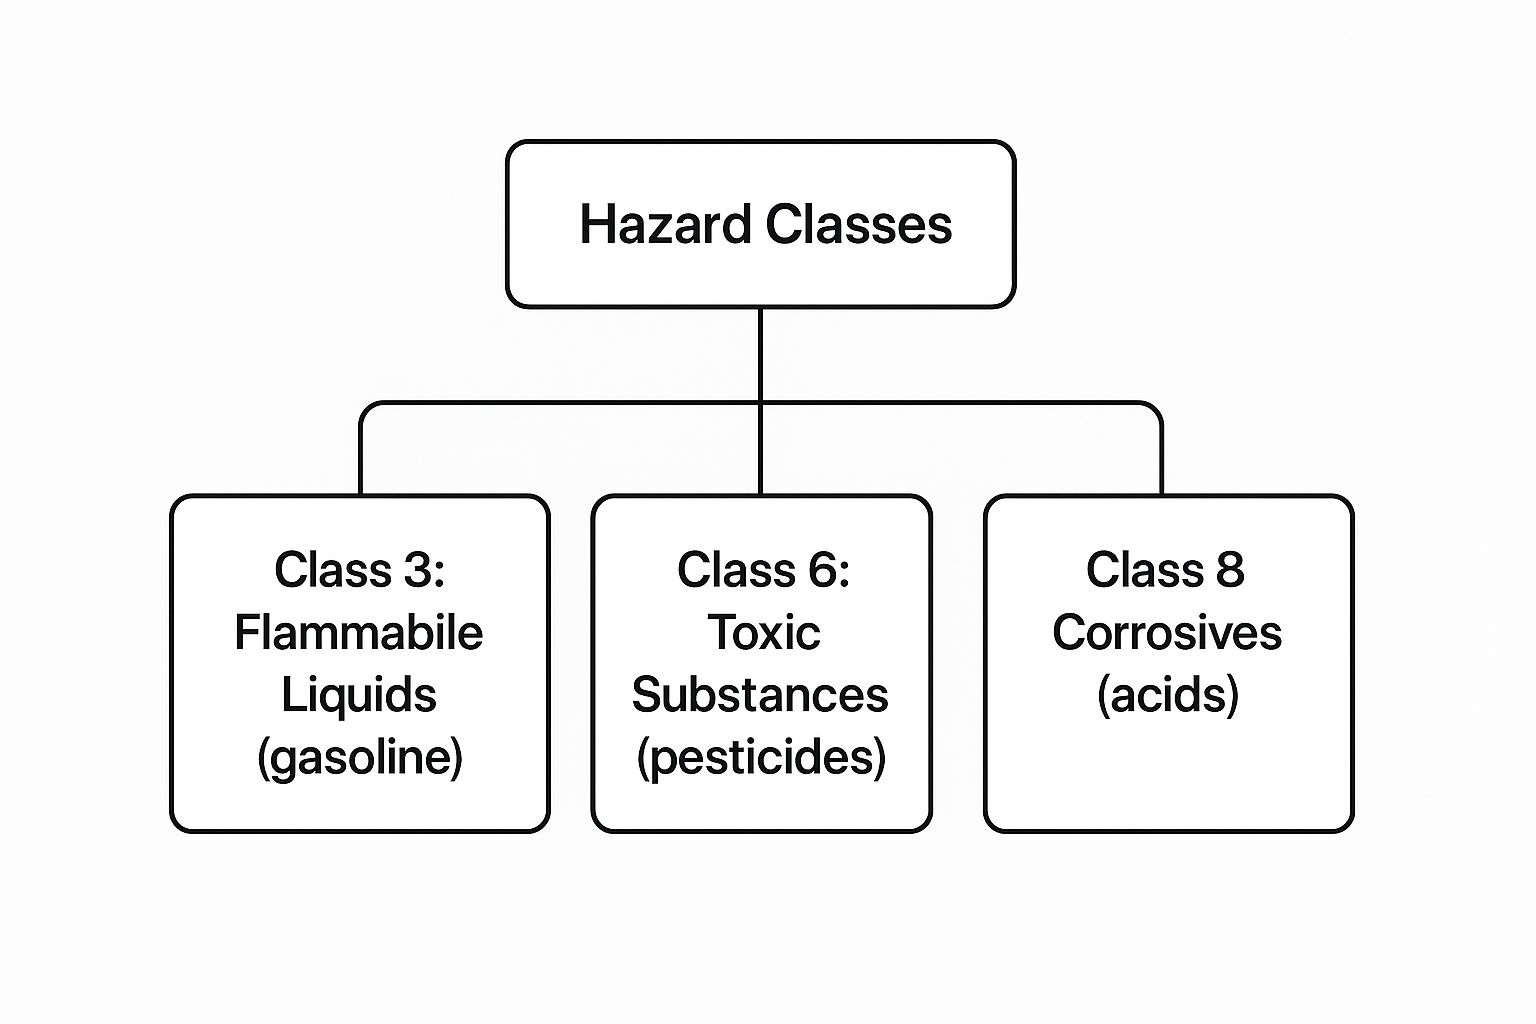
This helps you see how different categories like flammable liquids, toxics, and corrosives all have their own place, each with a unique set of risks you need to be ready for.
To give you a better feel for the whole system, here's a quick cheat sheet covering all nine DOT classes.
The 9 Official DOT Hazard Classes at a Glance
| Class Number | Class Name | Primary Hazard | Common Examples |
|---|---|---|---|
| Class 1 | Explosives | Explosion, blast, projection | Dynamite, ammunition, fireworks |
| Class 2 | Gases | Flammability, toxicity, pressure | Propane, chlorine, helium |
| Class 3 | Flammable Liquids | Fire, explosion | Gasoline, alcohol, paint thinner |
| Class 4 | Flammable Solids | Fire, spontaneous combustion | Matches, oily rags, sodium |
| Class 5 | Oxidizers & Organic Peroxides | Intensifies fire, chemical instability | Ammonium nitrate, hydrogen peroxide |
| Class 6 | Toxic & Infectious Substances | Poisoning, disease | Pesticides, medical waste, arsenic |
| Class 7 | Radioactive Materials | Radiation exposure | Uranium, plutonium, medical isotopes |
| Class 8 | Corrosive Materials | Chemical burns, metal corrosion | Battery acid, sulfuric acid, lye |
| Class 9 | Miscellaneous Hazardous Materials | Various unique hazards | Lithium batteries, dry ice, asbestos |
Having this breakdown handy is a great way to start building that mental library of what's what out on the road.
Class 6 Toxic and Infectious Substances
The danger from Class 6 materials is often silent and sneaky. This class includes anything that can cause serious illness, injury, or death if it's swallowed, inhaled, or even just touches your skin.
Pesticides are a great example of a toxic substance, while things like used needles and other regulated medical waste are considered infectious. You can see why special handling procedures are an absolute must to prevent exposure.
Class 7 Radioactive Materials
This one is for materials that emit ionizing radiation. While you won't haul these loads every day, the risks are serious, and the rules are incredibly strict.
Class 7: Radioactive materials are used for things like medical equipment and nuclear power generation. Exposure can cause severe long-term health problems, which is why shielding and maintaining distance are the golden rules of safety here.
Understanding each hazard class isn't just about memorization for the test. It's about developing the professional judgment needed to make safe decisions every single day on the job.
Class 8 Corrosive Materials
Class 8: Corrosives are substances that can literally eat through human skin or chew through steel. We're talking about powerful acids and bases here.
Think of battery acid or industrial-strength drain cleaners. A spill can destroy your equipment and cause nasty chemical burns, making secure loading and containment non-negotiable.
Class 9 Miscellaneous Hazardous Materials
Finally, there's Class 9. This is basically the "catch-all" category for any hazardous material that doesn't fit neatly into the other eight classes. It includes things like lithium batteries, dry ice, and asbestos.
Even though their risks might not seem as immediate as explosives or poisons, they still require careful handling, proper paperwork, and your full attention.
Mastering HazMat Placards and Shipping Papers

Think of placards as the universal language of road safety. They’re essentially giant, diamond-shaped warning signs that give first responders, DOT officers, and the public an instant heads-up about the potential danger inside your trailer. Any good cdl hazardous materials study guide hammers this home because it's your main way of communicating risk from a distance.
These placards, along with the shipping papers that travel with them, are two sides of the same coin. The papers give the nitty-gritty details, while the placards provide that immediate visual warning. Getting both right isn’t just a good idea—it’s a non-negotiable federal requirement.
The When and Why of Placarding
The first rule every driver learns is the 1,001-pound rule. As a general guideline, if you're hauling a combined gross weight of 1,001 pounds or more of most hazardous materials, you have to display placards. Simple enough, right?
But here’s where it gets more serious. Some materials are so hazardous that they demand placards no matter the quantity. We're talking about Table 1 materials, like high explosives or poison gas. For these, even a single pound means you have to placard the truck. No exceptions.
Getting this wrong can hit your wallet hard. A 2022 DOT compliance review showed that improper placarding was one of the top five most common serious violations found during roadside inspections. The fines for this mistake can range from $4,800 to over $15,000 for each violation.
Correct Placard Placement and Identification
Having the right placard is only half the battle; placing it correctly is just as crucial. The regulations are all about making sure they can be seen from any angle in an emergency.
- Four Sides: A placard must be on the front, back, and both sides of your vehicle.
- Clear Visibility: Nothing can block them. No ladders, tarps, or half-open doors in the way.
- Securely Affixed: They need to be attached firmly so they don’t fly off on the highway.
Beyond the hazard symbol, you'll often see a four-digit UN/NA number on the placard. This number is like a unique fingerprint for the chemical you're hauling. For instance, UN 1203 is always gasoline, and UN 1993 points to a flammable liquid that isn't otherwise specified. First responders use this number to look up the exact, life-saving procedures in their guidebook.
A correctly placarded truck is a mark of a true professional. It shows you’ve done your homework, confirmed your load, and take your responsibility to everyone else on the road seriously.
Demystifying Shipping Papers
If placards are the headline, shipping papers are the full story. While the placard screams "Flammable Liquid," the shipping papers whisper the specifics: "Gasoline, 3, UN 1203, PG II." This document is your ultimate source of truth, and it has to be perfect.
As the driver, it's on you to verify that the info on those papers matches the cargo in your trailer and the placards on the outside. This cross-check is a critical safety step, every bit as important as a detailed pre-trip inspection. You need to confirm the material's name, its hazard class, and that all-important identification number.
These papers must always be within your immediate reach while you're driving. If you have to step out of the cab, the rules say to leave them on the driver's seat or in the driver's side door pouch. This ensures that if you're ever unable to communicate, emergency crews can find them instantly and know exactly what they're dealing with.
Safe Loading and Cargo Segregation Rules
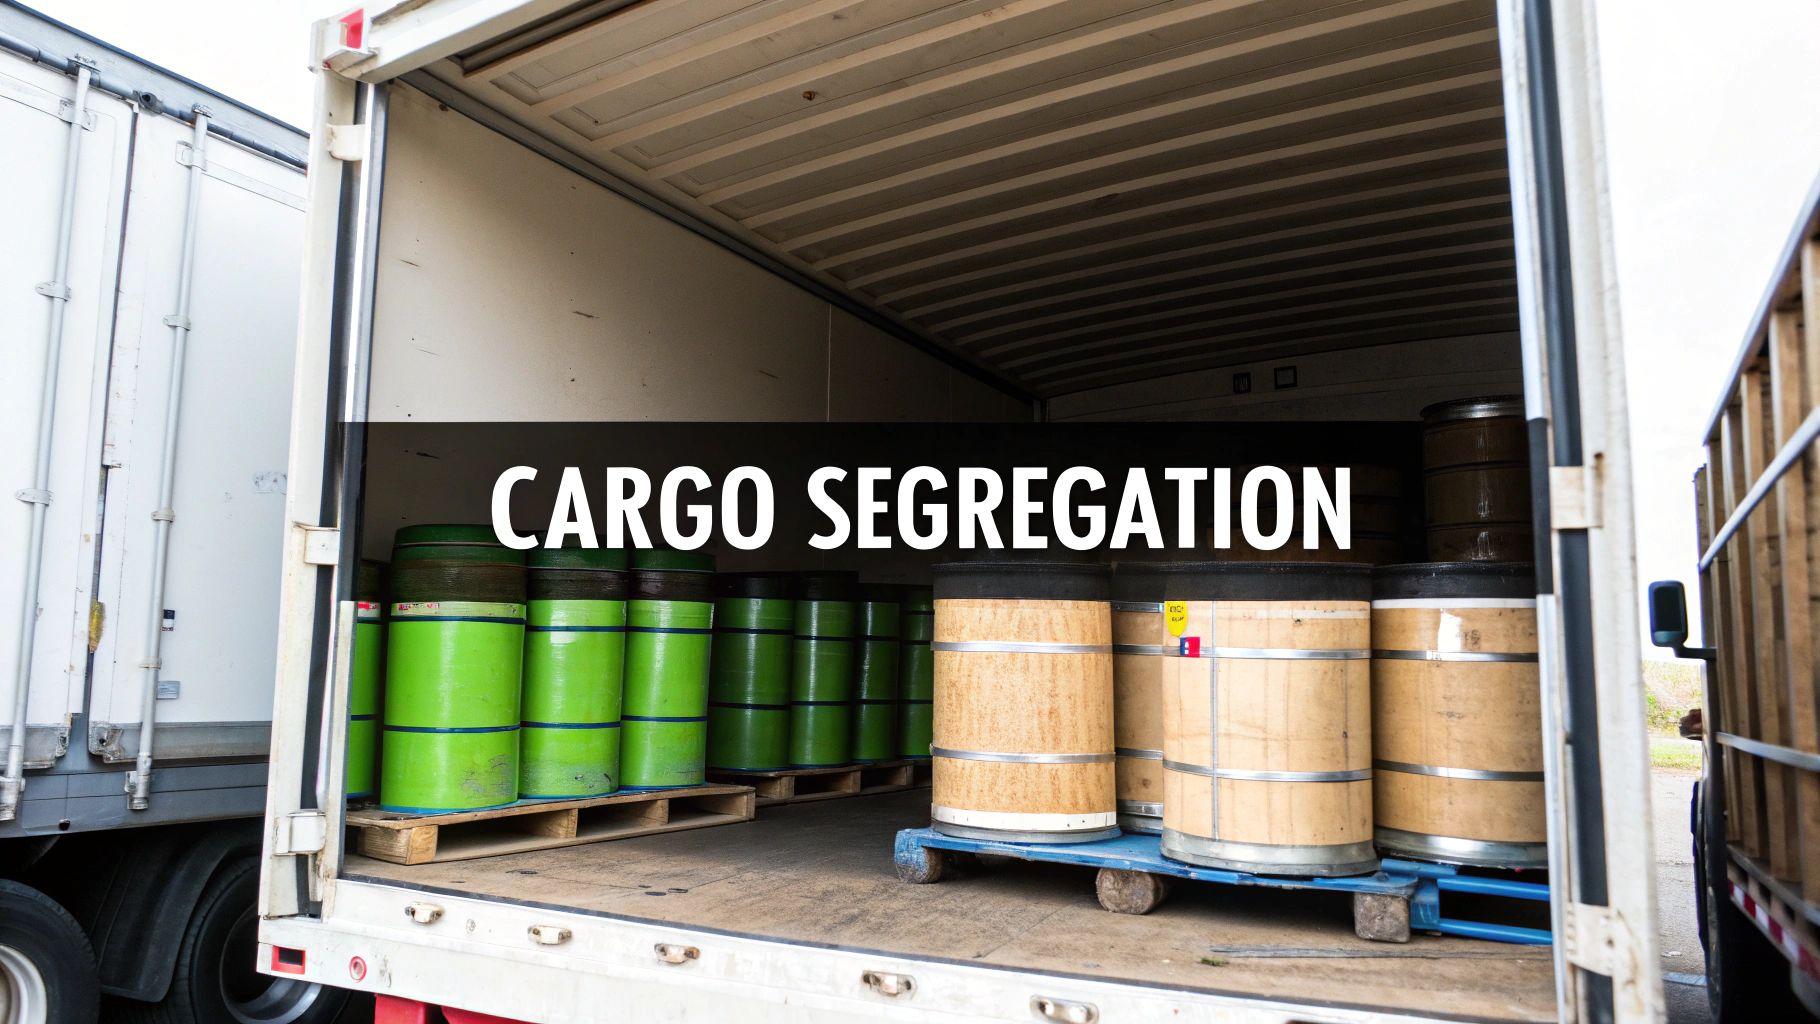
A safe run starts long before you ever turn the key. Getting your hazardous materials loaded and segregated correctly is the single most important thing you can do to prevent a disaster on the road. You have to think like a chemist and a logistician at the same time, making sure volatile materials—the "bad neighbors" of the chemical world—are kept far, far apart.
This isn't just theory from a cdl hazardous materials study guide; it’s the hands-on, practical side of the job. Getting this right is what protects your truck, your life, and everyone else sharing the highway with you.
The Golden Rule of Segregation
Here’s the bottom line: some chemicals create violent reactions when they mix. A small leak from two incompatible containers loaded next to each other can spark a fire, trigger an explosion, or release deadly toxic gas. This isn’t a friendly suggestion—it’s a strict federal requirement.
For example, you absolutely cannot load certain acids (Class 8) anywhere near cyanides (Class 6.1). If both containers started leaking and the chemicals mixed, you’d create hydrogen cyanide gas, which is incredibly lethal. Your shipping papers and the official Segregation Table are the two tools that keep you from making a catastrophic mistake like that.
Using the DOT Segregation Table
To take the guesswork out of it, the Department of Transportation gives us a cheat sheet: the Segregation Table for Hazardous Materials. This chart is the final word on what can and cannot ride together. It might look a little intense at first glance, but it's actually pretty simple to use.
The table has hazard classes listed across the top and down the side. To check if two materials can be loaded together, you just find one class on the top row and the other on the side column. The box where they meet tells you what to do.
- An "X" in the box means do not load, transport, or store these materials together. Ever.
- An "O" means they can be on the same truck, but you have to separate them in a way that ensures they won't mix if there's a leak.
- A blank space means there are no specific segregation rules between those two classes.
These rules aren't random; they’re based on decades of real-world incidents and chemical research. The official DOT Segregation Table for Hazardous Materials (49 CFR 177.848) lays out exactly what's forbidden. For instance, mixing certain flammable solids with corrosive acids can literally cause them to burst into flames.
Proper Cargo Bracing and Securing
Okay, so you’ve checked the table and confirmed your materials can be loaded. Now you have to make sure they stay put. Cargo that slides around in the trailer can lead to busted containers, spills, and a dangerously unbalanced rig that's a nightmare to control. Every single piece of a hazmat load needs to be properly braced, blocked, and secured.
A well-secured load is a quiet load. If you hear your cargo shifting or thumping around back there while you're driving, that's a huge red flag. Pull over somewhere safe immediately and get it re-secured.
Securing your load right means using the right tools for the job. This usually involves a combination of:
- Bracing: Using lumber or other rigid materials to keep cargo from moving side-to-side or front-to-back.
- Blocking: Placing dunnage on the floor to keep freight from sliding.
- Straps and Chains: Tying down big items like drums or portable tanks to anchor them directly to the trailer.
Always give your straps and chains a final check to make sure they're tight. Just as important, make sure your securement gear isn't putting too much pressure on the containers themselves, as that could cause a different kind of damage. The whole point is to make the cargo and the trailer one solid, immovable unit. This is the kind of detail that separates a true professional from everyone else on the road.
Navigating Emergency and Incident Procedures
Even the most seasoned driver with the most carefully planned route can have a bad day. A sudden leak, a minor fender-bender, or a load shift can turn a routine haul into an emergency in the blink of an eye. What you do in those first few moments is everything.
Knowing how to react isn’t just about passing a test; it's the absolute core of what it means to be a professional hazmat driver. Staying calm and following the right procedures can be the difference between a small, contained incident and a full-blown catastrophe. Think of this section as your playbook for handling the unexpected with confidence.
Your First Actions in an Emergency
The second you realize there’s a problem—a leak, a spill, any kind of accident with your load—your training needs to kick in automatically. The number one priority is always to secure the scene to protect yourself and the public.
Here are the first things you absolutely must do:
- Park Safely: Get your vehicle over to a safe spot, ideally away from traffic and buildings. Pull onto the shoulder and get those emergency flashers going immediately.
- Keep the Engine Running: Unless your engine is on fire or part of the problem, leave it on. You need power for your lights and, most importantly, your radio.
- Assess the Situation: Get a safe distance away—and stay upwind—to figure out what's happening. Never, ever walk up to leaking or spilled material.
- Notify Authorities: Call for help right away. Give them your exact location, the UN/NA number of the material from your placards, and tell them clearly what happened.
Taking these steps immediately establishes a baseline of control. It stops things from getting worse while you wait for the pros to arrive. This kind of instinct is built through solid training, which is why a comprehensive driver education program is so crucial.
Your Best Friend: The Emergency Response Guidebook
In a crisis, the most powerful tool you have is that little orange book: the Emergency Response Guidebook (ERG). It’s a hazmat driver's lifeline, packed with immediate, clear instructions for nearly any hazardous material you could ever haul.
The ERG is updated every four years by transportation experts across North America and contains guidance for over 3,000 different chemicals. It’s designed to give drivers and first responders the exact same playbook to work from during an incident.
Think of the ERG as having a chemical safety expert riding shotgun. It takes complicated scientific data and boils it down into simple, color-coded instructions that make sense even when you're under extreme stress.
How to Use the ERG in Seconds
The real magic of the ERG is its simple, color-coded design. Mastering how to find what you need quickly is a non-negotiable skill.
- Yellow-Bordered Pages: Start here if you have the UN/NA identification number. Just find the number in the list, and it will point you to the right guide number.
- Blue-Bordered Pages: If you know the name of the material but not the number, head to this section. The names are listed alphabetically and will also give you the correct guide number.
- Orange-Bordered Pages: This is where the action is. Once you have your guide number from the yellow or blue pages, you flip here. It gives you the step-by-step on potential hazards, public safety, and what emergency actions to take.
- Green-Bordered Pages: This section is for the really nasty stuff—materials that are toxic if you breathe them in. It tells you the initial isolation distance, which is how far you need to evacuate people in all directions.
Knowing this flow lets you find life-saving information in seconds. You can then relay that critical info to first responders, helping them manage the scene safely and effectively from the moment they arrive.
How to Pass Your HazMat Test and Get Endorsed
Alright, you've got a solid handle on the rules and regulations. Now comes the fun part: turning that knowledge into a real-deal HazMat endorsement on your CDL. This is where the rubber meets the road, and your hard work pays off. Let's walk through how to nail the test and finalize the process.
Your first major checkpoint is the HazMat endorsement knowledge test. Expect to see 30 multiple-choice questions on the exam. To pass, you need to get at least 24 of them right, which is an 80% passing score. These questions will pull from everything we've covered—the nine hazard classes, placarding, emergency procedures, you name it.
Crafting Your Study Strategy
Just reading the CDL manual from cover to cover isn't going to cut it. You need a game plan. The idea is to truly understand the material, not just cram it into your short-term memory. Be honest with yourself about your weak spots. If placarding still feels like a puzzle, dedicate extra time to that section until it clicks.
Here are a few tips that have helped countless drivers get over the finish line:
- Take Practice Tests: There's no better way to prepare than by taking practice tests. They get you used to the way questions are worded and immediately show you where you need to improve.
- Make Flashcards: This old-school method still works wonders. Jot down hazard classes, definitions like "segregation," and specific placard rules on individual cards. It forces you to actively engage with the information.
- Aim for Understanding, Not Just Memorization: Don't just memorize that you can't load corrosives and cyanides together. Understand why—because they can create a deadly gas. When you get the "why," the rules stick with you.
Confidence on test day isn't luck; it's the direct result of good preparation. A smart study plan means you walk into the DMV ready for anything, giving you the focus you need to pass on your first try.
Completing the Endorsement Process
Passing the knowledge test is a huge step, but you're not done just yet. Because you'll be hauling sensitive materials, federal law requires a full security screening. Think of it as the final seal of approval.
Every single driver applying for a new 'H' endorsement has to pass a Transportation Security Administration (TSA) Security Threat Assessment. This is a comprehensive background check that's good for five years. It’s a mandatory step to ensure that hazardous materials are in safe, trusted hands.
The process is pretty straightforward—you'll submit your application and get fingerprinted. It takes some time, so plan accordingly. Once you clear this check, you can finally get that endorsement added to your license. For a broader look at the testing experience, check out our guide on the CDL General Knowledge Test, as a lot of the steps will feel familiar.
Common HazMat Endorsement Questions
Getting your HazMat endorsement is a big step, and it's totally normal to have questions pop up along the way. Let's tackle some of the most common ones so you can keep your focus on learning the material and preparing for the road ahead.
How Long Is a HazMat Endorsement Valid?
Think of your HazMat endorsement and your TSA Security Threat Assessment as being tied together. The endorsement is only good for as long as your TSA background check is valid, which is five years.
To keep everything current, you'll need to renew that TSA check before it expires. Many states will actually sync up your CDL's expiration date with your TSA clearance to make the whole renewal process a lot smoother.
Can I Get a HazMat Endorsement with a Felony?
This is a big one, and the answer is: it depends on the specifics. The TSA has a list of disqualifying criminal offenses.
Some felonies, especially those involving terrorism, transportation security incidents, or illegal hazmat transport, are permanent disqualifiers. For other serious felonies, you might face a waiting period, often seven years after conviction or release, before you can re-apply.
The key takeaway is that the TSA makes the final determination on a case-by-case basis. Honesty and accuracy on your application are absolutely critical to the process.
Do I Need a HazMat Endorsement to Drive a Tanker?
Not always. If you're hauling non-hazardous liquids in a tanker—think milk, water, or vegetable oil—you only need the Tanker (N) endorsement.
However, the moment you put a hazardous liquid like gasoline, diesel, or certain industrial chemicals into that tank, you need both. You'll need the Tanker (N) endorsement and the HazMat (H) endorsement. For this reason, many professional drivers get both to open up the widest range of job opportunities.
This also brings up other considerations, like license restrictions. For example, if you have an E restriction for only driving automatic transmissions, you might want to look into an E restriction removal course to become a more versatile driver. Taking care of endorsements and restrictions just makes you that much more valuable in the industry.
Ready to start your journey toward a high-paying career on the open road? Patriot CDL provides the expert training you need to pass your exams and get endorsed. Visit us to learn more