Think of your pre trip inspection for cdl class a as more than just a test requirement. It's the most critical safety ritual you'll perform every single day. This isn't about ticking boxes; it's your best defense against a breakdown, a hefty fine, or worse, an accident.
Why Your Pre Trip Inspection Is Non Negotiable

Long before you even turn the key, the most important part of your drive has already started. For any professional driver, that daily pre-trip inspection is a rock-solid habit that lays the groundwork for a safe, successful career. You're not just memorizing a routine for an exam; you're becoming a mechanic on the fly, diagnosing potential problems that could put you, your rig, and everyone else on the road at risk.
And let's be clear, this isn't just a suggestion—it's the law. The Federal Motor Carrier Safety Administration (FMCSA) reports that vehicle issues are a factor in about 10% of all large truck accidents every year. When you realize there were over 450,000 police-reported crashes involving big trucks in 2022 alone, you see just how many thousands of those incidents could have been avoided.
The goal isn't just to pass a test. It's to build a professional habit that makes you a safer, more reliable driver. A thorough inspection is your first line of defense against on-road failures.
The key is to develop a consistent, systematic approach. Don't try to memorize a random list of parts. Instead, think of your inspection as a deliberate walk around the vehicle. By breaking it down into logical zones, you create a mental map that ensures you never miss a thing. This is how you build the muscle memory you'll need for your CDL test and every day on the job after that.
To make sure nothing gets missed, it helps to break the inspection down into logical areas. Each zone has a purpose, and tackling them one by one keeps the process from feeling overwhelming. This high-level overview shows what you're looking for and, more importantly, why it matters.
Key Inspection Zones and Their Purpose
| Inspection Zone | Primary Focus | Potential Risks If Missed |
|---|---|---|
| Engine Compartment | Fluids, belts, hoses, and major components like the alternator and air compressor. | Engine failure, fluid leaks leading to fires, or loss of power systems. |
| In-Cab & Brakes | Gauges, controls, safety equipment (fire extinguisher, triangles), and air brake system tests. | Brake failure, inability to control the vehicle, or being unprepared for an emergency. |
| 360° Walk-Around | Steering, suspension, tires, wheels, coupling system, lights, and trailer integrity. | Tire blowouts, loss of steering control, trailer separation, or visibility issues for other drivers. |
Each of these zones is designed to catch specific problems before they turn into disasters on the highway. A loose hose under the hood might seem small, but it could lead to an engine fire. A cracked brake light could easily cause a rear-end collision. Approaching the inspection with this mindset turns a required task into a proactive safety measure.
The Main Inspection Zones
To pull off a complete pre trip inspection for cdl class a, you need a game plan. Knowing what to look for is half the battle, which is why brushing up on materials like the general knowledge test is always a smart move. Generally, your inspection will follow a path covering three main areas:
The Engine Compartment: First, you’ll pop the hood. This is where you get your hands dirty checking fluid levels, looking for worn belts and cracked hoses, and making sure critical components like the alternator and air compressor are secure and leak-free.
The Cab and Brake System: Next, you'll climb into your "office." Here, you'll run through all your gauges and controls, check your safety gear, and, most importantly, perform the series of checks on your air brake system. This is one part you can't afford to rush.
The Full Walk-Around: This is your 360-degree tour of the entire rig. You'll work your way around the tractor and trailer, from the front steering system to the wheels and suspension, then back to the coupling components and the trailer itself. You're looking at everything that keeps your truck and trailer connected and rolling safely down the road.
When you treat each zone with the attention it deserves, you're not just doing a job—you're cementing your role as a true professional out on the road.
Mastering the Engine Compartment Inspection
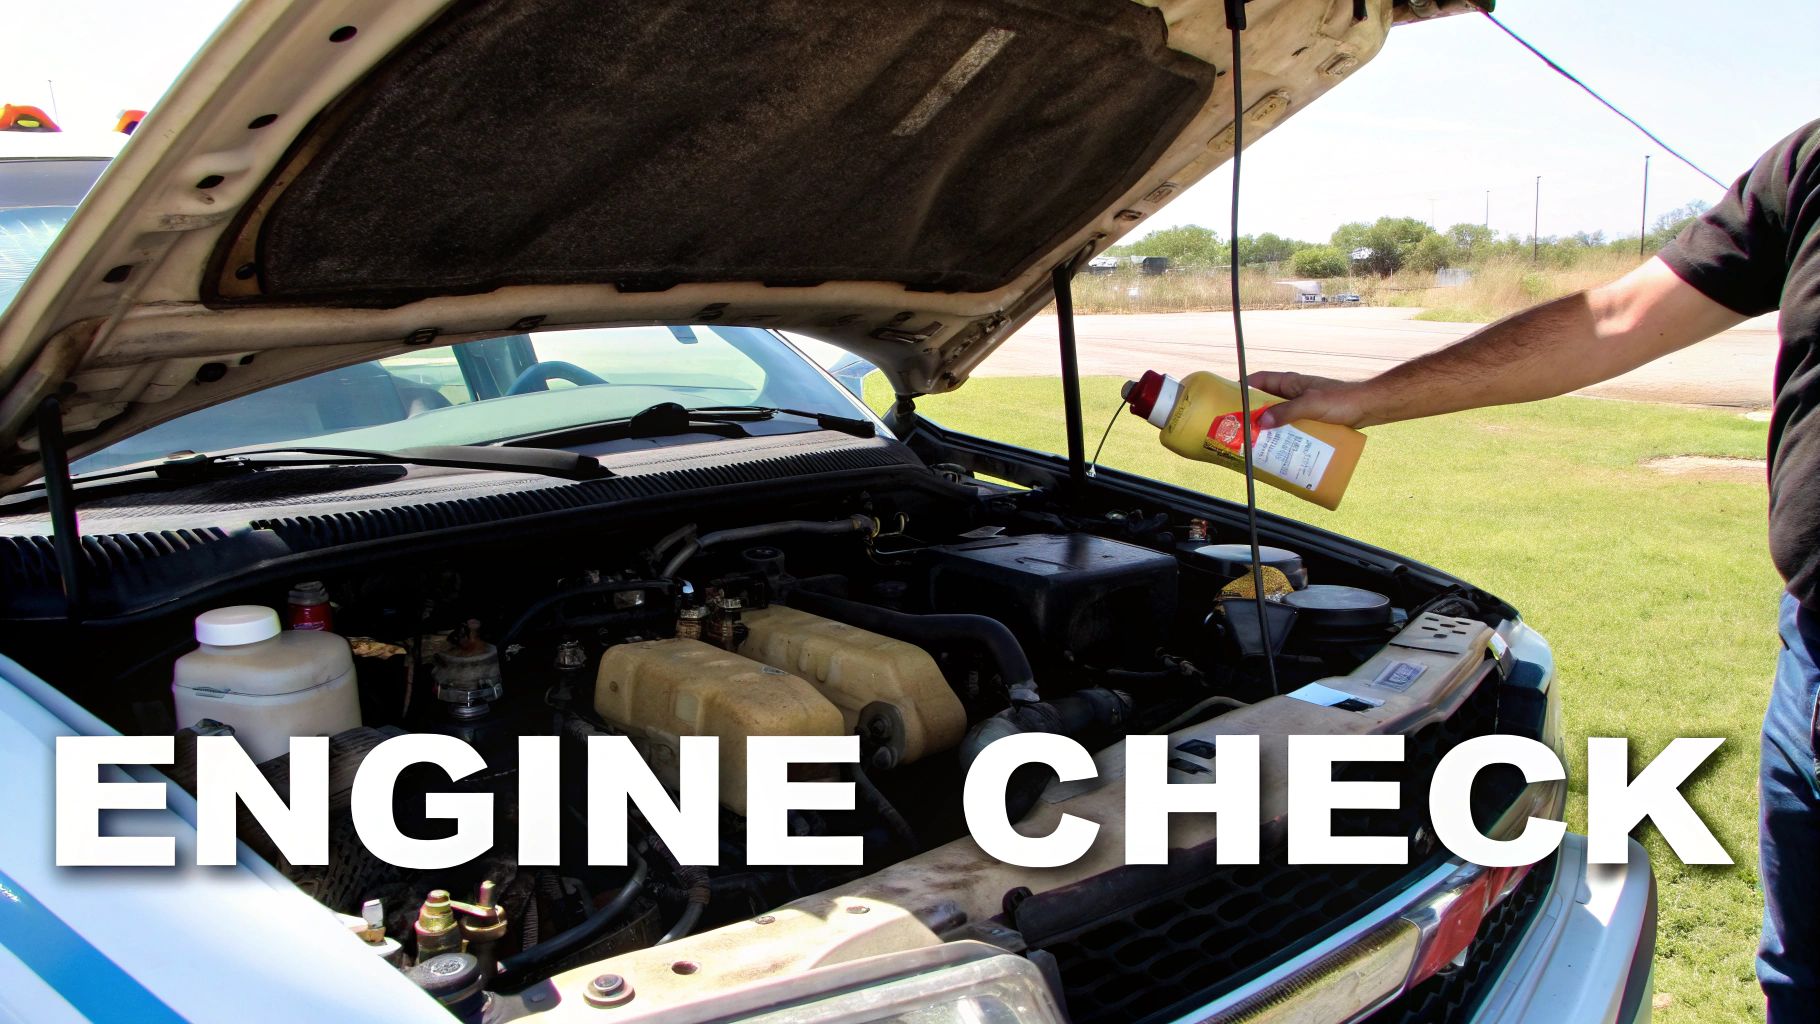
Popping the hood is where your hands-on pre trip inspection for cdl class a really begins. I get it—for new drivers, that tangle of hoses, wires, and belts can look pretty intimidating. But your job isn't to be a master mechanic. It's to be a professional driver with a sharp eye for spotting trouble before it leaves the yard.
The key is to find a system and stick to it. Whether you prefer to work from the passenger side to the driver side or from front to back, it doesn't matter. What matters is consistency. A solid routine builds muscle memory, ensuring you don't miss a single thing, especially when you've got a CDL examiner watching your every move.
Checking Your Critical Fluids
Think of your truck's fluids as its lifeblood. If they're low or contaminated, you're not just risking a breakdown; you're looking at a potential catastrophic failure on the highway.
First up, the engine oil. Pull the dipstick, give it a good wipe, and push it all the way back in. Pull it out again for a clean, accurate reading. You want to see the oil level sitting somewhere between the "add" and "full" marks. Pay attention to the oil's condition, too. It should look like clean amber or dark brown, not milky (a dead giveaway for coolant contamination) or full of grit.
Next, find your coolant reservoir. On most modern rigs, this is just a quick visual check of the sight glass or overflow tank. Make sure the level is where it should be, and scan the reservoir and its hoses for any tell-tale signs of leaks. An overheating engine is one of the most common—and expensive—roadside headaches, and it almost always starts with a simple low coolant level.
Finally, check the power steering fluid. Just like the coolant, you'll be looking at the reservoir to make sure the level is in the safe operating range. Give the cap a twist to be sure it's tight, and run your eyes over the hoses connected to it. Any wetness or cracking is a red flag, because losing your power steering at 60 mph is a situation you never want to be in.
Inspecting Belts Hoses and Components
Once your fluids are squared away, it’s time to shift your focus to the hardware. You’re hunting for any signs of wear and tear that could cause a sudden failure out on the road.
Take a close look at all the belts you can see, especially the main serpentine belt. You’re on the lookout for:
- Cracks and Frays: Any deep cracks, a glazed or shiny appearance, or frayed edges mean that belt is living on borrowed time.
- Proper Tension: The belt needs to be snug. A good rule of thumb is to press firmly in the middle—you shouldn't feel more than 1/2 to 3/4 of an inch of play.
Now, move on to the hoses. Give them a gentle squeeze. You're feeling for any soft spots, weird bulges, or hard, brittle sections. Check every connection point for drips or stains. A tiny pinhole leak that seems like nothing in the parking lot can turn into a high-pressure spray once the engine gets up to temperature.
A loose alternator or a cracked air compressor bracket might not seem critical when the truck is parked, but under the constant vibration and stress of the road, that component will fail. Your inspection catches these issues while they're still minor fixes.
Finally, put your hands on the major components. Physically check that the alternator, air compressor, and water pump are mounted securely. Give them a firm shake—if there’s any movement, it’s a problem. Look for loose or damaged wires on the alternator and make sure the air compressor isn’t leaking air or oil. This is absolutely critical; if that compressor fails, you have no air for your brakes.
Understanding the why behind each of these checks is just as important as the how. The foundational knowledge you gain from mandatory Entry-Level Driver Training (ELDT) is what connects these routine inspections to real-world safety on the road.
The In Cab Inspection and Brake System Checks
Once you’ve wrapped up under the hood, it’s time to climb into the command center—the cab. This part of the pre trip inspection for cdl class a is more than just getting comfortable. It's about making absolutely sure every control, gauge, and piece of safety gear is ready to roll. The in-cab check is also the lead-up to the most critical sequence of the entire inspection: the air brake tests.
Safety Gear and Systems Check
First thing's first: check your safety equipment. Don't just glance at it; put your hands on it. Make sure your fire extinguisher is fully charged and securely mounted where it belongs. You’ll also need to confirm you have spare fuses and a full set of emergency reflective triangles. Being caught without any of these during a roadside inspection isn't just a slap on the wrist—it can be an immediate out-of-service violation.
Next, turn the key to the "on" position, but leave the engine off for now. This lets you run a quick systems check. You should see all your dashboard indicator lights flash on and then go off. Give your city horn and air horn a quick blast. Then, test your windshield wipers and give the washer fluid a spray. A clear view is non-negotiable; a grimy windshield in a sudden downpour is just as dangerous as a mechanical problem.
Gauges, Lights, and Controls
Alright, now go ahead and fire up the engine. Your eyes should go straight to the gauges. Watch your air pressure climb until the governor cuts out, which should happen somewhere between 120 and 140 PSI.
At the same time, check your other vitals:
- Oil pressure gauge should show good, steady pressure.
- Voltmeter needs to indicate that the alternator is charging, typically around 14 volts.
- Temperature gauges should be sitting comfortably in their normal operating range.
This is also the perfect time to check all your exterior lights without leaving your seat. Flip on your headlights (both low and high beams), activate the four-way flashers, and check your left and right turn signals. Of course, you can't see them all from the cab, so you'll tell the examiner that you'd get out and do a final walk-around to confirm every single bulb is working.
Think of the in-cab inspection as your last chance to catch a problem while you're still parked. A gauge reading funny or a light that won't turn on is an easy fix in the yard. Out on the highway, it's a potential disaster waiting to happen.
Performing the Critical Air Brake Tests
Now we get to the heart of the in-cab inspection: the air brake test. This isn't just a routine you memorize for the CDL exam; it’s a vital diagnostic process that verifies the integrity of your entire braking system. Each step is designed to test a specific component, and you must be able to explain what you're doing—and why you're doing it—out loud.
This series of checks follows a very specific order to find leaks and confirm that all the system's safety features are working correctly. To get a deep dive into exactly what your examiner will be looking for, check out our complete guide on the air brakes test.
Here’s the flow you’ll follow for the air brake checks:
Governor Cut-In/Cut-Out: With the engine running, you’ll pump the service brake to bleed down the air until you hear the compressor kick back on. This "cut-in" should happen at around 100 PSI. Then, let the pressure build back up and confirm the governor shuts the compressor off (the "cut-out") between 120-140 PSI.
Applied Pressure Test: Now, shut off the engine but turn the key back to the "on" position. Release your parking brakes (push in the yellow and red knobs). Press the service brake pedal down firmly and hold it for a full minute. After the initial pressure drop settles, your system shouldn't lose more than 4 PSI in one minute for a combination vehicle.
Low Air Warning: With the key still on and brakes released, start fanning the service brake pedal to bleed the air pressure down. Your low air warning light and buzzer absolutely must come on at or before the pressure drops to 60 PSI.
Spring Brake Pop-Out: Keep fanning the brakes. As the pressure continues to drop, the tractor protection valve and parking brake valve (the red and yellow knobs) should pop out on their own. This must happen between 20 and 45 PSI, which tells you the spring brakes have automatically engaged.
To finish, you’ll perform a quick tug test on both the trailer and tractor parking brakes to prove they can hold the rig in place. The pre trip inspection for cdl class a is a massive undertaking, and the brake system is its most crucial part. You're not just checking gauges; you're responsible for five key elements on every wheel—the brake drum, lining, slack adjuster, air line, and chamber—and this in-cab test is how you verify the whole system is ready.
The Complete External Walk-Around Inspection
This is where the rubber really meets the road in your pre-trip inspection for a CDL Class A. You’ll spend most of your time out here, and developing a consistent, systematic routine is your best friend. A good routine prevents you from missing the small details that can snowball into big problems on the highway. It helps you build a mental map of the truck that becomes second nature over time.
We're going to start at the front of the tractor and work our way around in a full 360-degree loop, hitting every critical system. The goal isn't just to see potential issues but to be able to say what you're checking out loud—a crucial skill for acing the CDL exam.
Front of the Tractor and Steering System
Let's begin right at the nose of the truck. First, check all your lights: headlights, turn signals, four-way flashers, and clearance lights. They need to be clean, working properly, and free of any cracks or damage.
From there, let's get into the steering system. Take a close look at the steering box and all the hoses connected to it. You're hunting for any leaks and making sure the box is bolted securely to the frame. Trace the entire steering linkage—the pitman arm, drag link, and tie rod. Check that every cotter pin is in place and all the castle nuts are tight. Nothing should be bent, loose, or damaged.
While you're at the front, give all the glass a thorough check for chips or cracks. Any significant damage could easily get you a citation or, worse, compromise your visibility, often requiring professional autoglass replacement services to stay safe and compliant.
Driver-Side Tractor Inspection
As you move down the driver's side, your first big stop is the steer axle wheel assembly. Trust me, examiners watch this part of the inspection like a hawk. You need to be methodical here, checking the tires, wheels, and suspension components piece by piece.
A classic rookie mistake is just glancing at the tires and moving on. You have to verbalize the specifics—tread depth, inflation, and the condition of the sidewalls. Saying "the tire looks good" is an automatic fail. What they want to hear is, "The tire is evenly worn, properly inflated, and has a minimum tread depth of 4/32 of an inch." That's what gets you a pass.
This infographic breaks down the crucial in-cab brake test, which you'll perform to ensure your entire braking system is ready for the road.
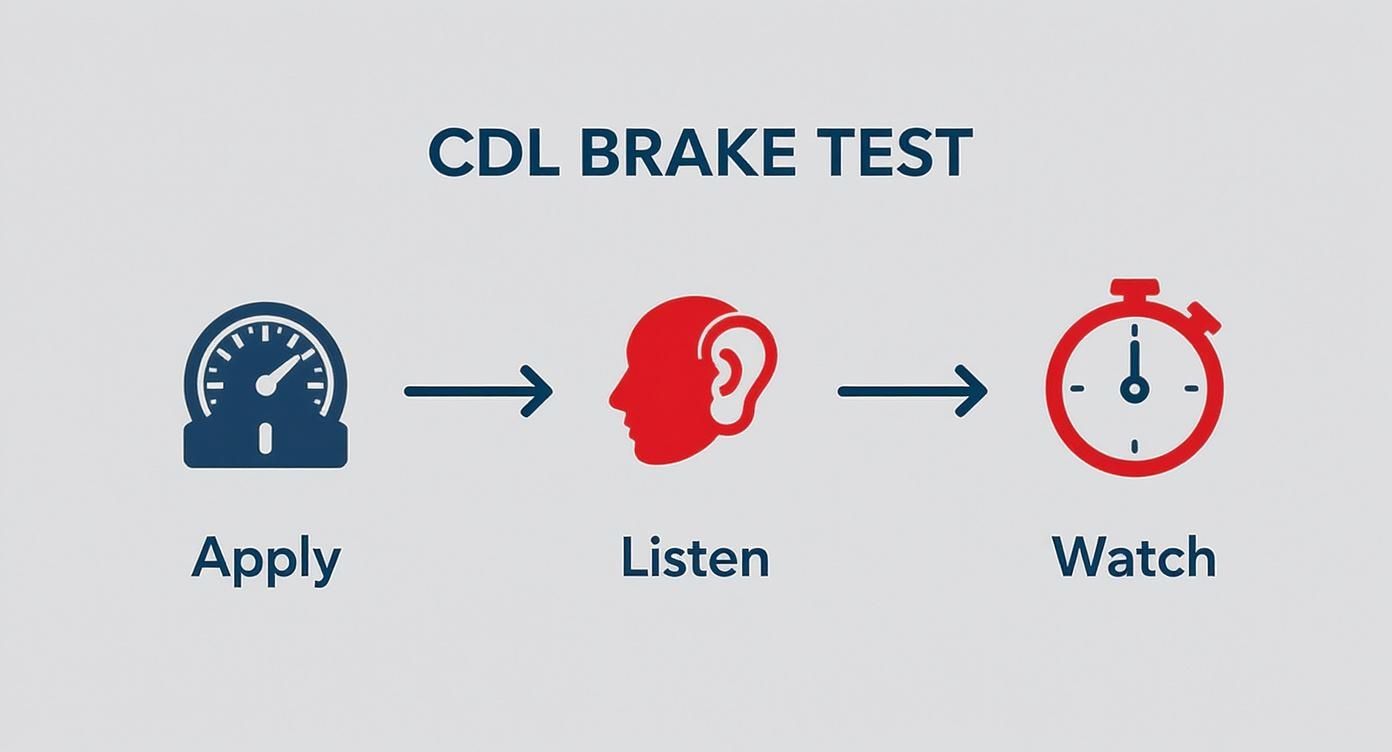
The image lays out the apply, listen, and watch sequence—a simple but non-negotiable check to confirm your air system's integrity before you even think about putting the truck in gear.
Next up is the suspension. Look closely at the leaf springs. Are any of them cracked, broken, or shifted out of place? Check the U-bolts and spring hangers to be sure they're secure and not damaged. Don't forget the shock absorber; you're looking for any signs of leaks and confirming it's mounted securely at both ends.
From there, continue to the fuel tank. Make sure the cap is on tight and the tank itself is secure, with no leaks from the tank or any of the fuel lines. Now, move on to the drive axles, where you'll repeat the exact same detailed tire, wheel, and suspension checks you just did on the steer axle. The key difference to remember and verbalize is that drive tires (and trailer tires) only require a minimum tread depth of 2/32 of an inch.
Checking every tire and wheel assembly is repetitive but critical. This checklist breaks down exactly what you need to look for on each one.
Tire and Wheel Inspection Checklist
| Component | What to Check For | Passing Criteria |
|---|---|---|
| Tires | Inflation, tread depth, sidewalls, even wear | Properly inflated (check with a gauge), min. 4/32" on steers, 2/32" on all others. No cuts, bulges, or abrasions. |
| Rims | Cracks, bends, illegal welds | No cracks (especially around lug nut holes), not bent. No evidence of unauthorized repairs/welds. |
| Lug Nuts | All present, tight, no rust trails | All lug nuts must be in place. Rust trails or shiny threads indicate a loose nut that needs immediate attention. |
| Hub Oil/Axle Seal | Leaks, proper fluid level | Hub oil cap is not leaking and the oil level is sufficient (if equipped with a sight glass). No active grease leaks from the seal. |
| Valve Stem & Cap | Straight, not damaged, cap present | Valve stem should be straight and not cracked or leaking. The cap must be in place to keep out dirt and moisture. |
Going through this mental list for every single wheel assembly will keep you safe and ensure you don't miss a thing.
The Critical Coupling System
If there's one area you absolutely cannot afford to get wrong, it's the coupling system. A failure here is catastrophic, plain and simple. You need to inspect every single component of your fifth wheel and trailer connection with intense focus.
Here’s your coupling system checklist:
- Fifth Wheel: Is it securely mounted to the frame? Is the release handle in the fully locked position? Make sure the platform itself isn't cracked or broken.
- Locking Jaws: This is a big one. Get your flashlight, get underneath, and visually confirm the locking jaws are completely closed around the shank of the kingpin. This is non-negotiable.
- Apron and Kingpin: Check the trailer apron for any cracks or damage. Make sure the kingpin isn't bent or showing signs of excessive wear.
- Gap: Run your hand along the connection. There should be absolutely no gap between the fifth wheel platform and the trailer apron.
- Sliding Fifth Wheel: If you have a slider, make sure the locking pins are fully engaged and the assembly isn't damaged.
Once the mechanical lock is confirmed, turn your attention to the air and electrical lines. Check the gladhands for bad rubber seals and give them a tug to ensure they're locked in place. Your airlines shouldn't be tangled, pinched, or dragging on the catwalk. The electrical cord needs to be plugged in securely.
Getting this coupling process down pat is essential for any driver pulling a combination vehicle. You can get more practice by reviewing materials for the combination vehicles test.
Trailer and Rear Inspection
With the tractor and coupling system cleared, it’s time to give the trailer a full look-over. Start with the landing gear. It needs to be cranked all the way up, with the handle secured in its holder. Check the support legs for any damage.
Walk the entire length of the trailer, keeping an eye on the frame for any cracks, bends, or other structural damage. Check that all the side clearance lights are working and the lenses aren't broken. When you get to the tandem axles, it's time to perform the same rigorous tire, wheel, and suspension checks you did on the tractor. If it's a sliding tandem, double-check that the locking pins are engaged.
Finally, at the very back of the trailer, inspect the doors. They must be securely latched. If it's a roll-up door, make sure the latch works and the cable isn't frayed. Your last stop is the rear lights—brake lights, turn signals, four-ways, and clearance lights. Confirm they are all clean and functional. A thorough walk-around like this isn't just a task to pass a test; it's the habit of a true professional that ensures your safety, and everyone else's, on every single trip.
Common Failure Points and How to Avoid Them
It’s a tough pill to swallow, but a surprising number of aspiring drivers fail their CDL exam before they even turn the key. The pre trip inspection for cdl class a is a massive hurdle, and it's often the small, preventable slip-ups that send people home.
Knowing where these common traps are is the first step to building an inspection routine that’s practically bulletproof.
https://www.youtube.com/embed/lXfVlKy-dbA
Let's be real—having an examiner watch your every move with a clipboard in hand is nerve-wracking. That pressure can cause your mind to go blank. Suddenly, you forget to check a component on the passenger side that you just spent five minutes inspecting on the driver's side. Your best defense against these moments is a rock-solid, consistent routine.
The Pitfall of Silence
One of the easiest ways to fail is by not talking your way through the inspection. The examiner isn't a mind reader. If you don't say it out loud, as far as they're concerned, you didn't check it.
A quick glance and a nod won't cut it. You have to name the part, explain what you’re looking for, and clearly state its condition.
For instance, don’t just mumble, "Belts look good."
A professional says, "I am checking my alternator and water pump belts. They are not cracked, frayed, or glazed, and I can see they have no more than 1/2 to 3/4 of an inch of play." That’s the level of detail that proves you know what you’re doing.
I’ve seen drivers fail because they got the big stuff right but skipped the details, like not mentioning the condition of the slack adjuster on every single axle or glossing over brake lines on the trailer. Examiners need you to walk them through every step, leaving zero doubt.
Rushing the Air Brake Test
The air brake test is the heart of your in-cab inspection, and it’s a make-or-break moment. If you rush it or mix up the steps, it's an automatic fail. No exceptions.
Every part of that test, from checking the governor cut-in and cut-out pressures to the spring brake pop-out, is there for a critical safety reason.
Forgetting the required PSI ranges or missing a step entirely signals to the examiner that you don’t grasp the most important safety system on your rig. Just take a breath, slow down, and follow the procedure exactly as you practiced.
Plenty of students get tripped up here. If this is a weak spot for you, drill it until it’s second nature. To really nail it down, check out our deep dive into the second part of the air brakes test and build your confidence.
Creating a Foolproof Inspection Routine
The single best way to avoid missing something is to build a routine and never, ever stray from it. I don’t care if you go front-to-back, clockwise, or counter-clockwise—just pick a path and stick to it every single time. That repetition builds muscle memory that will pull you through when the test-day nerves kick in.
Here are a few tips that have helped countless drivers:
- Use Memory Aids: Come up with acronyms that make sense to you. A classic one for each axle is "T-B-L"—Tires, Brakes, Lights. Simple, but it works.
- Touch Every Part: Make a point to physically touch each component as you inspect it. It forces you to slow down and focus. It’s a lot harder to forget something you’ve put your hands on.
- Practice Out Loud: Always, always, always practice your inspection by saying every step out loud. This gets you comfortable with the language and cements the entire sequence in your memory.
While the pre-trip is about immediate road-readiness, thinking about the bigger picture of vehicle health helps you spot potential problems early. A good comprehensive vehicle maintenance checklist template can give you that broader perspective. It helps shift your mindset from just reciting a script to truly understanding the machine you're operating. That’s what separates a test-passer from a true professional.
Clearing Up Common Questions on the Pre-Trip Inspection
Even with a detailed guide, a few questions always pop up, especially for new drivers getting ready for their Class A CDL test. Let's tackle some of the most common ones I hear from students, so you can walk into your exam feeling prepared and confident.
How Long Should This Really Take?
On test day, you'll probably have a set time limit. Out on the road, though, it's a different story. A solid, professional pre-trip inspection isn't about speed—it's about being thorough. Expect it to take you anywhere from 30 to 50 minutes.
Rushing is the easiest way to miss something important. A missed detail could mean a failed test, an expensive fine during a roadside check, or worse, a mechanical failure when you're barreling down the highway. Take your time. Building this habit from day one is what separates the pros from the steering wheel holders.
What Tools Do I Need to Bring?
You don't need to roll up with a full mechanic's toolkit, but a few key items are non-negotiable. You can't just eyeball everything; you have to be able to prove your checks are accurate.
Here’s what I recommend keeping in your cab at all times:
- A good tire pressure gauge. Don't guess—know your PSI.
- A tread depth gauge. This is the only way to be certain you're above the legal minimum.
- A decent flashlight. Even on a sunny day, it’s essential for getting a clear look inside the engine compartment and under the trailer.
- Gloves and a rag. You’ll need them for checking fluids and keeping your hands clean.
Showing up with these tools tells an examiner you’re serious about safety and you know what you're doing.
Do I Really Have to Name Every Nut and Bolt?
Thankfully, no. The examiner doesn't expect you to list every single piece of hardware you see. What they do expect is for you to verbalize that you're checking that critical parts are "securely mounted" and free of damage.
Think of it this way: instead of pointing out each bolt on your alternator, you’d say, "I'm checking my alternator. It's securely mounted, not cracked or broken, and all the wires are properly connected." You're showing you know what to look for—security, damage, and proper connections—without getting bogged down in unnecessary detail.
What if I Actually Find Something Wrong?
If your inspection turns up a serious problem—a crack in the frame, an air leak you can hear, a flat tire—that vehicle is officially out of service. It absolutely cannot be driven.
By law, you must note the defect on your Driver Vehicle Inspection Report (DVIR). The very next step is to report it to your company or the shop. Getting behind the wheel of a rig with a known major defect is not only illegal and dangerous, but it's also a fast way to lose your CDL. Don't ever risk it.
Ready to stop worrying and start driving? At Patriot CDL, our expert instructors guide you through every detail of the pre-trip inspection and behind-the-wheel maneuvers, giving you the confidence to ace your test and launch your career in as little as three weeks. Learn more and get on the road to success.