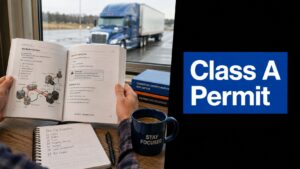
Staring down the CDL air brakes test can feel like the biggest thing standing between you and your commercial license. I've seen it time and again. It’s a two-part challenge, and knowing exactly how it's structured is the first real step to walking in there with the confidence to ace it.
Let's break it down.
Understanding the Air Brake Endorsement Test
This endorsement isn't just another stamp on your license. It’s a serious qualification that proves you can handle the complex braking system found on heavy commercial vehicles. Your personal car uses hydraulic brakes—a totally different animal. Air brakes are a powerful, intricate system that demands you know its components and procedures inside and out. The test is there to make sure you do.
You simply can't operate a vehicle with air brakes without passing this test. If you don't, your CDL will get a restriction, which slams the door on a lot of good driving jobs. But more than that, getting this stuff right is about your safety and the safety of every single person you share the road with.
The Two Core Components of the Test
The evaluation is broken into two key parts. You have to nail both to get the endorsement.
The Written Knowledge Exam: This is your classic multiple-choice test at the DMV. It's designed to see if you have the book smarts—do you understand the theory? It covers everything from identifying parts and their functions to knowing proper braking techniques and federal requirements.
The In-Cab Inspection: This is the hands-on, practical side of things. During your pre-trip inspection, an examiner will watch you perform a specific sequence of checks on the air brake system. You have to walk them through it, explaining what you're doing and what the results mean.
Don’t underestimate the in-cab portion. The modern American CDL test has expanded this section to include four distinct stages for the air brake check, really drilling down on your practical knowledge. In fact, it's often the only part of the entire pre-trip where a single mistake can auto-fail you on the spot.
To give you a clearer picture, here’s a quick rundown of what the test is really looking for.
Key Parts of the Air Brake Endorsement Test
| Test Component | What It Checks | Why It Matters |
|---|---|---|
| Written Exam | Your theoretical grasp of air brake components, functions, and safety rules. | Proves you have the foundational knowledge to understand how the system works before you touch it. |
| In-Cab Inspection | Your ability to perform a step-by-step diagnostic on the truck's air system. | Shows you can identify a potentially dangerous brake issue before you ever start rolling. |
| Air Leakage Tests | Your skill in checking for static and applied air pressure leaks. | A significant air leak can lead to total brake failure on the road. This is a non-negotiable safety check. |
| Low-Air Warnings | Your confirmation that the audible and visual low-pressure alarms work correctly. | These alarms are your last-ditch warning that your brakes are about to become unreliable. They must work. |
| Spring Brake Check | Your verification that the emergency/parking brakes engage automatically at low pressure. | If you lose air pressure, the spring brakes are what stop you. This check ensures your failsafe is operational. |
Each of these pieces fits together to confirm you're not just a driver, but a safe and competent operator.
Why This Test Is So Critical
The CDL air brakes test is a make-or-break moment. An automatic failure here means your entire CDL skills test is over for the day. You don't get to move on to backing maneuvers or the road test. You just go home. That pressure is exactly why you need to have the air brake check down cold.
The air brake inspection isn't just a list of steps to memorize—it's a live diagnostic of your truck's most critical safety system. Examiners are looking for confidence and precision, proving you understand why you're doing each check, not just what you're doing.
Ultimately, mastering this system is a core part of meeting all the necessary CDL requirements. This isn't just about passing a test; it's about building a skill set you will use every single day of your career to keep your rig safe. Think of this guide as the roadmap to getting you there.
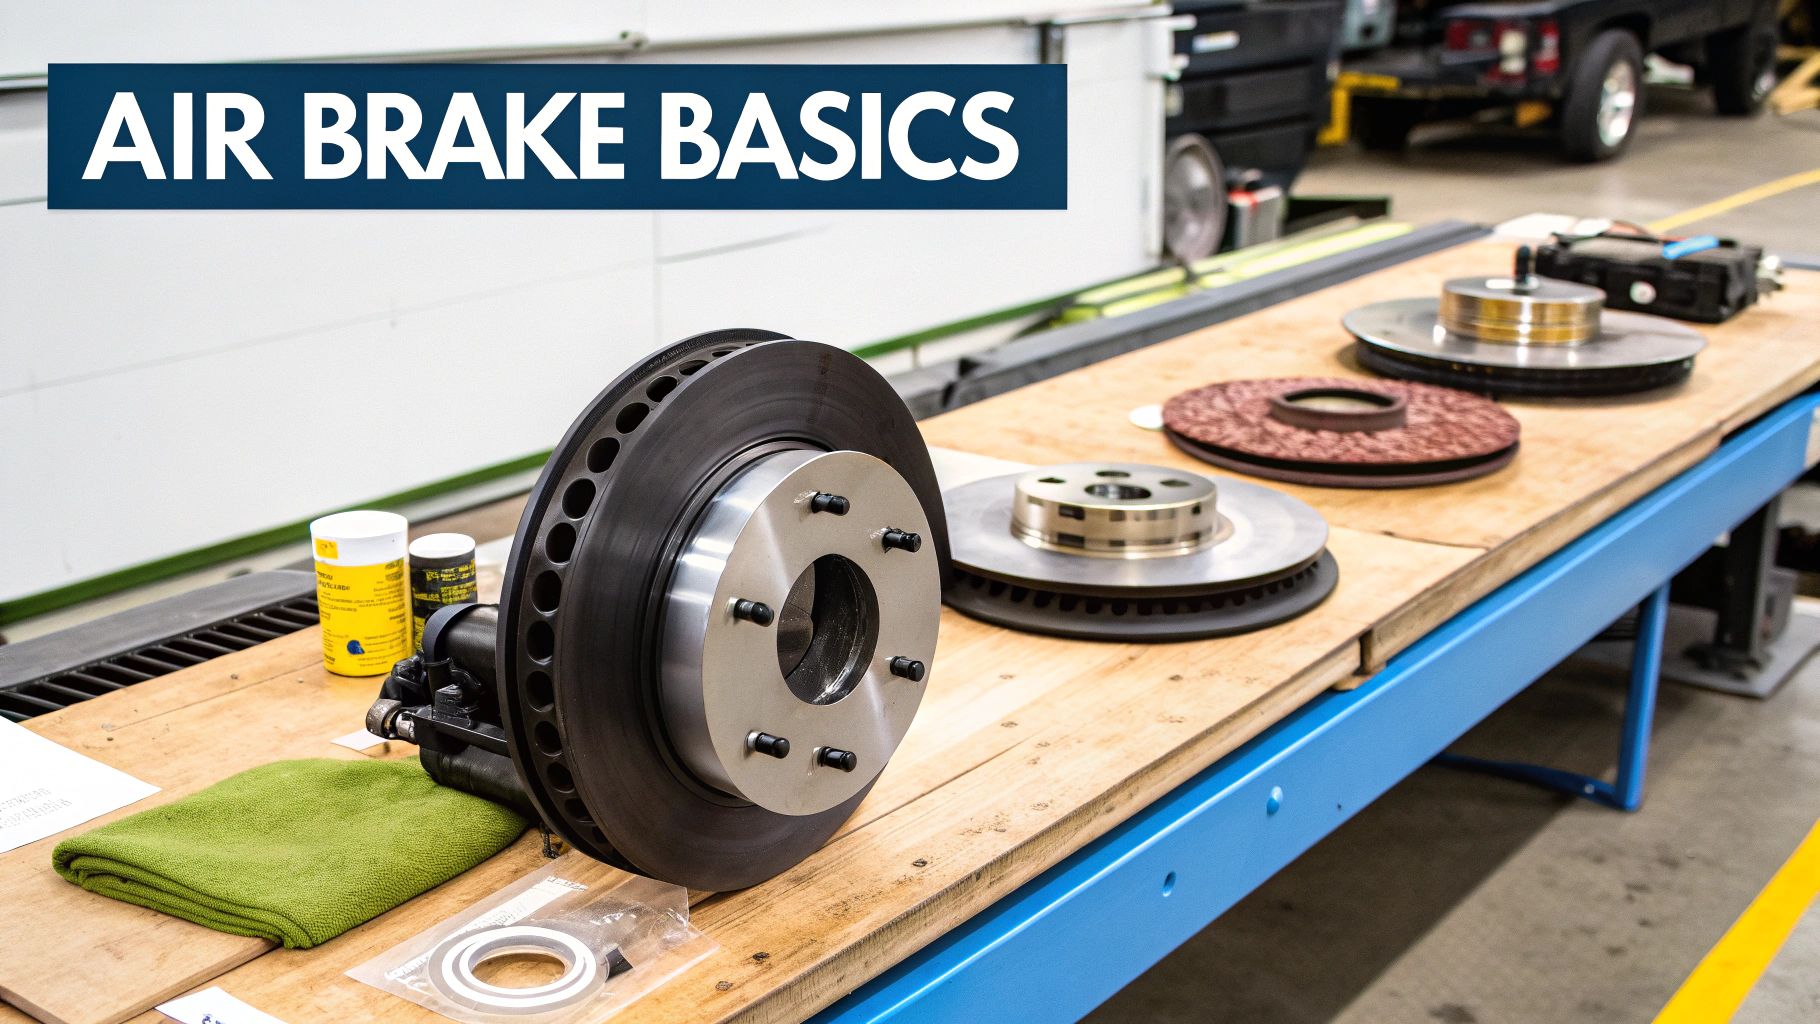
How Your Air Brake System Actually Works
Before you can feel confident taking the CDL air brakes test, you really need to understand the machine you're in charge of. This isn't about memorizing a list of parts for an exam; it's about seeing how everything works together as a complete system to bring tens of thousands of pounds to a safe stop.
Think of it less like a dry textbook diagram and more like a living, breathing system inside your truck. At its core, an air brake system uses compressed air to create incredible stopping force—way more than your leg could ever muster on a standard hydraulic brake pedal. Instead of pushing fluid through a line, you're controlling a powerful, invisible force. Getting this concept down is what separates the drivers who pass from those who don't.
The Heart and Lungs of Your Brakes
Every air brake system has two key components that create and store its power. If you can understand how these two work together, you're well on your way to mastering the whole system.
The air compressor is the heart of it all. It’s driven by the engine, and its only job is to suck in outside air, compress it, and push it into the storage tanks. Just like your own heart pumps blood, the compressor is constantly working to supply the lifeblood of the brakes: pressurized air.
That compressed air then moves into the air tanks, which act as the system's lungs. These tanks hold the high-pressure air in reserve, making sure it's ready to go the instant you hit the brake pedal. Without these reservoirs, the compressor could never keep up with the amount of air you need for a hard stop.
The whole operation is managed by the air compressor governor. Think of it as the brain that tells the heart when to pump. It senses when the air tanks are full (at about 125 PSI) and signals the compressor to stop pumping (this is the "cut-out" pressure). When you use the brakes and the pressure drops (down to around 100 PSI), the governor tells the compressor to kick back on (the "cut-in" pressure).
This simple cycle—generating, storing, and regulating air—is the foundation for everything else that happens.
From Your Foot to the Wheels
When you press the brake pedal (officially called the foot valve), you aren't physically applying the brakes yourself. You're just opening a valve that lets some of that stored, high-pressure air escape from the tanks and travel through a network of hoses and lines. And that's where the real magic happens.
This burst of air shoots almost instantly to the brake chambers at each wheel. A brake chamber is a pretty simple device: a round metal can with a flexible rubber disc (a diaphragm) inside. When compressed air rushes in and pushes on that diaphragm, it forces a rod, called the pushrod, to move out.
That pushrod is connected to another crucial part: the slack adjuster. Here’s the chain reaction:
- Slack Adjuster: This is basically a lever that takes the force from the pushrod and multiplies it. Its job is to transfer that amplified force over to the S-cam.
- S-Cam: As the slack adjuster moves, it rotates a part shaped like the letter "S." This S-cam then forces the brake shoes apart.
- Brake Shoes and Drum: The brake shoes, which are covered with a high-friction lining, press against the inside of the spinning brake drum (which is attached to the wheel). It's this friction that slows and finally stops the truck.
So, think of it this way: Your foot tells the air to move. The air pushes a rod. The rod moves a lever. The lever turns a cam. And the cam shoves the brakes against the wheel. It's a powerful sequence of events, all started by a little bit of air.
The Parking and Emergency Brake System
The system also has a brilliant failsafe built in. The spring brakes, which are your parking and emergency brakes, work on a completely opposite principle. Inside a section of the brake chamber, there are massive, powerful springs that are always trying to push the brakes on. They are mechanically applying force.
When your truck's air system is fully charged, air pressure is actually being used to cage those powerful springs, holding them back and keeping the brakes released. This is exactly why you have to wait for your air pressure to build up before you can even move the truck.
When you pull the yellow button on the dash to set your parking brakes, you're just letting all the air out of that circuit. With the air pressure gone, the springs expand and mechanically force the brakes on. This is also what happens in an emergency. If your system suffers a major air leak, the pressure will eventually drop so low (typically between 20-45 PSI) that the springs take over automatically, bringing the vehicle to a stop. It's a clever design that ensures even a catastrophic loss of air pressure won't leave you with no way to stop.
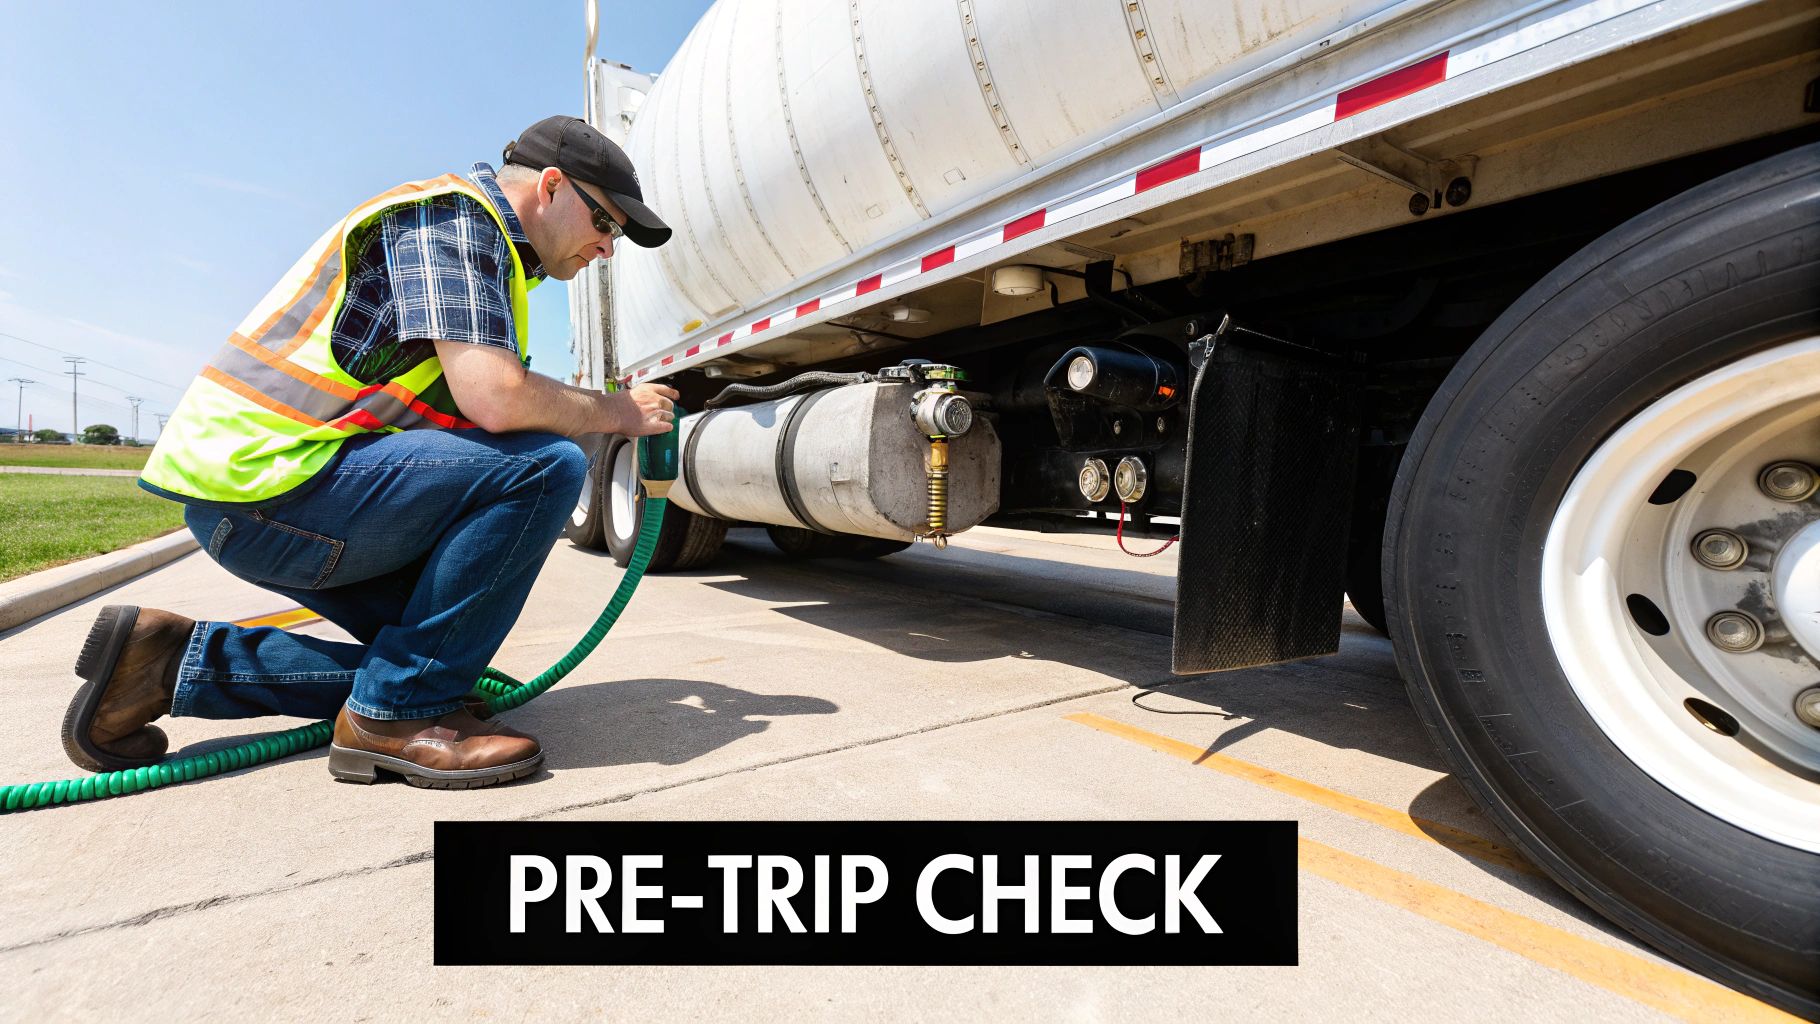
Your Step-By-Step In-Cab Air Brake Check
This is where the rubber meets the road—or, more accurately, where your knowledge meets the dashboard. The in-cab air brake check is easily the most hands-on, high-pressure part of the CDL air brakes test. Examiners aren't just watching you push buttons; they're looking for a driver who can perform a precise diagnostic, all while explaining every single action and result out loud.
Think of it like a script you have to know by heart. This walkthrough breaks the entire routine down into clear, manageable steps. We'll give you the exact process you need to follow to nail this section.
Setting the Stage for a Successful Check
Before you even touch the brake pedal for the test, you have to get the truck ready. This initial setup is all about safety and making sure your checks are accurate.
- Chock the Wheels: First thing's first, make sure the wheels are chocked. You're about to release the parking brakes, and those chocks are the only things stopping the rig from rolling away.
- Key On, Engine Off: Turn the key to the "on" position, but don't start the engine. This gives power to your gauges and warning lights without the air compressor kicking on and messing with your readings.
- Release All Brakes: Push in both brake valves on the dash—the red one (tractor) and the yellow one (trailer). This releases the powerful spring brakes and lets you test the service brake system.
Once the truck is set up, you're ready to start the series of tests the examiner is watching for.
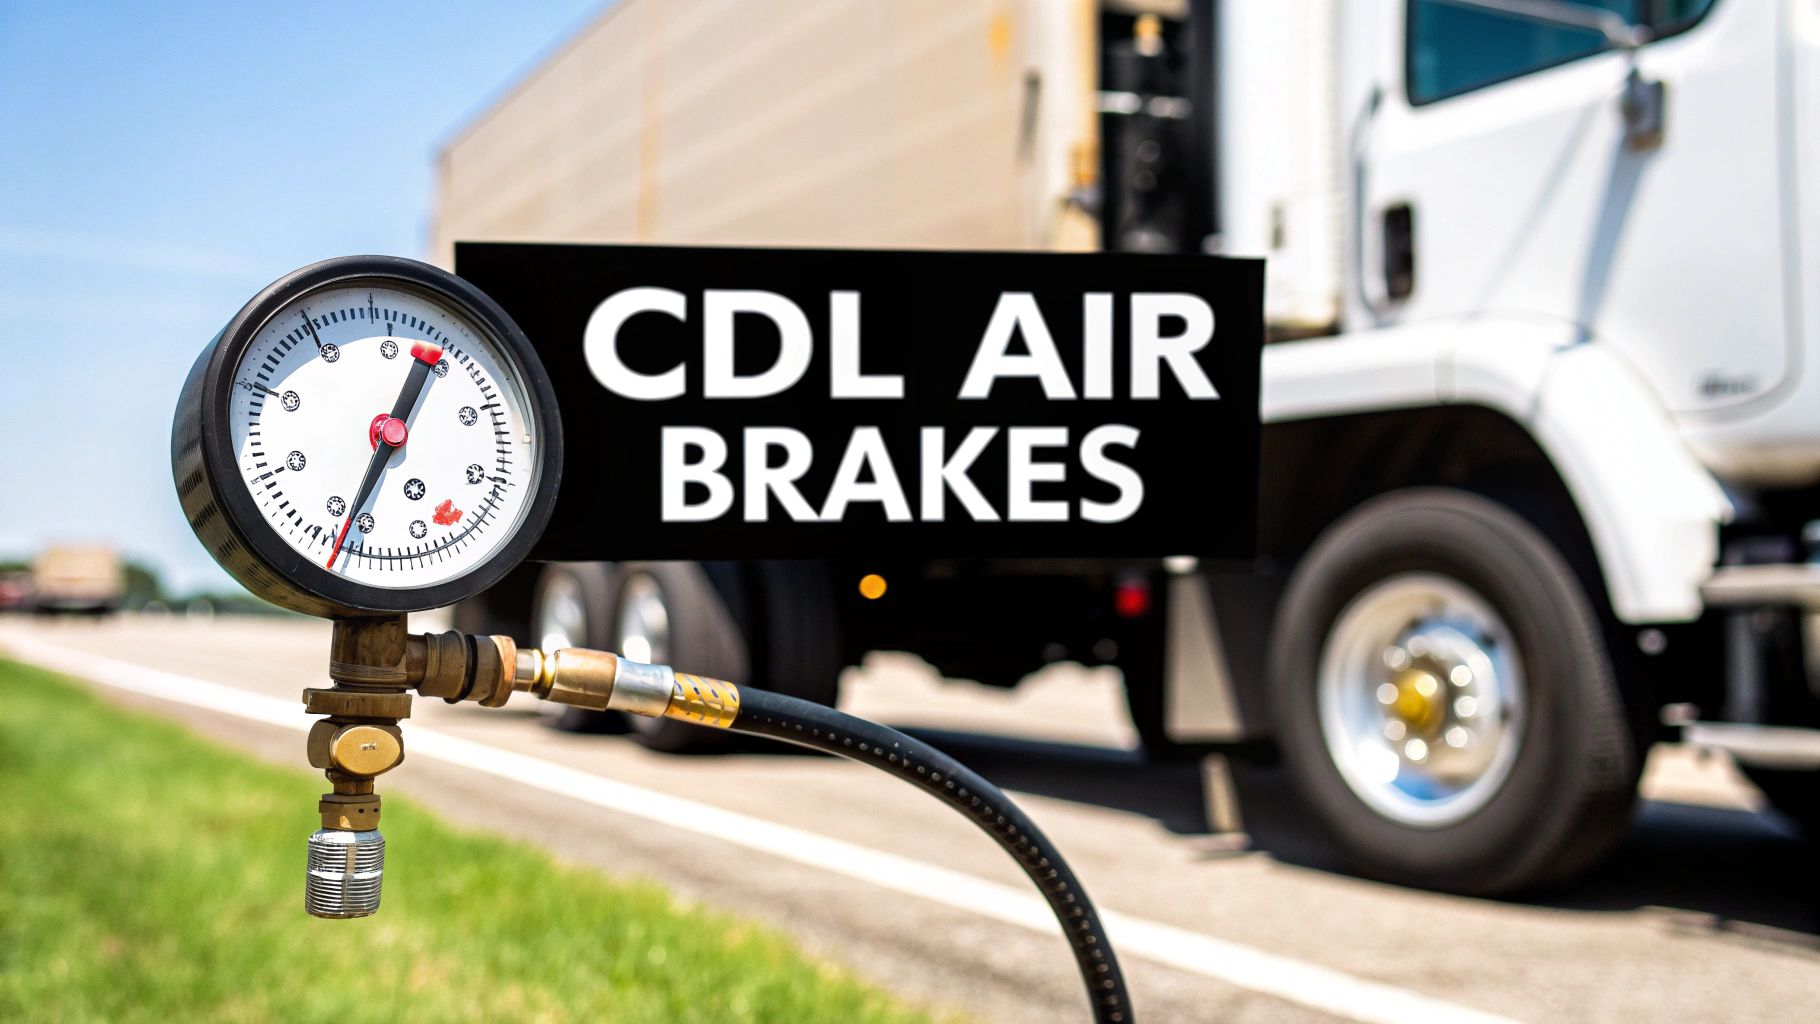
The Applied Pressure Leak Test
The first major check is what we call the applied pressure test, sometimes known as the static leak test. You're basically checking to see if the system has any significant air leaks when you're holding the brake down. A bad leak here could be a disaster on the road.
Start by pressing the service brake pedal down firmly. You’ll see an initial drop in air pressure, but then it should stabilize. Once it does, you need to hold it for one full minute.
During this one-minute hold, you're watching that air gauge like a hawk. For a combination vehicle (a tractor-trailer), you can't lose more than 4 PSI in one minute. For a straight truck or bus, the limit is a bit tighter at 3 PSI. You need to verbalize this: "I am holding the brake for one minute and will not lose more than 4 PSI."
This visual helps map out the core flow of the in-cab check, from applying pressure to monitoring for leaks.
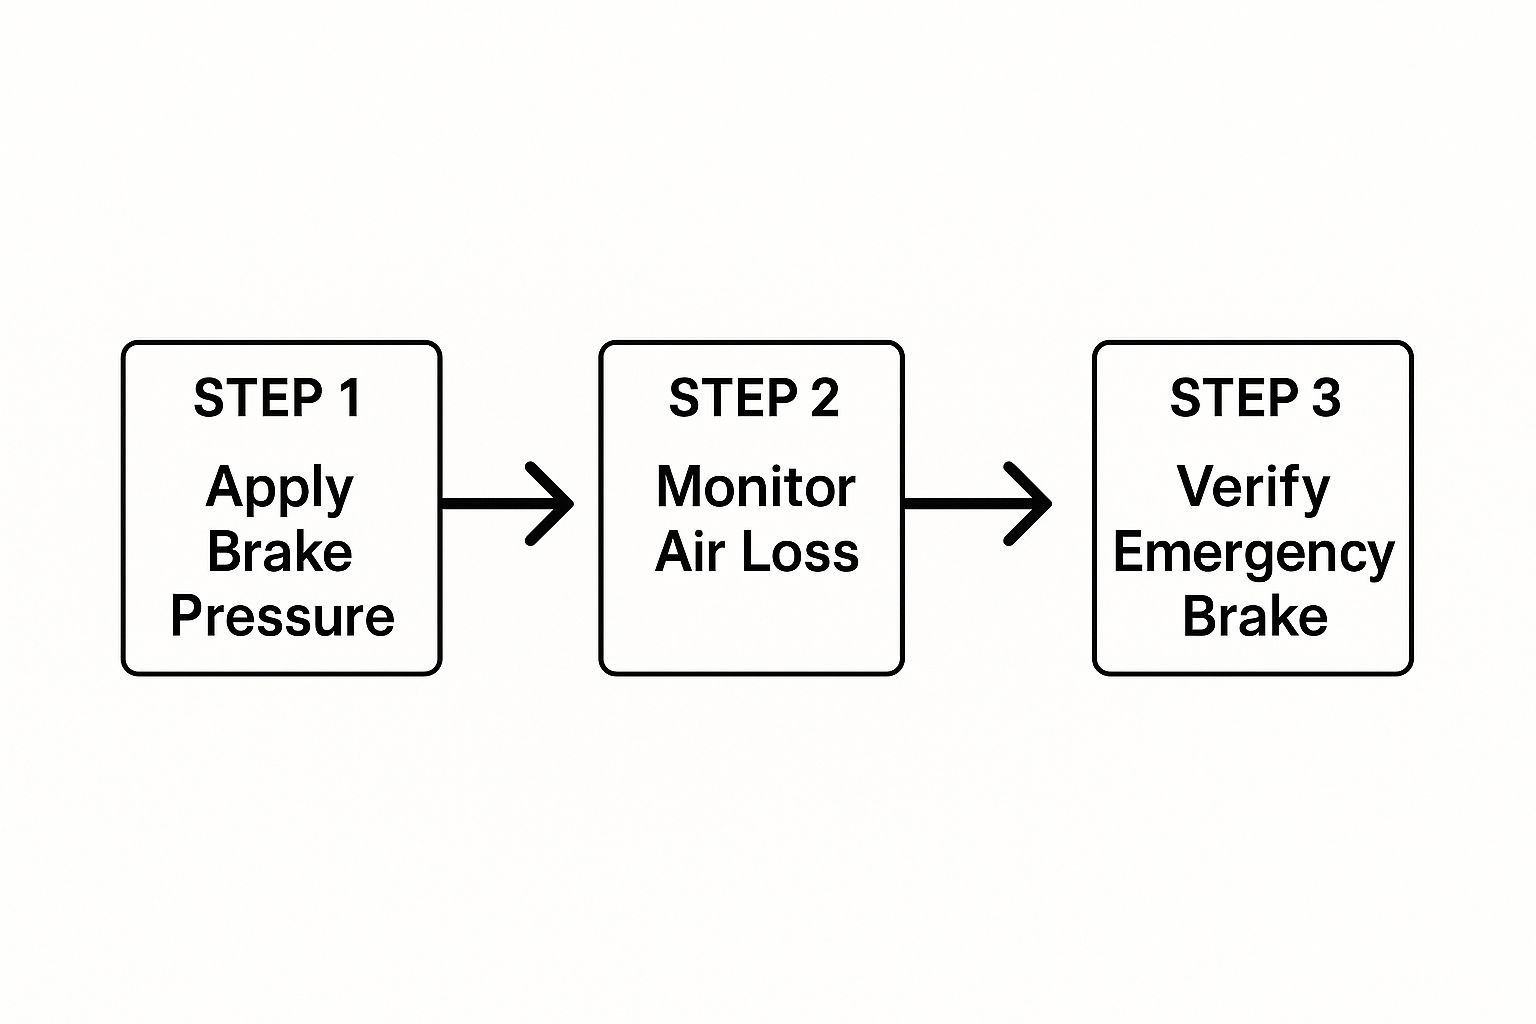
The diagram shows the simple sequence: apply the brake, watch for any air loss, and then confirm the emergency brakes engage correctly.
Testing Your Low Air Warning Devices
Next up, you have to prove the truck’s warning systems are working. These are your first line of defense, telling you when your air pressure is getting dangerously low.
To do this, you’ll start "fanning" the brake pedal—just press and release it over and over. This bleeds air out of the system pretty quickly. As you do this, keep your eyes glued to the air pressure gauges.
The test requires you to know exactly when those warnings should come on. The low air pressure warning light and buzzer must activate at or before the pressure drops down to 60 PSI. Tell the examiner what you're looking for before it happens.
Verifying the Spring Brake Pop-Out
The final check in this sequence confirms that your ultimate failsafe—the spring brakes—will engage automatically when air pressure gets critically low. This is your emergency stopping power.
Keep fanning the brake pedal even after the low-air alarms have started screaming at you. Now, you’re watching the red and yellow brake valves on the dashboard.
- The Tractor Protection Valve should pop out.
- The Parking Brake Valve should pop out, too.
Both of these valves should pop out somewhere between 20 and 45 PSI. When they do, the spring brakes have mechanically engaged, and you should tell the examiner the exact PSI reading on your gauge when it happened. This whole routine is a massive part of your skills evaluation, something we cover in our guide to the pre-trip inspection. Passing this proves you know how to make sure your truck's most vital safety system is good to go.
Mastering the Written Air Brakes Exam
While the in-cab inspection shows you can physically check the components, the written exam for the CDL air brakes test proves you understand the why behind it all. This is where you connect the dots. Passing isn't about simply memorizing PSI numbers; it's about truly grasping the concepts that keep you and everyone else safe on the road.
This is your study guide for that written test. We'll break down the key topics that always show up, helping you build a solid foundation of knowledge. Then, we’ll look at some sample questions modeled after the real thing, complete with detailed explanations, so you know exactly what to expect.
Key Topics You Must Know
The written test covers a lot of ground, but you can bet that certain topics will appear because they are absolutely critical to safety. Focus your energy on mastering these areas.
Total Stopping Distance: This is more than just the time it takes for your brakes to grab. It’s a three-part equation: perception distance, reaction distance, and brake lag. You have to know that the built-in delay in air brakes—the time it takes for air to travel through the lines—makes your total stopping distance much longer than in a car with hydraulic brakes.
Brake Fade: This is an incredibly dangerous situation where your brakes get too hot and stop working effectively. The test will have questions about what causes brake fade (usually riding the brakes on long downgrades) and how you prevent it by using your engine brake and choosing the right gear before you start the descent.
Braking on Downgrades: The exam will test your knowledge of the proper technique for getting down a long, steep hill safely. The key is to select a low gear, apply the brakes firmly until you feel a clear slowdown, and then release them once your speed has dropped by about 5 mph. This "snub braking" method keeps them from overheating.
Sample Questions and Answer Breakdowns
Reading about these concepts is one thing, but applying them under pressure is another. Let’s walk through a few examples that are structured just like the questions you’ll see on the official CDL air brakes test. I'll include an explanation for why the right answer is the best answer.
Sample Question 1:
What is the most significant factor that contributes to "brake fade"?
A) Cold weather
B) Low air pressure
C) Overheating of the brake drums
D) Worn slack adjusters
Answer and Rationale:
The correct answer is C) Overheating of the brake drums. Brake fade is a direct result of excessive heat. When the brake components get too hot from constant use, they lose the ability to create friction and can no longer stop the vehicle effectively. While low air pressure and bad parts are serious problems, they don't cause the specific condition we call brake fade.
Think of it like trying to grab a sizzling hot pan from the oven. Even with an oven mitt, if you hold on too long, the heat gets through and you lose your grip. It’s the same with brakes. As the drums heat up, the brake shoes just can’t "grip" them effectively anymore.
Sample Question 2:
Your truck has a dual air brake system. If a low air pressure warning comes on for only one system, what should you do?
A) Continue driving to your destination and get it checked later.
B) Stop and park the truck as soon as it is safe to do so.
C) Increase your speed to get to a service station faster.
D) Pump the brakes to try and build pressure back up.
Answer and Rationale:
The correct answer is B) Stop and park the truck as soon as it is safe to do so. A dual system gives you two independent circuits for safety. If one fails, you’ve instantly lost 50% of your braking power. That's a major emergency that requires you to pull over and stop immediately and safely.
Want more practice? You can test your knowledge with our comprehensive air brakes practice test to see how you stack up. Getting comfortable with these questions and understanding the logic behind them is the best way to walk into your test with confidence.
Common Mistakes That Cause People to Fail
https://www.youtube.com/embed/WJ6mQi9ELmw
Even the sharpest drivers can fail the CDL air brakes test. It's usually not because they don't know the material, but because of simple, avoidable errors made under pressure. Knowing what trips people up ahead of time is one of the best ways to prepare. Think of it as building a mental checklist to keep you focused and calm when it really counts.
One of the biggest mistakes I see is purely verbal. During the in-cab inspection, you have to talk the examiner through every single thing you're doing. It's not enough to just perform the check correctly; you have to explain what you're checking, what you're looking for, and what the results mean. If you don't say it out loud, as far as the examiner is concerned, you didn't do it.
Another major hurdle is getting the critical PSI values mixed up. It's easy to get confused juggling the numbers for the applied pressure test, the low-air warning, and the spring brake pop-out. My advice? Write them down and quiz yourself over and over until they become second nature.
Misinterpreting Tricky Questions
The written exam can be just as tricky. The questions are often worded to catch you off guard, with answers that look right at first glance but are subtly wrong. Always take a moment to read the full question and every single answer option before you commit.
For instance, you might see a question about total stopping distance. It’s easy to just think about brake lag, but you'll get it wrong if you forget to account for perception and reaction distance, which are also part of the equation. This is where truly understanding the concepts, not just memorizing facts, really pays off.
A huge mistake is pouring all your energy into the in-cab portion while treating the written test as an afterthought. Both parts are equally important for getting your endorsement. Fail one, and you fail the whole thing. You need a balanced study plan.
There's a good reason these tests are so tough. Air brakes are required by law for almost every commercial vehicle over 26,000 pounds. We know from crash data that air brake failures are a significant factor in commercial vehicle accidents. That's why things like draining air tanks and testing low-pressure alarms aren't just for the test—they're critical for keeping everyone safe on the road.
Rushing the In-Cab Procedure
Test day nerves can make you want to fly through the inspection, but rushing is your worst enemy here. When you move too fast, you’re bound to miss a step or perform a check incorrectly. Before you start, just take a deep breath, slow your mind down, and walk through the sequence you practiced.
Here are a few common procedural slip-ups to watch out for:
- Forgetting to Chock the Wheels: This is a big one. Before you release the brakes to check for leaks, those wheels absolutely must be chocked. It's a non-negotiable safety step, and examiners are looking for it right from the start.
- Incorrect Timing: For the applied pressure leak test, you have to hold that brake pedal down for one full minute. Don't guess. Use a watch or the clock in the truck to time it properly.
- Fanning Brakes Incorrectly: To test the low-air alarm and spring brake pop-out, you have to pump the brake pedal to lower the air pressure. If you fan too slowly or too erratically, you can easily miss the exact PSI where the warnings kick in.
Nailing these details is just as crucial as knowing the big-picture concepts. In many ways, preparing for the air brakes test requires the same sharp attention to detail as studying for your CDL general knowledge test. If you can avoid these common pitfalls, you’ll be in a much better position to pass on your first attempt.
Your Air Brakes Test Questions Answered
Even after you've put in the hours studying and practicing, a few nagging questions about the CDL air brakes test can stick around. That's completely normal. This final section tackles the most common questions and worries we hear from drivers-in-training. We'll give you straight, clear answers to help you walk into that test feeling confident and prepared.
Knowing exactly what to expect in certain situations is a huge part of calming those test-day nerves. We’ll cover everything from what happens if you fail to the mistakes that will end your test on the spot. By clearing up these gray areas now, you can focus on what matters: passing.
What Happens If I Fail the Air Brakes Test?
It's a tough pill to swallow, but failing a part of your CDL skills test isn't the end of your career. It's a setback, not a stop sign. While the exact rules can differ a little from state to state, the general process is pretty much the same everywhere.
- You'll Have to Retest: If you don't pass either the written knowledge test or the hands-on in-cab inspection, you'll have to schedule a do-over for that specific part.
- Waiting Periods: Don't expect to retest the same day. Most states make you wait a few days, giving you some much-needed time to hit the books again.
- Retesting Fees: Yes, you'll likely have to pay a retesting fee. The cost will depend on your state.
The absolute best thing you can do if you fail is to ask the examiner for feedback. Find out exactly what you did wrong. That feedback is gold—it's your roadmap for correcting your mistakes and nailing it the next time around.
Can I Just Study the Air Brakes Section and Skip the Rest of the Manual?
It’s tempting to try and shortcut the process by only reading the air brakes chapter in your state's CDL manual, but that’s a risky gamble. The manual is written to show you how the entire truck works as one big, interconnected system.
Think about it: an air brake problem doesn't just happen in a bubble. It directly impacts your stopping distance, your control over the vehicle, and your overall safety on the road—all topics covered elsewhere in the manual. A well-rounded driver understands the whole picture, and studying the whole manual is the only way to get there.
Knowing the PSI for your low-air alarm is one thing. But truly understanding why that alarm is so critical when you’re trying to stop a fully loaded rig on a wet road? That's the kind of deep knowledge that makes you a safe driver and helps you pass the test.
How Many Questions Are on the Air Brakes Written Test?
You can generally expect the written air brakes knowledge test to have between 25 and 30 questions. The exact number varies by state. To pass, you'll need to get at least 80% of them right.
That 80% passing score doesn't leave much room for error. You can only miss a handful of questions, so every single one counts. This really highlights why you can't just skim the material; you need to know it inside and out. If you want to sharpen your skills, try running through our air brakes practice questions a few more times.
What Is an Automatic Failure During the In-Cab Check?
When you get to the in-cab inspection part of the test, some mistakes are considered so dangerous that they’ll get you an automatic failure for the day. No second chances, no moving on to the backing or road test portions. Your test is over.
Unsurprisingly, these "auto-fails" are almost always tied to a major safety screw-up. Here are the most common ones:
- Forgetting to Chock the Wheels: If you release the parking brakes before the wheels are chocked, that's it. It’s a fundamental safety step to stop the truck from rolling away, and examiners take it very seriously.
- Letting the Vehicle Roll: If your truck moves in an uncontrolled way at any point during the inspection, you've failed.
- Skipping a Major System Check: Blowing past a critical test—like the applied pressure leak test or checking the low-air warning—is a fast track to failure.
The big takeaway here is that your examiner is looking to see if you can operate safely and methodically, like a professional. Every step of the inspection has a purpose. Proving you understand and respect that is how you pass.
At Patriot CDL, we believe that expert guidance is the key to building confidence and skill. Our programs are designed to take you from a beginner to a test-ready professional, covering every detail of the CDL air brakes test and beyond. Start your journey on the open road by visiting patriotcdl.com.