Before a pilot ever takes off, they walk around the plane, meticulously checking every part. For a professional truck driver, the pre-trip inspection is that same critical ritual. It's a mandatory, systematic safety check performed before you even think about putting the truck in gear.
This isn't just about ticking boxes on a form. It's about making sure your rig is mechanically sound and safe for the road ahead, protecting you, your load, and everyone you share the highway with.
Your First Line of Defense on the Road
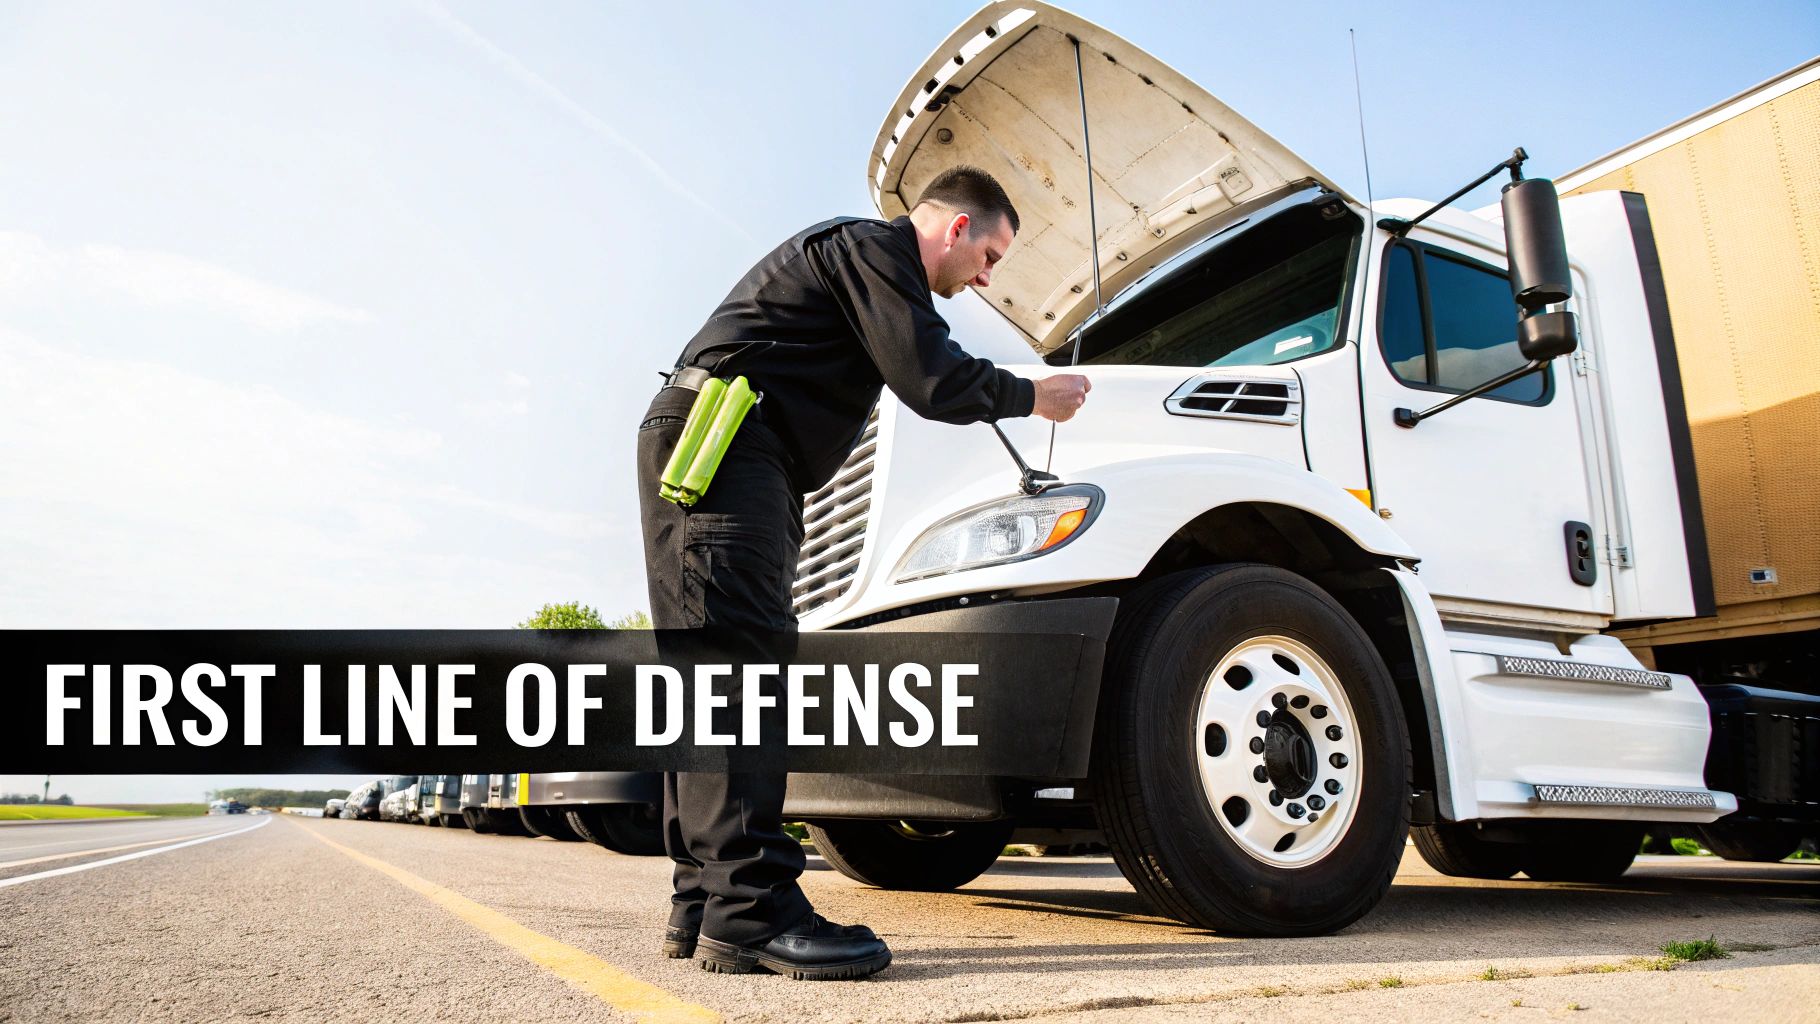
Think of the pre-trip inspection as your most powerful tool for preventing a bad day. It's a hands-on examination of all your vehicle's key systems, done methodically before you turn the key. This proactive habit lets you catch a small leak or a worn belt in the safety of the yard, rather than discovering it on the side of a crowded interstate.
What happens when this step is rushed or skipped? The statistics paint a clear picture. During the CVSA International Roadcheck, a staggering 23% of inspected commercial vehicles were pulled out of service because of critical safety violations.
The top culprits were all things a good inspection would have found:
- Defective brakes: Accounted for 25% of all violations.
- Tire problems: Made up 20.8% of violations.
- Lighting faults: Contributed to 11.6% of violations.
These numbers prove it: a few minutes spent checking your equipment can save you from hours of downtime, costly repairs, and potentially tragic accidents.
A pre-trip inspection is a non-negotiable part of professional driving. It transforms you from a simple operator into a responsible guardian of the road, ensuring your equipment meets the highest safety standards before every single trip.
This guide is designed to walk you through the entire process, from the engine compartment to the trailer tandems. Mastering this skill is fundamental to being a safe, compliant, and professional driver.
This "first line of defense" mindset isn't unique to trucking. You can see similar principles in the pre-operation safety guidelines for heavy machinery, where a commitment to preventative checks is crucial for maintaining a safe worksite. It’s this dedication to safety that truly separates the pros from the amateurs.
Why This Inspection Is Non-Negotiable
Think of a pre-trip inspection less as a chore and more as a professional code of conduct. An airline pilot’s pre-flight check is a non-negotiable ritual because the stakes are sky-high. The same exact principle applies when you're behind the wheel of a commercial vehicle. You're the captain of a machine that can weigh up to 80,000 pounds, and that carries a serious amount of responsibility.
This daily routine is grounded in three core duties. The first, and most important, is your own safety. Catching a frayed brake line or a slow tire leak while you're still in the yard can prevent a complete disaster out on the highway. It’s the 15 minutes of focused effort that might just save your life.
Secondly, you have a duty to protect the public. Every time you merge onto the highway, you're sharing that space with families, commuters, and everyone else. A thorough inspection is your promise that your vehicle is safe and road-worthy, keeping equipment failures from causing accidents.
Protecting Your Livelihood and Career
Beyond the critical safety aspect, the pre-trip inspection is what protects your career and your wallet. Getting pulled over for a roadside inspection and getting hit with a violation is more than just a hassle—it can mean expensive fines, points against your CDL, and serious downtime. A single out-of-service order can throw off your entire schedule, costing you and your company thousands in lost revenue and damaging your reputation as a professional.
The data backs this up. For instance, roadside checks in Great Britain found that 3.9% of heavy goods vehicles had defects so serious they were immediately taken off the road. Many of these issues, like the commonly found problems with brake systems, are exactly what a proper pre-trip inspection is designed to catch.
The pre-trip inspection is your best insurance policy against the unexpected. It’s a proactive habit that turns potential catastrophes into simple, manageable repairs, saving you time, money, and a whole lot of stress.
At the end of the day, this process is all about taking control. By systematically checking your rig every single time, you are in command of its condition, your safety, and your environment. This is why the inspection is a foundational skill taught in every legitimate CDL program and is a mandatory part of the federal Entry-Level Driver Training (ELDT) requirements.
Mastering this routine is what separates a professional driver from someone who just steers a truck. It’s a daily investment in your own well-being, your career, and the safety of everyone you share the road with.
The Three Phases of a Pre Trip Inspection
At first glance, a pre-trip inspection can feel like a massive undertaking. You're looking at a complex machine with countless moving parts, and it's your job to make sure every single one is ready for the road. The good news? Professionals don't just wing it. They use a structured, repeatable sequence that turns a potentially overwhelming task into a manageable routine.
Think of the inspection as a three-act play. Each act focuses on a specific part of the vehicle, and by following the script every time, you build a powerful habit that ensures nothing gets missed. This logical flow lets you move from one area to the next smoothly, without ever having to double back.
Phase 1: The Engine Compartment Check
Your inspection always starts under the hood. Pop it open and get ready to play detective. With the engine off, you'll systematically scan all the vital components that keep your rig moving. This isn't just a quick glance—it's a hands-on check.
Your main targets here are the fluids, belts, and hoses.
- Fluid Levels: Are the engine oil, coolant, and power steering fluid all topped off? Low levels are a major red flag, often pointing to a leak or another hidden issue that needs immediate attention.
- Belts and Hoses: Grab a flashlight and examine every belt for cracks, frays, or looseness. Do the same for all the hoses, looking for bulges, cracks, or signs of a leak. A broken belt or burst hose on the highway can lead to a complete engine shutdown.
- General Condition: Beyond the main items, look for anything else that seems out of place, like frayed wires, fresh oil drips on the engine block, or loose connections.
Phase 2: The Comprehensive Vehicle Walk-Around
Once you've cleared the engine compartment, it's time for the most thorough part of the inspection: the full 360-degree walk-around. You'll start at the front of the truck and work your way methodically down one side, across the back of the trailer, and up the other side, ending right where you started.
This is where you inspect everything from the ground up. You’ll be checking every single tire for proper inflation, tread depth, and any signs of damage. You'll make sure all lights and reflectors are clean, securely mounted, and working.
For drivers pulling trailers, this is when you get up close and personal with the coupling system. You need to inspect the fifth wheel, the kingpin, and all the air and electrical lines to confirm a rock-solid connection. Having a deep understanding of these systems is non-negotiable, which is why so many drivers use practice materials covering the combination vehicles test to sharpen their knowledge.
A systematic walk-around prevents you from getting distracted and forgetting a critical area. Whether you go clockwise or counter-clockwise, the key is to do it the same way every single time until it becomes muscle memory.
Phase 3: The In-Cab Inspection and Brake Tests
For the final phase, you'll climb into the driver's seat. This is all about ensuring the controls, gauges, and safety equipment you depend on are working exactly as they should. You'll check the steering wheel for excessive play, test both the city and air horns, and make sure your mirrors are clean and adjusted for perfect visibility.
The single most important part of this phase is the brake test. This isn't just one test, but a multi-step process to confirm your air brake system is airtight and responsive. You'll check for leaks, test the low-air warning system, and perform tug tests on both the trailer and service brakes to feel them engage. It’s the final, critical confirmation that your truck is truly safe to take on the road.
To help you visualize this flow, here is a simple breakdown of the entire process.
Three Phases of a Pre-Trip Inspection
| Inspection Phase | Primary Focus Area | Key Components to Check |
|---|---|---|
| Phase 1: Engine | Under the Hood (Engine Off) | Fluid levels (oil, coolant), belts, hoses, visible leaks, and general engine condition. |
| Phase 2: Walk-Around | Exterior of Tractor & Trailer | Tires, wheels, lights, reflectors, windows, fuel tanks, coupling system, and landing gear. |
| Phase 3: In-Cab | Inside the Cab (Engine On) | Gauges, controls, safety equipment (horns, wipers), mirrors, and a full air brake system check. |
Following these three phases in order, every single time, is the key to performing a fast, effective, and complete pre-trip inspection.
The Complete Pre-Trip Inspection Checklist
Alright, we've covered why a pre-trip is so important. Now, let’s get into the nitty-gritty of how it's done. A proper pre-trip inspection isn't about having a photographic memory of a hundred different parts. It's about developing a solid, repeatable routine you can follow every single time, ensuring nothing slips through the cracks.
Think of it like building a mental map of your truck. You start at one point, follow a logical path, and end up back where you started, confident that every critical system has been checked. This is your chance to get hands-on and confirm your vehicle is safe before a single mile is driven.
By breaking the inspection down into manageable zones, you can turn what seems like a huge task into a simple, efficient part of your daily work.
The infographic below gives you a great visual of this logical flow. You can see how it moves from under the hood, around the entire rig, and finishes up right there in the driver's seat.
This kind of systematic approach is what separates a professional driver from an amateur. It’s a safety procedure, not just a random glance-over.
Engine and Front Axle Inspection
First things first: pop the hood. With the engine off, this is where you check the very heart of your truck.
- Fluid Levels: Get your eyes on the dipsticks and reservoirs. Check the engine oil, coolant, power steering fluid, and even the windshield washer fluid. If anything is low, it’s a red flag for a leak or another problem that needs immediate attention.
- Belts and Hoses: Look closely at all the belts. Are there any cracks, frays, or signs of them getting shiny and worn? Give the hoses a squeeze (when the engine is cool!) and check for bulges, cracks, or loose connections. A broken belt or burst hose can leave you stranded in a hurry.
- Steering and Suspension: Take a good look at the steering box and all the linkage connecting to the wheels. Check the springs, shocks, and mounts. Everything needs to be bolted down tight, with no visible damage or signs of leaks.
From there, your focus shifts down to the front axle, where you'll get a close look at the wheels, tires, and brakes.
Tires, Brakes, and Wheels
You could argue that nothing is more critical to your safety than your tires and brakes. They deserve some extra attention on every single inspection.
- Tire Condition: Don't just kick the tires. Grab a pressure gauge and check the inflation on every single one. Scan the entire surface for cuts, bulges, or anything stuck in the tread. Remember, federal rules demand a minimum tread depth of 4/32 of an inch on steer tires and 2/32 of an inch on all the others.
- Wheels and Rims: Inspect the rims for any cracks, bad bends, or illegal welds. Make sure every lug nut is there and looks tight. A classic sign of a loose lug nut is a rust trail streaking away from it.
- Brake Components: Look at the brake chambers, slack adjusters, and the air lines running to them. You're looking for anything cracked, bent, or leaking air. With the brakes released, a slack adjuster that's in good working order shouldn't have more than about one inch of free play when you pull on it.
It's a fact: a huge number of out-of-service violations are for brake and tire problems. Spending a few extra minutes here isn't just a good idea—it's one of the smartest things you can do for your safety and your career.
Cab and Trailer Systems
After the front axle, you’ll complete your walk-around, checking the cab, the coupling system, and the entire trailer before climbing inside to finish up. This means making sure every single light and reflector works, checking that the fuel tanks are secure, and confirming you have a solid hook-up between the tractor and trailer.
A massive part of this process is the air brake system test. If you're studying for your CDL, you absolutely have to know this inside and out. It’s worth your time to review resources that walk you through the complete air brakes test procedure step by step.
Once you’re back in the cab, you'll run through the final brake system checks, making sure your gauges work right and all your controls are functioning exactly as they should.
Understanding the Legal Requirements from the FMCSA

A proper pre-trip inspection isn't just a good habit—it's the law. The Federal Motor Carrier Safety Administration (FMCSA) lays down the rules for the trucking industry, and they've made it crystal clear: drivers and carriers are legally on the hook for making sure their vehicles are safe before every single trip.
Think of the FMCSA regulations as the official playbook for safety on our highways. These aren't just suggestions. They are federal laws put in place to stop mechanical failures that could cause devastating accidents.
The heart of these rules is laid out in a few specific sections of the Federal Motor Carrier Safety Regulations (FMCSRs). If you're a professional driver, you absolutely need to know them.
The Key FMCSA Regulations You Must Know
When it comes to vehicle inspections, the two regulations that matter most are 49 CFR §396.13 and §396.11. These are the legal foundation for your daily routine.
Section §396.13(a) gets straight to the point. It says that before driving, a driver must be "satisfied that the motor vehicle is in safe operating condition." That one sentence places a massive amount of responsibility squarely on your shoulders. If you have any reason to believe the truck isn't safe, you are legally required to keep it parked.
This rule makes you the final judge of whether your rig is ready for the road. It’s also your legal protection if you ever have to refuse to drive an unsafe piece of equipment.
The Role of the Driver Vehicle Inspection Report (DVIR)
Once you've done your walk-around, you have to document it. That’s where the Driver Vehicle Inspection Report (DVIR) comes in, as required by §396.11. The DVIR is the official, legal record of your inspection.
- Reporting Defects: If you find anything that could compromise safety, you must note it on the DVIR at the end of your day.
- Carrier Responsibility: The motor carrier is then legally obligated to get those defects fixed before that truck goes out again.
- Certifying Repairs: A mechanic has to sign off on the report, certifying that the repairs were actually made.
This system creates an undeniable paper trail and holds everyone accountable. Before you start your trip, you’re required to review the last DVIR. If problems were noted, you have to see that a signature is there confirming the fix. This is a non-negotiable part of meeting federal CDL requirements and upholding your responsibilities as a professional.
When an inspector pulls you over, the first things they'll ask for are your license, medical card, and your logbook and DVIRs. A clean, thorough, and compliant DVIR is your proof that you take safety seriously and follow the law.
Ignoring these rules will land you in hot water. Violations can mean hefty fines, being put out-of-service on the spot, and dings on your company's Compliance, Safety, Accountability (CSA) score. That score is public and can seriously affect a carrier’s reputation and insurance costs, which makes your attention to detail incredibly valuable to the entire company.
Common Pre Trip Inspection Questions Answered
Even with a good grasp of the steps and rules, a few questions always seem to come up, whether you're a rookie or a seasoned pro. Getting the practical side of the pre-trip inspection down is what helps it become less of a chore and more of a professional habit.
Let's clear up some of the most common questions drivers ask.
How Long Should a Pre-Trip Inspection Take?
One of the first things drivers wonder is how much time they should actually be spending on this. If you're done in five minutes, you're doing it wrong. But if it's taking you an hour every morning, you're probably overthinking it.
A solid, by-the-book pre-trip inspection should take you somewhere between 15 to 30 minutes. A veteran driver who knows their truck like the back of their hand might clock in closer to 15. A newer driver, or someone stepping into an unfamiliar rig, should lean toward the 30-minute mark to be extra thorough.
Anything less than 15 minutes is a major red flag and likely means you’ve skipped something important. This isn't a race; it's about being confident your truck is safe before you turn the key.
What's the Difference Between Pre-Trip and Post-Trip Inspections?
This is a big one. They might look similar, but pre-trip and post-trip inspections serve two totally different purposes. Think of them as two halves of a complete safety circle.
-
Pre-Trip Inspection: This is all about being proactive. You're hunting for problems before you even start rolling. The goal is to catch and fix issues so you can start your day with a safe, road-legal vehicle.
-
Post-Trip Inspection: This is your reactive check. You do this at the end of the day to spot any new problems that popped up during your drive—a fresh tire leak, a signal light that went out, you name it.
By doing a post-trip, you’re creating a Driver Vehicle Inspection Report (DVIR) that tells the shop what needs fixing overnight. That way, the truck is ready to go for the next driver's pre-trip, closing that safety loop perfectly.
Can I Use an App for My Inspection Report?
Absolutely. With technology woven into just about every part of trucking, paper logbooks and inspection forms are quickly becoming a thing of the past.
Using an app is perfectly legal. These are officially called Electronic Driver Vehicle Inspection Reports (eDVIRs), and they are fully approved by the FMCSA. Most Electronic Logging Devices (ELDs) that are already in your cab have this feature built right in. Using an eDVIR means you can report defects instantly, keep perfect records, and make life easier for both you and the maintenance crew.
This is just one way technology is improving safety and efficiency. It’s a trend that’s here to stay, with the global vehicle inspection market expected to grow to over $22 billion by 2033, pushed by new regulations and safety tech.
Mastering these details is a crucial part of your professional knowledge. For a closer look at what you’ll need to know for the written exam, check out our guide to the CDL general knowledge test.
At Patriot CDL, we make sure our students don’t just learn the pre-trip inspection—they master it. We help you build the habits that will keep you safe and successful throughout your entire career. https://patriotcdl.com