This guide is your all-in-one playbook for acing the HazMat endorsement test. I've broken down all the complex rules and regulations into simple, easy-to-understand steps. We'll cover everything from the nine hazard classes to what to do in an emergency, making sure you're ready not just for the test, but for a long, safe career on the road.
Why a HazMat Endorsement Is a Game-Changer for Your Trucking Career
Getting your HazMat endorsement isn't just about adding another credential to your CDL—it's your ticket to better pay, more job options, and serious career stability. The best carriers out there are always on the lookout for skilled, reliable drivers who can be trusted with sensitive cargo. Having this endorsement immediately makes you one of their top candidates.
Think of it like becoming a specialist. Any driver can haul a load of furniture, but only a trained and cleared professional can transport the materials that keep our country running. That specialization makes you a valuable, in-demand driver.
The Critical Role You Play as a HazMat Driver
The responsibility is huge, but so are the rewards. HazMat drivers are the lifeblood of American industry, moving everything from the gasoline for our cars to critical medical supplies for hospitals. And when it comes to HazMat, trucks do the heavy lifting. The U.S. Commodity Flow Survey found that trucks moved 1.2 billion tons of the 2.2 billion tons of hazardous materials transported.
That number shows just how much trust is placed in CDL holders like you. Working through this study guide and mastering the material is how you prove you're ready to handle that trust. It shows employers you're a pro who takes safety seriously.
A HazMat endorsement tells employers you're a top-tier professional who is committed to safety, follows the rules, and can handle the pressure of a high-stakes load.
On top of better job security, this endorsement often leads to better routes and more predictable work. Companies invest a lot in their HazMat drivers because they know how vital they are to their operations. Your skill in safely managing these loads makes you an essential part of the team.
As you start studying, keep in mind that every rule and safety check you learn has two jobs: protecting the public and cementing your status as an elite driver. You've already put in the work to meet the basic CDL requirements; adding this endorsement is the next big step. This guide will give you the confidence to tackle the test and build a more rewarding career.
Understanding the Nine Classes of Hazardous Materials
The absolute heart of any HazMat study guide is getting a solid handle on the nine official DOT hazard classes. You can think of these classes as a universal language spoken through the placards you see on the side of a truck. Getting these down cold is the first—and most important—step to earning your HazMat endorsement.
Each class groups materials together based on their main danger, whether that’s a risk of explosion, fire, or some other nasty reaction. Instead of just memorizing dry definitions, we're going to use real-world examples to make these concepts stick. The goal here is practical recognition, so you can connect the placard on your rig to the real risks of the freight you're hauling.
As you get into this, remember why you're doing it. Earning endorsements like HazMat is a direct path to better opportunities in your trucking career.

This flowchart shows exactly how a CDL opens doors to higher pay and job stability. Adding a HazMat endorsement just speeds up that journey.
To make this easier, here's a quick-glance table of the nine hazard classes. We’ll break each one down in more detail below.
Quick Guide to the Nine HazMat Classes and Placards
This table gives you a bird's-eye view of the nine DOT hazard classes. Use it to quickly connect the class number to its name, primary danger, and some common things you might see on the road.
| Class Number | Class Name | Primary Danger | Common Examples |
|---|---|---|---|
| Class 1 | Explosives | Explosion | Dynamite, Fireworks, Ammunition |
| Class 2 | Gases | Flammable, Pressurized, Toxic | Propane, Oxygen, Chlorine |
| Class 3 | Flammable Liquids | Fire | Gasoline, Diesel Fuel, Alcohol |
| Class 4 | Flammable Solids | Fire, Spontaneous Combustion | Safety Matches, Sulfur, Phosphorus |
| Class 5 | Oxidizers & Organic Peroxides | Intensifies Fires | Ammonium Nitrate, Hydrogen Peroxide |
| Class 6 | Poisons & Infectious Substances | Toxic, Biohazard | Pesticides, Medical Waste |
| Class 7 | Radioactive Materials | Radiation Exposure | Uranium, Plutonium, Medical Isotopes |
| Class 8 | Corrosives | Burns, Tissue/Metal Destruction | Battery Acid, Sulfuric Acid |
| Class 9 | Miscellaneous Hazardous Materials | Various Hazards | Lithium Batteries, Dry Ice, Asbestos |
Now that you have the big picture, let's dive into what each of these classes really means for you as a driver.
Class 1: Explosives
First up, Class 1: Explosives. This one is pretty straightforward—it includes anything that can detonate or combust with incredible speed. We're talking about things like dynamite, commercial fireworks, or even some types of ammunition. These materials are so dangerous they're broken down into six separate divisions based on how severe the explosion would be.
- Division 1.1: Has a mass explosion hazard (e.g., dynamite). The whole load could go at once.
- Division 1.2: Has a projection hazard, but not a mass explosion.
- Division 1.3: Poses a fire hazard with a minor blast or projection risk.
- Division 1.4: Minor explosion hazard, with the effects mostly contained in the package.
- Division 1.5: Very insensitive materials that still have a mass explosion hazard.
- Division 1.6: Extremely insensitive materials that do not have a mass explosion hazard.
If you’re hauling Class 1, the rules are incredibly strict. You can't just leave your vehicle unattended—period.
Class 2: Gases
Next is Class 2: Gases. This covers materials that are gaseous at normal temperatures. They're dangerous for a few reasons: they might be flammable, poisonous, or stored under immense pressure. Think of a tanker full of propane or cylinders of oxygen headed to a hospital.
Class 2 is split into three divisions:
- Division 2.1 Flammable Gases: Things like propane or butane that can ignite easily.
- Division 2.2 Non-Flammable, Non-Poisonous Gases: Materials like nitrogen or helium. The main hazard here isn't fire, but the extreme pressure they're under.
- Division 2.3 Poisonous Gases: Substances like chlorine that are toxic if you breathe them in.
Class 3: Flammable Liquids & Class 4: Flammable Solids
Class 3: Flammable Liquids are some of the most common HazMat loads you'll see on the road. This category is home to everyday materials like gasoline, diesel fuel, and alcohol. Their biggest danger is a low flash point, which means they can catch fire at surprisingly low temperatures.
Class 4: Flammable Solids are materials that can ignite from simple friction or heat. This class also covers things that can spontaneously combust or become dangerous when they get wet.
- Division 4.1 Flammable Solids: Think of things like safety matches.
- Division 4.2 Spontaneously Combustible: These can ignite all on their own, without a spark.
- Division 4.3 Dangerous When Wet: These materials react with water to create a flammable gas.
Class 5: Oxidizers and Organic Peroxides
Class 5 materials are a special kind of dangerous. They might not burn on their own, but they produce oxygen, which can cause other materials to combust or make an existing fire much, much worse.
Think of an oxidizer as pure fuel for a fire. A small flame can turn into an inferno when an oxidizer is present. A classic example is ammonium nitrate, a common ingredient in fertilizer.
Division 5.1 covers these Oxidizers, while Division 5.2 is for Organic Peroxides, which are often unstable and can react dangerously to heat or friction.
Class 6: Poisonous and Infectious Substances
This class is all about materials that can cause serious illness or death if they're swallowed, inhaled, or even just touch your skin. Division 6.1 Poisonous Materials includes nasty stuff like arsenic and potent pesticides.
Division 6.2 Infectious Substances contains pathogens—things that cause disease. This is where you'd classify medical waste or vials of live viruses. Transporting these loads requires extreme caution to prevent any kind of leak or exposure.
Class 7: Radioactive Materials
Class 7 covers anything containing radionuclides. While not something every driver will haul, these materials are critical for medical treatments, generating power, and scientific research. The main danger is radiation exposure, which is why these packages are so heavily shielded and regulated.
Class 8: Corrosives
Ever dealt with industrial-strength drain cleaner or battery acid? That’s a Class 8 Corrosive. These are materials that can literally eat through other materials on contact, including metal and human flesh. Hauling corrosives like sulfuric acid means the containers have to be tough enough to withstand their destructive power.
Class 9: Miscellaneous Hazardous Materials
Finally, there’s Class 9: Miscellaneous Hazardous Materials. This is basically the catch-all category for anything that presents a danger during transport but doesn't neatly fit into the other eight classes. Common examples include lithium-ion batteries, large quantities of dry ice, and asbestos.
You’ll see some of these classes far more than others. Flammable liquids (Class 3), for example, make up a huge portion of what's on our highways, accounting for 182 billion ton-miles—that's 56.1% of all hazmat ton-miles! Gases (Class 2) and corrosives (Class 8) are also very common loads for truckers.
Mastering these nine classes is non-negotiable for anyone serious about a professional trucking career. Getting the right training through a dedicated CDL school program is the best way to gain the real-world knowledge you'll need to handle these responsibilities safely out on the road.
How to Master Shipping Papers, Placards, and Labels
When you're hauling hazardous materials, your paperwork and the signs on your truck are just as important as your skills behind the wheel. They're part of a universal language that tells everyone—from first responders to other drivers—exactly what you're carrying and what kind of risks are involved. Getting this right isn't just about passing your exam; it's a core responsibility for keeping people safe on the road.
Think of it this way: shipping papers, placards, and labels are three parts of the same critical story. The shipping papers are the detailed script. The placards are the big, bold headlines on your truck. And the labels are the specific warnings slapped on each individual package.
If these three pieces don't match up perfectly, you've got a recipe for confusion and serious danger. That's why a key part of every pre-trip inspection is making absolutely sure they all tell the same, correct story before you even think about turning the key.

Decoding Your Shipping Papers
Your shipping papers are the official, legal record of what's in your trailer. The rules on where to keep them are strict for a reason. They must be within your immediate reach while you're buckled in. When you get out of the truck, they need to be on the driver's seat or in the door pouch. Why? So if there’s an emergency, first responders can grab them instantly without having to search.
When you glance at those papers, you need to spot four key details right away. It's a specific sequence, and a good way to remember it is with the acronym ISHP:
- I – Identification Number: This is the four-digit UN/NA number that's like a serial number for the material (e.g., UN1203 for gasoline).
- S – Proper Shipping Name: This is the official name the DOT uses, not a brand name (e.g., "Gasoline").
- H – Hazard Class: The number that tells you the primary danger (e.g., "3" for flammable liquids).
- P – Packing Group: A Roman numeral (I, II, or III) that tells you how dangerous it is, with I being the most hazardous.
You'll also see the total quantity of the material and a 24/7 emergency contact number. Checking this information against your load is a non-negotiable step.
Placards and Labels: The Visual Warnings
While shipping papers hold all the details, placards and labels are the quick, at-a-glance warnings. You absolutely have to know the difference between them, as it’s a favorite topic on the HazMat test.
- Placards: These are the big, diamond-shaped signs you put on the outside of your truck or trailer. You need them on the front, back, and both sides. They scream "Hey, this is what's inside!" to everyone else on the road.
- Labels: These are just smaller versions of the placards. They get stuck directly onto the individual packages, drums, or containers inside the trailer. They follow the global GHS labeling requirements.
Here’s the breakdown of responsibility: The shipper is responsible for putting the right labels on the packages. You, the driver, are responsible for putting the right placards on the truck. But here's the catch—it's also your job to refuse any shipment if the packages aren't labeled correctly in the first place.
The rule of thumb is simple: Labels go on packages, and placards go on the vehicle. Your job is to make sure the placards on your truck accurately reflect the labels on the packages you are hauling.
Understanding the 1,001-Pound Rule
One of the most important placarding rules you'll live by is the 1,001-pound rule. For most common hazardous materials (those found in Table 2 of the regulations), you have to put up placards if you're hauling 1,001 pounds or more of them.
This is based on the aggregate gross weight. That means if you have a few different Table 2 materials on board, you have to add up their weights. The second that total hits 1,001 pounds, you have to placard for each material that requires it.
But be careful. The most dangerous stuff—materials listed in Table 1, like high-level explosives or poison gases—must be placarded for any amount, even if it's just one pound. Always know which table your cargo falls under.
Putting Knowledge Into Practice: Safe Loading, Unloading, and Transport
You've got the classroom part down—the nine hazard classes and all that paperwork. Now we get to where the rubber meets the road, literally. Safe loading, unloading, and transport aren't just lines in a rulebook; they're the real-world habits that prevent disasters and mark you as a true professional.
These aren't just things to memorize for the test. They are the core of your job. From the moment you hook up to a trailer to the second you drop it, every move you make is guided by strict protocols designed to keep everyone safe. This is where knowledge becomes action.
Hauling HazMat is a serious business. Since 2010, the U.S. has seen around 157,000 total HazMat incidents each year, with trucks involved in the vast majority—136,922 of them. But here's the amazing part: those incidents led to only 97 fatalities and 1,941 injuries. That incredible safety record, across nearly a million daily shipments, is a direct result of drivers like you taking these DOT rules to heart.
Before You Even Turn the Key
The most important safety work happens before you move an inch. A load that shifts, slides, or tumbles in the back of your trailer can turn a routine drive into a catastrophe.
Your first responsibility is making sure the freight is braced, blocked, and strapped down so it's not going anywhere. This is a non-negotiable part of your routine. You'll want to make it a key step in your daily equipment check. You can find out more about how to conduct a complete pre-trip inspection in our comprehensive guide.
A properly secured load is a safe load. Never take the shipper's word for it. It's on you to inspect the securement and refuse to pull any trailer that feels unsafe.
The No-Mixing Rule: Keeping Problem Kids Apart
One of the most critical rules you'll learn is segregation. Think of it like a school principal keeping the worst troublemakers separated on the playground. Some hazardous materials are perfectly fine on their own but become incredibly dangerous if they mix.
A classic example? Never, ever load a corrosive acid next to a cyanide poison. If those two were to leak and combine, they could create a deadly gas cloud in an instant.
The DOT gives us a tool for this called the Segregation Table for Hazardous Materials. It's your cheat sheet for what can and cannot ride together. For instance, most explosives (Class 1) and certain flammable solids (Class 4) have a long list of materials they can't be loaded with.
Here are a few combinations you absolutely have to burn into your memory:
- Cyanides and Acids: These can never be loaded together. A leak could produce deadly hydrogen cyanide gas.
- Explosives: Division 1.1, 1.2, and 1.3 explosives have to ride alone—no blasting caps, detonators, or most other HazMat allowed.
- Radioactive Materials: Anything from Class 7 needs its own space, away from people, animals, and even undeveloped film.
Trying to memorize the entire segregation table is a tall order. Instead, focus on understanding why these rules exist. It makes remembering the most dangerous combos a whole lot easier.
Rules of the Road
Once you're loaded up and rolling, a whole new set of rules kicks in. These are all about minimizing risk while you're in transit and making sure you're always in control of your cargo.
The big one is attendance. If you are hauling Division 1.1, 1.2, or 1.3 explosives, you can never just walk away from your truck. It has to stay within your line of sight, and you have to be able to get back to it fast. Period.
Another absolute is the "No Smoking" rule. You can't smoke—or let anyone else smoke—within 25 feet of a vehicle loaded with Class 1 (Explosives), Class 3 (Flammable Liquids), Class 4 (Flammable Solids), Class 5 (Oxidizers), or Division 2.1 (Flammable Gases). It sounds simple, but this one rule has prevented countless fires. These aren't just test answers; they're life-savers.
What to Do When Things Go Wrong: Emergency and Security Plans
Let's be honest, nobody wants to think about accidents. But when you're hauling hazardous materials, knowing exactly what to do when things go sideways isn't just a good idea—it's your absolute responsibility. This is where we shift from theory to action, covering the critical steps for handling emergencies and the security measures you'll need to know.
A cool head and the right training can stop a small leak from turning into a front-page catastrophe. What you do in the first few minutes of an incident makes all the difference.
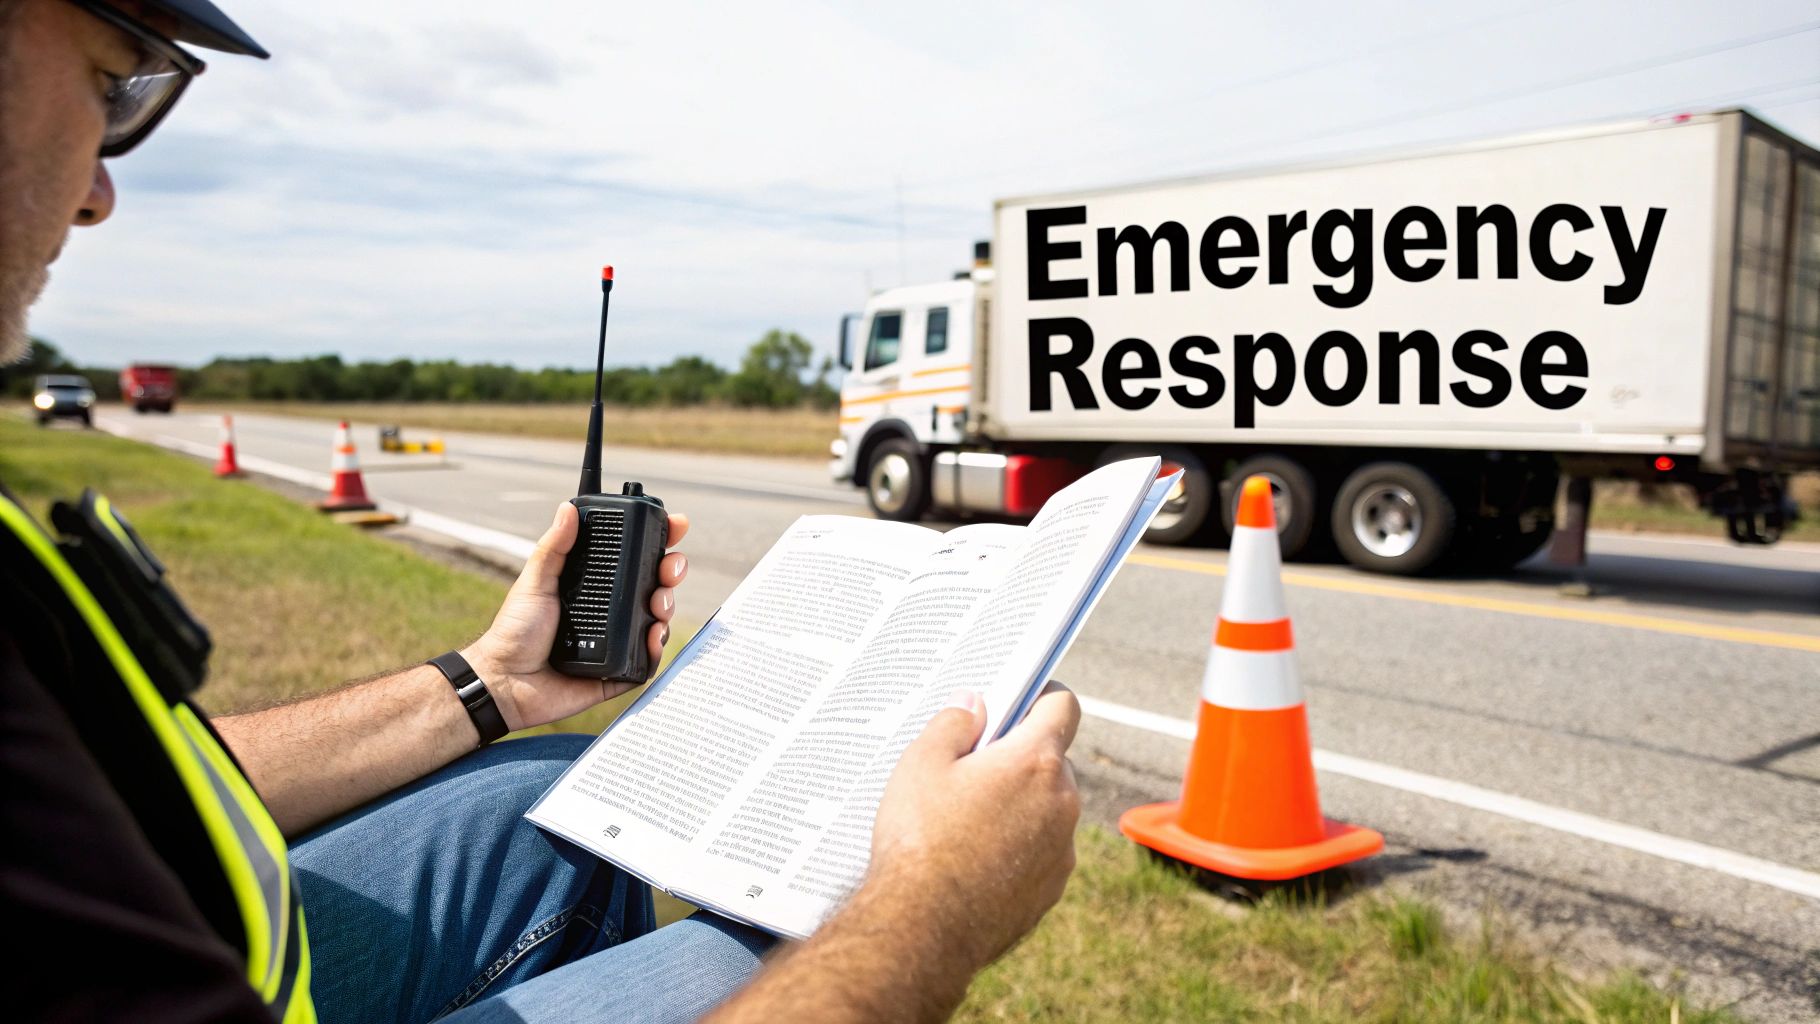
Your First Moves in a HazMat Emergency
If an incident happens on your watch, your job boils down to three priorities: protect yourself, protect the public, and get the right information to first responders. Think of it as a quick, three-step drill you need to have down cold.
Secure the Area: First thing's first—contain the scene. Get your truck off to the side, away from people and anything that could spark a fire. Kill the engine and get your reflective triangles out. Your immediate goal is to create a buffer zone and keep everyone else out of harm's way.
Notify Authorities: As soon as you're safe, call for help. Dial 911. Be ready to give your exact location, tell them what’s happening, and provide the material’s identification number. Clear, calm communication gets the right team and equipment rolling your way, fast.
Identify the Material: Grab your shipping papers. You’re looking for that four-digit UN/NA ID number. This number is the key that unlocks all the crucial information in your Emergency Response Guidebook (ERG).
Using Your Emergency Response Guidebook (ERG)
That little orange book in your cab? It's your best friend in a crisis. The Emergency Response Guidebook (ERG) is designed for one thing: to give you immediate, life-saving information when you need it most. Make sure it's always within arm's reach.
Think of the ERG as your emergency co-pilot. You look up the four-digit ID number, and it instantly tells you the specific fire, explosion, and health risks. It even gives you initial evacuation distances and basic first aid advice.
Knowing how to flip open your ERG and quickly find what you need is a core skill for any HazMat driver, and you can bet you’ll see questions about it on the test.
TSA Security Awareness Training
Your job isn't just about preventing accidental spills; it's also about preventing intentional ones. You are the first line of defense against theft and terrorism, which is why the TSA requires every HazMat driver to undergo security awareness training. It all comes down to keeping your cargo secure.
Here are the key security responsibilities you need to live by:
- Recognizing Security Threats: Always be aware of who and what is around you, especially at truck stops or when parking overnight. If something feels off or you see suspicious activity, report it to your company and law enforcement if needed.
- Protecting Your Load: Use high-security seals and locks, period. Before you pull out, double-check that the seal number on your trailer matches the one on your shipping papers. Give it a good tug to make sure it hasn't been tampered with.
- Following Secure Practices: Don't be the driver who talks about your route or cargo at the lunch counter. Stick to your company's security plan, which likely includes approved routes and secure places to park.
Staying vigilant isn't just about following the rules; it's about actively protecting the public by keeping dangerous materials out of the wrong hands. For more deep dives into driver responsibilities, check out the other guides on our Patriot CDL trucking blog.
Your Actionable Study Plan and Practice Test
Alright, let's take everything we've covered and turn it into a passing score on your HazMat test. The key isn't just cramming information; it's about having a smart plan. The best way to tackle this is with a step-by-step approach that builds your knowledge logically, so you're not just memorizing, you're understanding.
Think of it like building a house. You can't put the roof on before the walls are up, and you can't put the walls up without a solid foundation. For the HazMat endorsement, that foundation is knowing the nine hazard classes inside and out. Once you nail those down, everything else—placards, paperwork, safety rules—just clicks into place.
Step 1: Master the Nine Hazard Classes
This is your starting point. Seriously, don't even think about the other stuff until you have this down cold. This is the single most important section of any hazardous materials study guide.
Grab some flashcards or even just a notebook and create a cheat sheet for all nine classes. For each one, write down its name, primary danger, and a couple of real-world examples. Keep reviewing them until you can instantly identify a material's class just by its name or the risk it poses.
Step 2: Connect Placards and Shipping Papers
With the nine classes mastered, it’s time to focus on how we communicate those hazards on the road. This step is all about connecting the dots between the signs on your truck and the paperwork in your cab.
First, get comfortable with the rules for placards and labels. A common trip-up on the test is knowing the difference—labels go on the packages, placards go on the vehicle.
Next, turn your attention to the shipping papers. You absolutely need to memorize the ISHP sequence: ID Number, Shipping Name, Hazard Class, and Packing Group. Practice spotting these four key pieces of information on a sample shipping paper. The goal here is to see how placards, labels, and paperwork all work together to tell a complete story about your load.
Step 3: Learn the Rules of the Road
Now that you know what you’re hauling and how to identify it, let's get into the practical, day-to-day rules for handling it safely. This is the "boots on the ground" part of your training.
Concentrate on these critical areas:
- Securement: You are responsible for making sure that load is properly blocked and braced. Period. Understand what that looks like.
- Segregation: You don't need to memorize the entire segregation table, but you absolutely need to know the most critical "do not mix" rules, especially involving explosives, cyanides, and acids.
- Attendance and Safety: The rules for staying with certain loads (like Class 1 explosives) are strict. Know them. And, of course, the universal "no smoking" rule within 25 feet is a must-know.
Step 4: Review Emergency and Security Procedures
The final piece of the puzzle is knowing what to do when things go wrong. This is about being prepared for the worst-case scenario.
First, review the basic emergency response steps: get to a safe spot, secure the area, call for help, and then identify the material using your shipping papers and the ERG. You also need to be sharp on the TSA security requirements. This means knowing how to protect your load from tampering and being aware of potential security threats.
As you work through this plan, always try to understand the "why" behind each rule. It's much easier to remember a regulation when you understand the disaster it's designed to prevent. That deeper knowledge is what separates a good driver from a great one.
Practice Test Questions and Answers
Ready to see how you're doing? These questions are just like the ones you'll see on the real HazMat exam. Give them your best shot, then check your answers and read the explanations below to see why the correct answer is right.
1. A shipper has loaded your trailer with 600 lbs of a Class 8 Corrosive and 500 lbs of a Division 4.1 Flammable Solid. Both are Table 2 materials. Are you required to use placards?
- A) No, because neither shipment is over 1,001 pounds.
- B) Yes, because the total aggregate weight is over 1,001 pounds.
- C) Yes, but only for the Class 8 Corrosive.
- D) No, because these materials do not require placards.
2. Which of the following items is the shipper's responsibility?
- A) Placing placards on the outside of the vehicle.
- B) Affixing the correct hazard labels to the packages.
- C) Ensuring the driver knows the planned route.
- D) Securing the load inside the trailer.
3. If you discover a hazardous materials leak while driving, what is your first action after pulling over to a safe location?
- A) Immediately call your dispatcher.
- B) Try to patch the leak yourself.
- C) Secure the area and keep people away.
- D) Identify the material in the ERG.
Answer Key
1. B) Yes, because the total aggregate weight is over 1,001 pounds.
Explanation: When you have multiple Table 2 materials, you have to go by the aggregate (total) gross weight. Here, you have 600 lbs + 500 lbs = 1,100 lbs. Since that total is over the 1,001-pound threshold, you must use placards for both materials.
2. B) Affixing the correct hazard labels to the packages.
Explanation: This is a classic responsibility question. The shipper is always responsible for preparing the shipment, which includes putting the correct hazard labels on the individual packages. The driver is responsible for putting the placards on the vehicle.
3. C) Secure the area and keep people away.
Explanation: In any HazMat emergency, your absolute first priority is public safety. Before you call anyone or even look at your ERG, you have to secure the immediate area and prevent anyone from wandering into a dangerous situation.
Got Questions About the HazMat Endorsement? We've Got Answers.
When you're gearing up for the HazMat endorsement, a lot of questions pop up. Let's tackle some of the most common ones drivers ask to clear up any confusion and help you feel more confident heading into the test.
How Long Does a HazMat Endorsement Last?
Think of your HazMat endorsement as having a five-year lifespan. While this can vary a little from state to state, five years is the general rule.
When it's time to renew, you're not just taking a quick quiz. You have to pass the full HazMat knowledge test again and go through another complete TSA security threat assessment. That means fresh fingerprints and a new background check, so don't wait until the last minute—get the ball rolling well before your current HME expires.
What Could Stop Me From Getting a HazMat Endorsement?
The biggest hurdle is the TSA security threat assessment. The government is serious about who they allow to transport these materials.
Certain felony convictions are an immediate no-go. We're talking about major crimes like terrorism, murder, espionage, or treason. Other offenses, like a history of improper HazMat transport, specific immigration violations, or being found mentally incompetent, can also disqualify you. It's always a good idea to review the TSA's official list of disqualifying crimes before you even start the application process.
Is the HazMat Test Really That Hard?
Let's be honest: the HazMat test has a reputation for being one of the tougher CDL exams. It's not something you can just wing. The challenge comes from needing to know a lot of specific details about hazard classes, placard rules, and complex safety regulations.
But is it passable? Absolutely. Thousands of drivers do it every year.
The real secret isn't just cramming facts. It's building a solid study routine and truly understanding why the rules exist. Once you grasp the concepts behind the regulations, everything clicks into place, and you'll walk into that test ready for anything.
Ready to launch a rewarding career with the skills that top carriers demand? Patriot CDL offers expert, hands-on training to get you on the road fast. Learn more at https://patriotcdl.com.