The CDL air brake pre-test is more than just a box to check. It's the foundation of every safe trip you'll ever take. Getting this inspection sequence down isn't just about satisfying an examiner—it’s about building a life-saving habit that protects you, your truck, and everyone you share the road with.
Why You Need to Know the Air Brake Test Cold
Don't think of the air brake pre-test as some annoying hurdle. See it for what it is: your first and best line of defense. This is the moment you prove to yourself that the system designed to stop a fully-loaded, 80,000-pound rig is working flawlessly.
You're not just reciting a script. You're building real-world confidence in your equipment and your own skills.
From Test-Day Nerves to On-the-Road Instinct
When you truly understand your air brake system, it changes how you drive. Picture yourself descending a steep mountain grade or having to react instantly to a car cutting you off in heavy traffic. In those high-stakes moments, you won’t have time to think. Your knowledge and muscle memory take over.
That's what separates the rookies from the true professionals.
This expertise is also your ticket to better jobs. The demand for drivers with an air brake endorsement is always there, especially for routes that aren't just flat, straight highways. Think about hauling over the Pennsylvania Turnpike—you need drivers who can handle steep grades and nasty weather without breaking a sweat. Since nearly every modern tractor-trailer uses air brakes, this endorsement is a must-have for the best-paying gigs.
Passing the air brake test isn't a one-and-done deal. It shows a commitment to safety and professionalism—the exact qualities that top-tier companies are looking for.
Building a Foundation for a Long Career
The real goal here is to get so good at the inspection that it becomes second nature. You want it to be an automatic habit, something you do without even thinking.
This approach doesn't just ensure you meet all the necessary CDL requirements. It proves to your examiner that you're a competent and safe operator. When you take your prep seriously, you’re not just cramming for a test. You're making a direct investment in a long, successful, and safe career on the road.
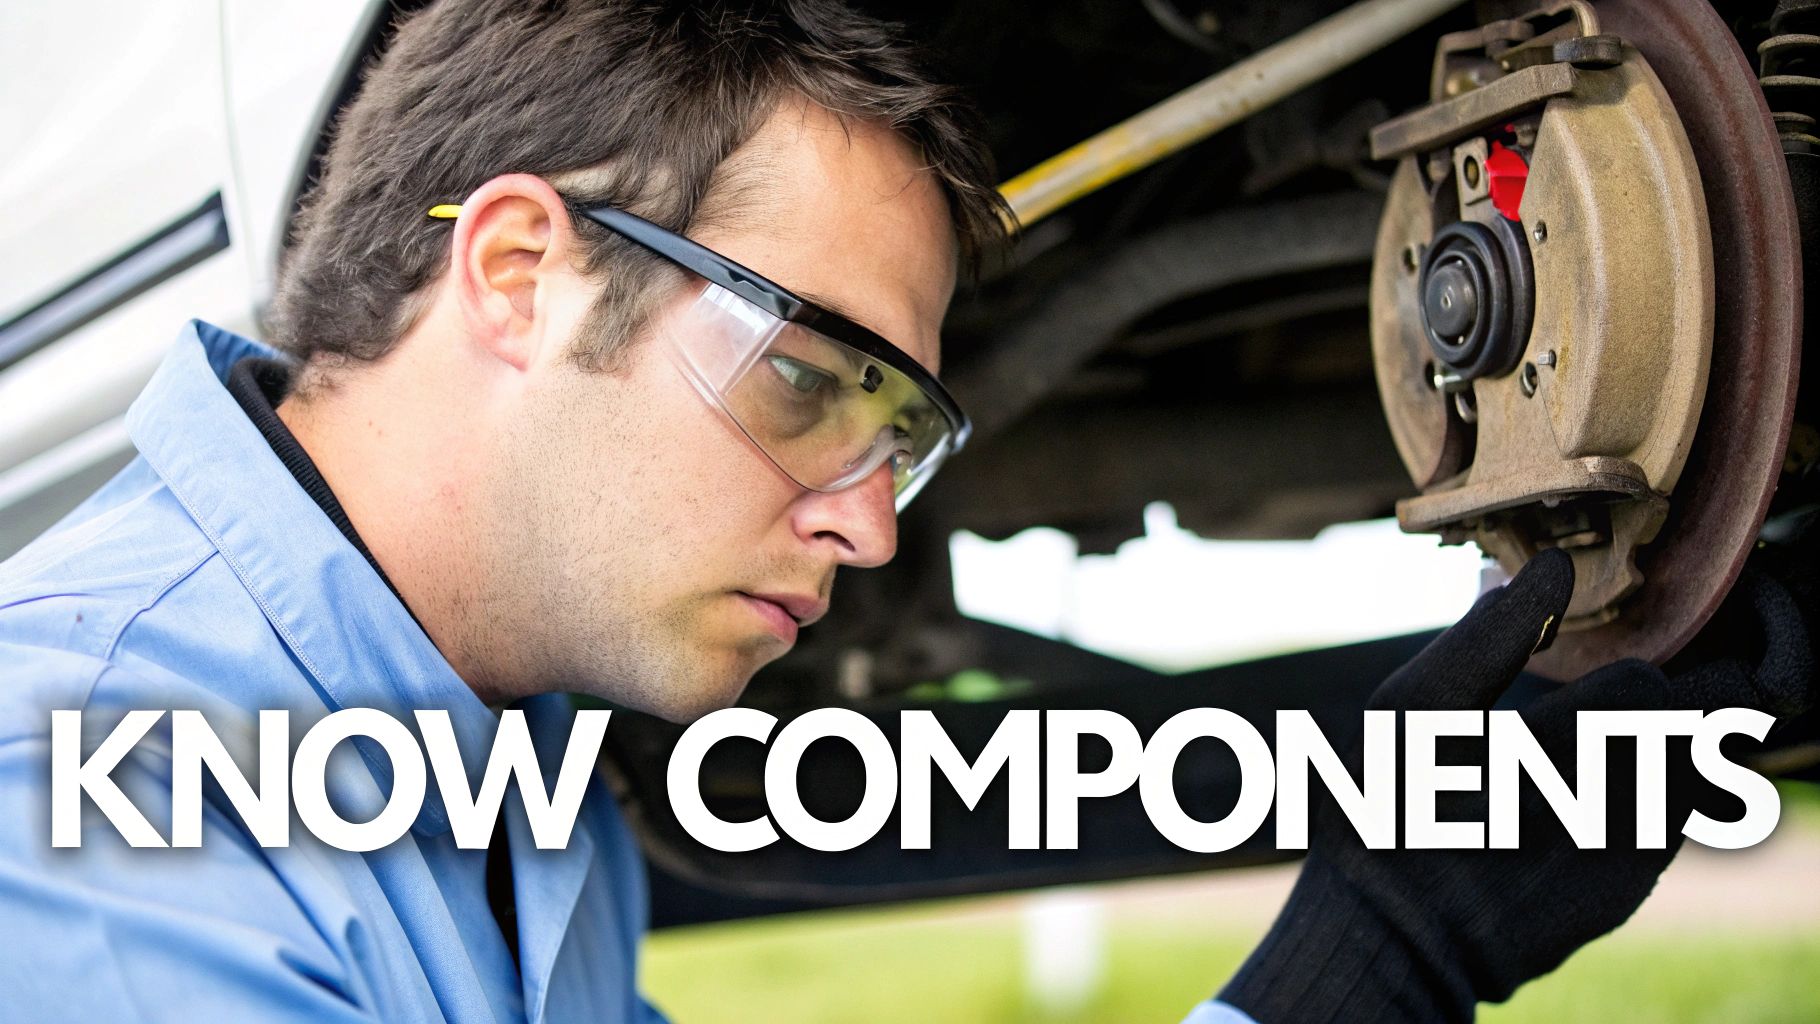
Know Your Air Brake System Inside and Out
To pass the CDL air brake pre-test, you have to do more than just memorize steps. You need to genuinely understand what you're looking at. When you first see a diagram of an air brake system, it can look pretty overwhelming, but it’s actually a very logical setup once you learn what each part does.
Think of it like getting to know the players on a team. Each one has a specific job, and they all have to work together.
The whole process starts with the air compressor. It's usually driven by the engine, and its only job is to pump air into the storage tanks. But it can't just run non-stop, otherwise, the pressure would build up to dangerous levels.
That’s where the air compressor governor comes into play. The governor is the brain of the operation, telling the compressor when to start pumping and when to take a break. It's set to keep the air pressure in a safe range, which is typically between 100 psi and 125 psi.
How the System Manages Air Pressure
When the air pressure in your tanks drops to around 100 psi, the governor tells the compressor to kick on. We call this the cut-in pressure.
Once the pressure builds up to about 125 psi, the governor signals the compressor to stop. This is the cut-out pressure. During your pre-trip inspection, you’ll hear a loud "psssht" sound when the system hits its cut-out pressure. That's a key sign the governor is working correctly, and your examiner will be listening for it.
From there, the compressed air is held in the air storage tanks, or reservoirs. Every truck has multiple tanks that hold a large volume of compressed air, ready to be used whenever you hit the brakes.
I always tell new drivers to think of the air tanks like a power bank for the brakes. They store up all that energy (the compressed air) so you have instant stopping power, even when the compressor isn't running.
It’s also crucial that you drain these tanks every single day. Water and oil from the compressor can build up in there, and in cold weather, that moisture can freeze and cause your brakes to fail.
From Your Foot to the Wheels
When you press the brake pedal, you aren't directly applying force to the brakes yourself. You're actually just opening a valve. This valve releases that stored-up air from the tanks and sends it rushing through a series of hoses.
That air flies into the brake chambers located at each wheel. Inside the chamber, the air pressure pushes against a diaphragm. This pushes a rod out, which is connected to a slack adjuster.
The slack adjuster is a simple but critical lever. It takes that straight-line push from the rod and turns it into the twisting force that pushes the brake shoes against the brake drum. This friction is what slows you down. If your slack adjusters have too much play, or "slack," your brakes won't engage properly, which is incredibly dangerous.
To see how these concepts pop up in the actual test, it's a good idea to run through a high-quality air brakes practice test like this one.
Once you truly understand how these parts interact—the compressor builds pressure, the governor manages it, the tanks store it, and the slack adjusters apply it—you're no longer just going through the motions. You understand the why behind every check, and that’s the kind of confidence and knowledge that examiners are looking for.
Mastering the In-Cab Air Brake Inspection
When it comes to your practical exam, the in-cab air brake inspection is where the rubber really meets the road. This isn't about what you’ve memorized from a book; it's about showing the examiner, step by step, that you know how to confirm your rig is safe. Think of it as a performance. Your confidence and precision here tell the examiner everything they need to know.
To pass the cdl air brake pre test, you can't just go through the motions. You have to understand the why behind each check, verbalize what you're doing, and know the exact numbers the examiner is listening for. This part of the test is less about driving skill and all about proving you have a systematic, safety-first mindset.
The 7 Key In-Cab Air Brake Checks
Your in-cab inspection is a sequence of seven critical checks that must be performed in order. Each one tests a different, vital component of your air brake system. Messing up the order or missing a specific pressure reading can mean the difference between a pass and a fail.
This table breaks down the core sequence you'll be performing for the examiner.
| Inspection Step | Purpose | What Examiners Look For |
|---|---|---|
| 1. Air Governor Cut-Out | Ensures the governor stops the compressor at the correct pressure to prevent system damage. | The air dryer "purges" (makes a psssht sound) at or before 125 psi. |
| 2. Air Governor Cut-In | Confirms the compressor kicks back on when pressure drops to maintain a safe level. | The air pressure needle begins to rise after dropping to 100 psi. |
| 3. Applied Pressure Holding Test | Checks for leaks in the service brake lines and connections. | Losing no more than 4 psi in one minute (3 psi for a straight truck). |
| 4. Low Air Warning System Test | Verifies that the warning light and buzzer activate before air pressure becomes critically low. | Both the visual and audible alarms must activate before pressure drops below 60 psi. |
| 5. Spring Brake Pop-Out Test | Tests the emergency function of the spring brakes, ensuring they self-apply. | The parking brake valve knob must pop out between 20 and 45 psi. |
| 6. Air Compressor Build-Up | Measures the compressor's efficiency in building air from a low to a safe operating level. | Air pressure must build from 85 psi to 100 psi in 45 seconds or less. |
| 7. Service Brake Check | A final physical test to ensure the brakes engage properly and don't pull to one side. | Truck should not pull left or right when brakes are applied gently at 5 mph. |
Understanding this flow is crucial. Each test builds on the previous one, giving the examiner a complete picture of your system's health.
The Applied Pressure Holding Test: Finding Leaks
The very first test you'll perform with the engine off is designed to spot leaks in your service brake system. This is a big deal. A leak here could mean losing your brakes while holding a 40-ton rig on a steep grade.
To start, your air system needs to be fully charged, usually around 125 psi. Make sure your wheels are chocked, then shut off the engine. Turn the key back to the "on" position so your gauges are lit, and then push in both the tractor and trailer brake valves to release the parking brakes. Now, press the brake pedal to the floor and hold it there for a full minute.
The examiner will be watching your gauges like a hawk. For a combination vehicle (tractor-trailer), you can't lose more than 4 psi in that minute. If you're in a straight truck, the limit is 3 psi. Anything more is an automatic fail.
Testing Your Low Air Warning Devices
Next up, you need to prove your truck can warn you when air pressure is getting dangerously low. This is the alarm that gives you enough time to pull over safely before your spring brakes lock up.
With the key still on and the parking brakes released, start fanning the service brake pedal. You're basically bleeding air out of the system on purpose. Watch your gauges and listen. The examiner is waiting for your low-air warning light and buzzer to come on before the pressure drops below 60 psi.
You have to say it out loud: "My low air warning light and buzzer activated at 65 psi, which is above the 60 psi minimum."
This test is a key piece of the larger puzzle. For a complete walkthrough of all vehicle checks, be sure to study our full guide on the pre-trip inspection.
After the warning goes off, keep fanning the brakes. Sometime between 20 and 45 psi, you should see the parking brake knob pop out. This is the system's final failsafe, engaging the spring brakes automatically. Announce that, too.
To get a better sense of how these steps flow together, this visual guide lays out the core sequence.
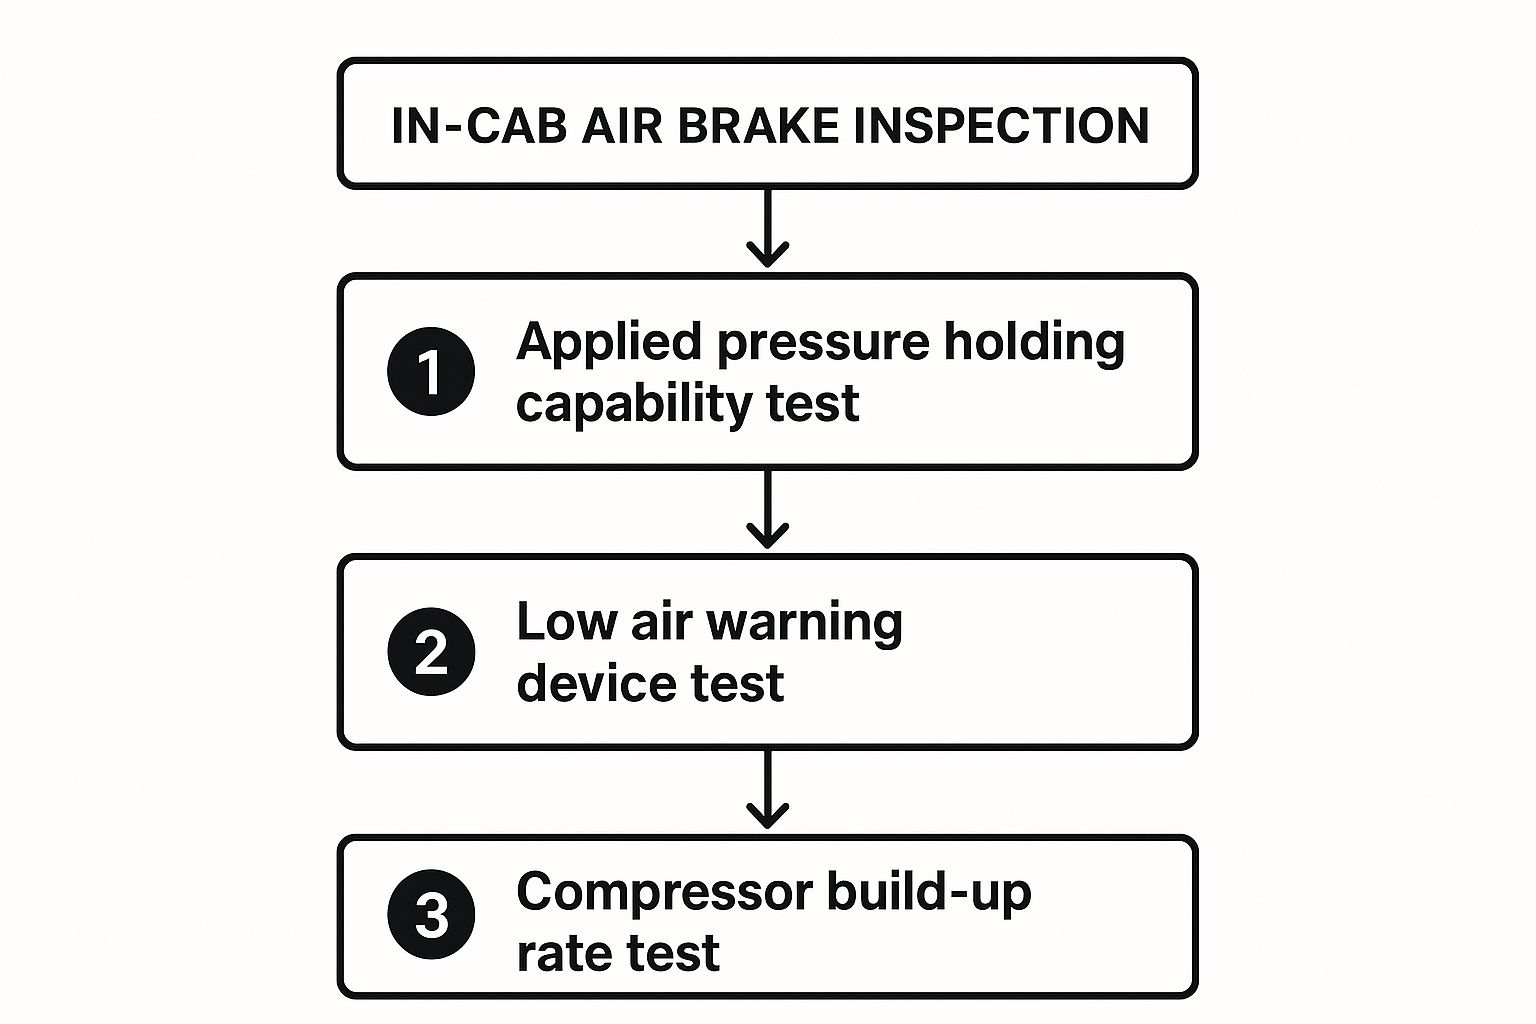
As you can see, each test systematically verifies another layer of your air brake system's safety features.
Verifying Compressor Performance
The final part of this sequence checks that your air compressor and governor are doing their job. After you’ve bled the air down, it's time for a safe start. Your goal now is to time the compressor as it builds air from 85 psi to 100 psi.
This recovery needs to happen in 45 seconds or less. You’ll want to call out when the needle hits 85 psi and then again at 100 psi, confirming for the examiner that it happened within the required time.
A Pro Tip: The examiner isn't just looking for you to hit the numbers. They're gauging your confidence. Speak clearly, move with purpose, and show them you're in command of your vehicle and the inspection process.
Finally, let the air pressure build all the way up. Listen for that distinct psssht sound as the air governor cuts out. This should happen at or before 125 psi. Call it out. This confirms the governor is working properly and won't over-pressurize your system. With that, your in-cab air brake inspection is done.
Common Failure Points and How to Avoid Them
Knowing the steps for the cdl air brake pre test is one thing; performing them flawlessly when an examiner is watching over your shoulder is a whole different ballgame. I’ve seen plenty of good drivers fail, not because they didn't know the material, but because of small, completely avoidable mistakes. Let's break down these common trip-ups so you can walk in with confidence.
One of the biggest culprits? Performing the checks out of order. The inspection is a logical sequence for a reason. Jumping from the low air warning test back to checking the governor cut-out signals to the examiner that you haven't truly mastered the process. It just creates confusion. Stick to the script.
Another huge mistake is not talking through what you're doing. Examiners aren't mind readers. You have to clearly state what you're checking, what you expect to see, and what the result is. Don't just stare at the gauge; you need to announce, "I am now holding the service brake for one minute. I am watching for a drop of no more than four psi."
Getting the Numbers Wrong
Misreading the gauges or fumbling the pressure limits is an instant red flag. These numbers aren't just trivia for a test; they're critical safety standards. If you can’t recall the difference between the 60 psi low air warning and the 45 psi spring brake pop-out, the examiner will see you as a risk on the road. It’s that simple.
Drill these numbers until you can say them in your sleep.
- Governor Cut-Out: Should stop climbing at or before 125 psi.
- Governor Cut-In: Should kick back on around 100 psi.
- Applied Leak Test: Lose no more than 4 psi in one minute (for a combination vehicle). For more details, check out this guide on preventing air brake system leaks.
- Low Air Warning: The light and buzzer must activate before pressure drops below 60 psi.
- Spring Brake Pop-Out: The valve knob must pop out between 20 and 45 psi.
And please, don't forget to chock your wheels before you even climb in the cab. It’s a basic safety habit, and skipping it tells the examiner you might cut corners when it really matters. Always secure the vehicle first.
The CDL Air Brake Test is a non-negotiable part of the exam. Most states require a score of at least 80% to pass. On a 25-question test, that means you can only miss five. There’s very little room for error, which is why nailing these details is so important.
Confidence Is Key, and Practice Is How You Get It
Ultimately, what the examiner wants to see is confidence. Not arrogance, but the quiet confidence that comes from knowing your stuff inside and out. If you're hesitating or seem unsure, they'll assume you don't really know the procedure.
The only way to build that genuine competence is through repetition. Practice it until it’s muscle memory.
Don't rush. I see it all the time—nerves kick in, and drivers start flying through the steps. Just breathe. Take your time and stick to the routine you practiced. By understanding where others have gone wrong, you can walk in prepared to show you’re a safe and detail-oriented professional.
Want to sharpen your skills even more? Run through different scenarios and test your knowledge with these additional air brakes test questions. The more you prepare, the less likely you are to fall into these common traps.
Proven Study Strategies for Test Day Success
How you prepare for the CDL air brake test is just as important as what you study. Simply cramming information the night before won't cut it. You need practical, hands-on confidence, and that only comes from a smart, structured approach. Trust me, it makes all the difference when you're in the cab with an examiner watching your every move.
The key is consistency. Forget about one marathon study session. Instead, aim for shorter, more frequent reviews. This is how you actually move knowledge from short-term memory into long-term understanding, which is exactly what you need to recall specific pressure values and sequences when the pressure is on.
Embrace Hands-On Practice
Reading the manual is a must, but it's only half the battle. Nothing, and I mean nothing, replaces getting in a truck and physically running through the inspection sequence.
This kind of hands-on work builds crucial muscle memory. Soon enough, you'll be moving from one check to the next without even thinking about it. The more you do it, the more automatic it becomes, and the more natural you'll look on test day.
Practice tests are also your best friend. They do more than just test your knowledge—they get you comfortable with the exam format and timing. It's the best way to find your weak spots. If you keep stumbling on questions about the governor cut-in pressure, you know exactly what to hit the books on next.
Reputable truck driving schools often see success rates over 90% on the air brake test. Why? Because their programs blend deep theoretical knowledge with the hands-on practice that builds real-world skill and confidence.
Leverage Quality Training and Resources
Your official CDL manual is the bible, but don't just read it cover to cover. Zero in on the air brake section. Grab a highlighter and mark up every critical number you see—pressure limits, warning light thresholds, and timing requirements. This makes it so much easier to review later.
A good training program can be a game-changer. These programs are built to cover every single aspect of the test, from the written questions to the in-cab inspection. You get expert guidance and, most importantly, the seat time needed to become truly competent. For more on this, you can look into effective student learning strategies.
In the end, a solid study plan is a mix of everything: reading the manual, taking practice tests, and getting behind the wheel. This approach prepares you for the air brake test and sets you up for success on other crucial exams, like the CDL general knowledge test. When you walk into the testing center, you'll feel calm, prepared, and ready to nail it.
Got Questions About the Air Brake Test? We've Got Answers.
Even with hours of studying under your belt, some real-world questions about the CDL air brake pre-test always seem to pop up. Let's clear the air on some of the most common things drivers ask before test day, so you can walk in feeling prepared and confident.
So, What Happens If I Don't Pass the First Time?
This is probably the number one concern I hear from new students. First, take a deep breath—failing isn't the end of the world. While every state has slightly different rules, you can absolutely retake the test.
Typically, you'll have to wait a short period, maybe a day or two, before you can give it another shot. The good news? You usually only have to re-do the specific part you failed, not the entire exam from scratch.
That said, you don't want to get into a habit of failing. Rack up too many attempts, and you might face longer waiting periods or even have to start the permit process all over again. My advice is to go into it with the mindset that the first attempt is your only attempt.
What's This Endorsement Going to Cost Me?
The price for the air brake endorsement itself isn't too steep, but it’s not just one flat fee. Think of it as a few small costs that add up.
- The Endorsement Fee: This is the direct cost to add the endorsement to your license at the DMV. It's usually pretty minor, often somewhere between $10 and $50.
- The Knowledge Test Fee: You'll likely pay a separate fee just to sit for the written test.
- Retest Fees: This is where it can get more expensive. If you fail a portion of the skills test, you'll have to pay that fee again to retake it.
Remember, these DMV fees are completely separate from what you pay for your CDL training. It’s always a smart move to check the official website for your local DMV to get the most up-to-date fee schedule. No one likes surprise costs.
What Kind of Truck Will I Be Testing In?
A lot of drivers wonder if they have to test in a big tractor-trailer rig. The rule here is pretty simple: you test in a vehicle that matches the license class you're trying to get.
If you’re going for a Class A, you’ll be in a combination vehicle (like a tractor-trailer) with air brakes. If a Class B is your goal, expect to be in a straight truck or bus that’s equipped with them. The vehicle must have the systems you're being tested on.
Crucial Tip: To avoid a career-limiting restriction, make sure you take your skills test in a truck with a full air brake system. If you test in a vehicle that only has air-over-hydraulic brakes, you'll get an "L" restriction slapped on your CDL. That little letter can seriously limit your job prospects down the road.
Ready to stop worrying about the test and start your career on the road? At Patriot CDL, we provide the hands-on training and expert guidance you need to pass your CDL exams with confidence. Learn more about our programs.