


A safe stop is a decision you make while options are still available. CDL students need to recognize when their picture of the maneuver is incomplete, bring the vehicle under control, and resolve the missing information before moving again. That judgment matters as much as steering accuracy.
This guide follows the decision from its earliest warning signs through a deliberate restart. It separates a controlled pause on a supervised range from a developing hazard in public traffic, where location, surrounding vehicles, and stopping distance change the response. The aim is to build a repeatable explanation for why you stopped and what makes the next movement reasonable.
Recognize uncertainty before it becomes an emergency
A student rarely loses every useful clue at once. More often, one mirror no longer shows the trailer corner, a pedestrian disappears behind equipment, or a reference point becomes harder to interpret. These are changes in the information available to you. They deserve attention before you add another few feet of movement to a situation you do not fully understand.
Name the missing fact
Instead of saying only “I feel nervous,” identify what you cannot confirm: the passenger-side clearance, the location of the spotter, the angle of the trailer, or whether the intended path is still open. Naming the uncertainty makes the instructor’s help more precise. It also keeps the discussion about the operating decision rather than whether you appear confident.
Watch for pressure that disguises missing information. A vehicle waiting behind you, a classmate completing the exercise quickly, or the memory of a successful previous attempt can encourage movement without a current view. None of these tells you where the truck’s blind areas are now. Establish with your instructor that a call to pause is useful information, then practice making that call early enough for a smooth response. A stop triggered by uncertainty is most helpful before the maneuver reaches a point where every correction has a cost.
Choose a controlled response for the actual setting
The instruction to stop does not mean every situation calls for the same pedal input or the same stopping place. On a protected range at low speed, a prompt controlled halt may be straightforward. In a travel lane, traffic behind and beside the truck, road surface, following distance, and available escape space all matter. Your observation must continue while you respond.
Keep steering and braking coordinated
Work with the instructor on slowing and stopping without abrupt control movements. Avoid looking only at the hazard and forgetting the vehicle’s path. An unnecessary steering change can bring another part of the combination toward an obstacle even as forward speed falls. The purpose of the pause is to reduce exposure, not trade one blind movement for another.
Plan stopping points during the briefing. Before a backing exercise, decide where the vehicle will be secured for a walk-around and how the instructor will communicate a stop. Before a road lesson, discuss how to respond if a route instruction arrives too late. A missed turn is a planning problem; a rushed turn from the wrong lane can become a collision problem. These conversations make stopping a practiced choice rather than an improvised reaction made only after something feels wrong.
Secure the vehicle before leaving the seat
Getting out to inspect clearance can be valuable, but the inspection begins with securing the vehicle according to the equipment and training procedure. Do not step down while assuming the truck will remain stationary because you released the accelerator. Confirm the controls and parking arrangements required for that vehicle before anyone enters a space near its wheels or between units.
A walk-around needs a question
Look at the area that the mirrors could not confirm, then widen the scan to the entire intended path. Check the surface, overhead obstacles, pedestrians, parked equipment, and the room needed for the tractor as well as the trailer. A walk-around that only measures the last few inches behind the trailer can miss a new hazard on the other side.
Return to the cab using safe entry and exit habits, settle into the seat, and restore your observation routine before movement. Conditions may have changed while you were outside. A person can enter the area after your inspection; another vehicle can occupy the space you expected to use for a pull-up. Treat the walk-around as a way to improve the current picture, not a certificate that the next several seconds are automatically safe. Review related component checks in our pre-trip inspection guide.
Use a spotter without surrendering the decision
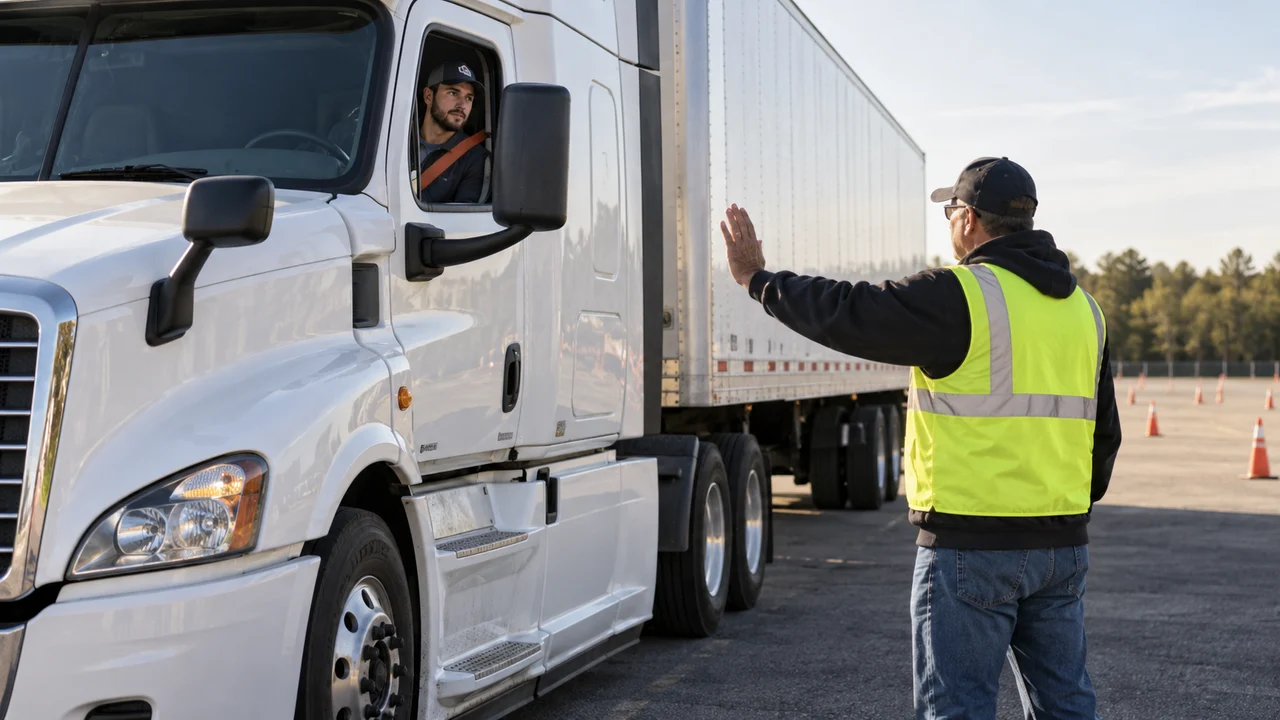
A spotter can help reveal what you cannot see, but unclear signals add uncertainty instead of removing it. Before starting, agree on the signals, the spotter’s position, and the response if visual contact is lost. Know who is giving directions when several people are nearby. Conflicting gestures are a reason to pause and establish one communication channel.
Loss of contact changes the plan
If the agreed spotter disappears from view, do not keep moving toward the last place you saw them. The missing person is now part of the hazard picture. Stop under the procedure established with your instructor, secure the vehicle as necessary, and reestablish communication. Never interpret silence as confirmation that the path remains clear.
The driver still needs a view of the truck’s overall movement. A spotter watching the trailer’s rear may not be able to assess tractor swing, overhead clearance, or a pedestrian approaching the opposite side. Ask the instructor how responsibilities are divided in that exercise. When reviewing the attempt, discuss whether your own mirror checks remained active while receiving signals. Good teamwork combines information from two positions; it does not replace the driver’s observation with unquestioning obedience to a person outside.
Restart only when something meaningful has changed
A pause helps when it produces a better decision. Before releasing the brakes, state what you learned and how the movement will change. You may have confirmed a clear path, found that the original approach will not work, or identified a pull-up that restores a manageable angle. Each outcome is different. Simply feeling calmer does not settle a clearance question.
Make the next movement small enough to evaluate
An instructor may divide a difficult exercise into short movements with planned observation points. That approach gives you a chance to see whether the correction behaves as expected. Do not turn the first restart into a rush to finish. Recheck the side that was previously hidden and watch for the first sign that the picture no longer matches the plan.
If the uncertainty remains unresolved, ask for a revised setup or further assistance. There is no obligation to complete a questionable maneuver merely because you have already spent time on it. In a working setting, the alternative might involve contacting the receiver, changing the delivery approach, or obtaining site assistance through the employer. During training, learning to abandon a poor setup before it becomes unsafe is useful progress. Explain the reason in ordinary language: “This angle still leaves the passenger-side clearance unconfirmed, so I need to reposition.”
Turn stopping decisions into measurable training feedback
A good debrief asks when the first warning appeared, when you recognized it, and how much useful space remained when you stopped. These details show whether your observation is improving. Counting stops alone tells you little. A student who stops early for a real blind area may be making better decisions than a student who finishes without stopping because they never noticed the problem.
Separate caution from avoidance
If you stop repeatedly despite a clear, well-understood picture, ask the instructor to identify the exact decision that feels uncertain. You may need a demonstration, a clearer reference, or a simpler exercise. Repeating “just be confident” does not teach the missing relationship between steering input and vehicle movement. Confidence becomes more useful when it rests on an explanation you can verify.
Keep a brief note after practice: warning seen, response made, information gained, and next change. On the following lesson, compare similar situations rather than judging an entirely different maneuver as though it were the same test. Use the traffic signs library to practice recognizing restrictions early on road lessons, then connect each sign to the space needed for a safe response. The long-term objective is fewer surprises, smoother decisions, and earlier recognition of conditions that require reassessment.
A worked training example
Consider a supervised backing exercise beside a parked trailer. You begin with a reasonable view of both sides, but as the angle changes the passenger-side gap disappears from your mirror. You can still see the target line on the driver side. Another student watching from a distance waves as though there is plenty of room. Continuing might feel faster, but neither the line nor the wave confirms the hidden clearance.
You stop in a controlled way and tell the instructor exactly which view you lost. After securing the truck under the established procedure, you inspect the hidden side. You discover that the trailer is closer to the neighboring equipment than you expected. The instructor helps you choose a pull-up that improves the approach rather than asking you to finish from the existing angle.
Back in the cab, you check that the area remains clear and explain the revised plan before movement. You watch the formerly hidden side as the angle changes. The successful part of this attempt is not that the vehicle eventually reaches the space. It is that you recognized the information gap early, stopped with room to choose, and restarted using a different, verified setup.
Now change one condition: imagine this were a public road and the uncertainty involved a missed entrance. The lesson is not to stop abruptly at the entrance. It is to maintain control, continue to a safe place as appropriate, and request a verified route correction instead of forcing an unsuitable turn.
Compare the decision before committing
| Situation | Weak response | Useful response |
|---|---|---|
| A mirror loses the trailer corner | Continue because the other side looks good | Pause and restore a view of the full path before moving closer. |
| The spotter disappears | Follow the last signal | Stop using the agreed procedure and reestablish contact. |
| An entrance is missed in traffic | Turn suddenly to save time | Keep control and obtain a safe, verified route correction. |
| A walk-around reveals insufficient room | Try the same movement more slowly | Revise the setup or seek a different approach. |
Your next-action checklist
- Identify the first warning that would make you pause during this specific exercise.
- Agree on stop signals and one communication channel with the instructor or spotter.
- Know how to secure this vehicle before leaving the driving position.
- Inspect the full path, including tractor movement and overhead space, when a walk-around is appropriate.
- State the fact you confirmed and the movement you changed before restarting.
- Debrief the timing of the decision, not merely the number of stops.
A five-minute decision drill
Before the next lesson, describe three situations without moving the vehicle: a hidden trailer corner, a person crossing the range, and a route instruction that arrives after the turn. For each, identify what is known, what is missing, and what action preserves control. Ask the instructor to change one detail, such as adding traffic behind you or removing the planned pull-up space. Notice how the response changes with the setting. The exercise teaches a principle you can transfer between vehicles: make decisions using current information and available space, then reassess before adding movement to an unresolved problem.
Questions students ask
Is stopping during practice a sign that I am failing?
No. A controlled pause can demonstrate that you recognized missing information. Discuss the reason with your instructor. Repeated stops are worth reviewing when they reveal an unclear technique, but continuing without a reliable view is not evidence of readiness.
Should I always get out when I am unsure?
Your instructor should teach the observation and securing procedure appropriate to the setting. On a protected range, a walk-around may answer a clearance question. In traffic, first maintain control and reach a suitable location; stepping out in an exposed location can introduce other hazards.
Can I continue if a spotter says it is clear?
Use the agreed signals and your own observation together. If the signal conflicts with what you see, if several people give instructions, or if you lose contact, stop and resolve the conflict. A spotter does not remove the driver’s responsibility for the movement.
What should I say after a stop?
Explain the uncertainty, what you checked, and the revised next step. For example: “I lost sight of the passenger-side gap, checked the area, and need a pull-up before continuing.” That account is more useful than saying only that you were uncomfortable.
Official reading and further preparation
Use the for current Pennsylvania study and testing guidance. The explains who is covered by entry-level training requirements. This article’s examples are practice exercises; the exact operating procedure depends on the vehicle, site, and instructor or employer direction.