
Before you turn the key and hit the open road, a critical ritual stands between a smooth journey and a roadside disaster: the pre-trip inspection. For any aspiring CDL professional, mastering this process is not just about passing the exam; it is the bedrock of a safe, successful career. Think of it as your daily commitment to safety, ensuring your vehicle is fit for the demands of the highway. A thorough inspection protects you, your cargo, and everyone else on the road.
This guide moves beyond a simple list of items. It serves as a comprehensive breakdown of the essential checks every driver must internalize. We will provide actionable steps, real-world scenarios, and expert tips to transform your pre-trip routine from a mere requirement into a powerful professional habit. This detailed pre trip inspection checklist is meticulously designed to build your confidence, ensuring you are prepared for both the CDL skills test and every mile that follows. By mastering these steps, you demonstrate a commitment to safety and professional competence from the very first day of your career, proving you have what it takes to operate a commercial vehicle responsibly and efficiently.
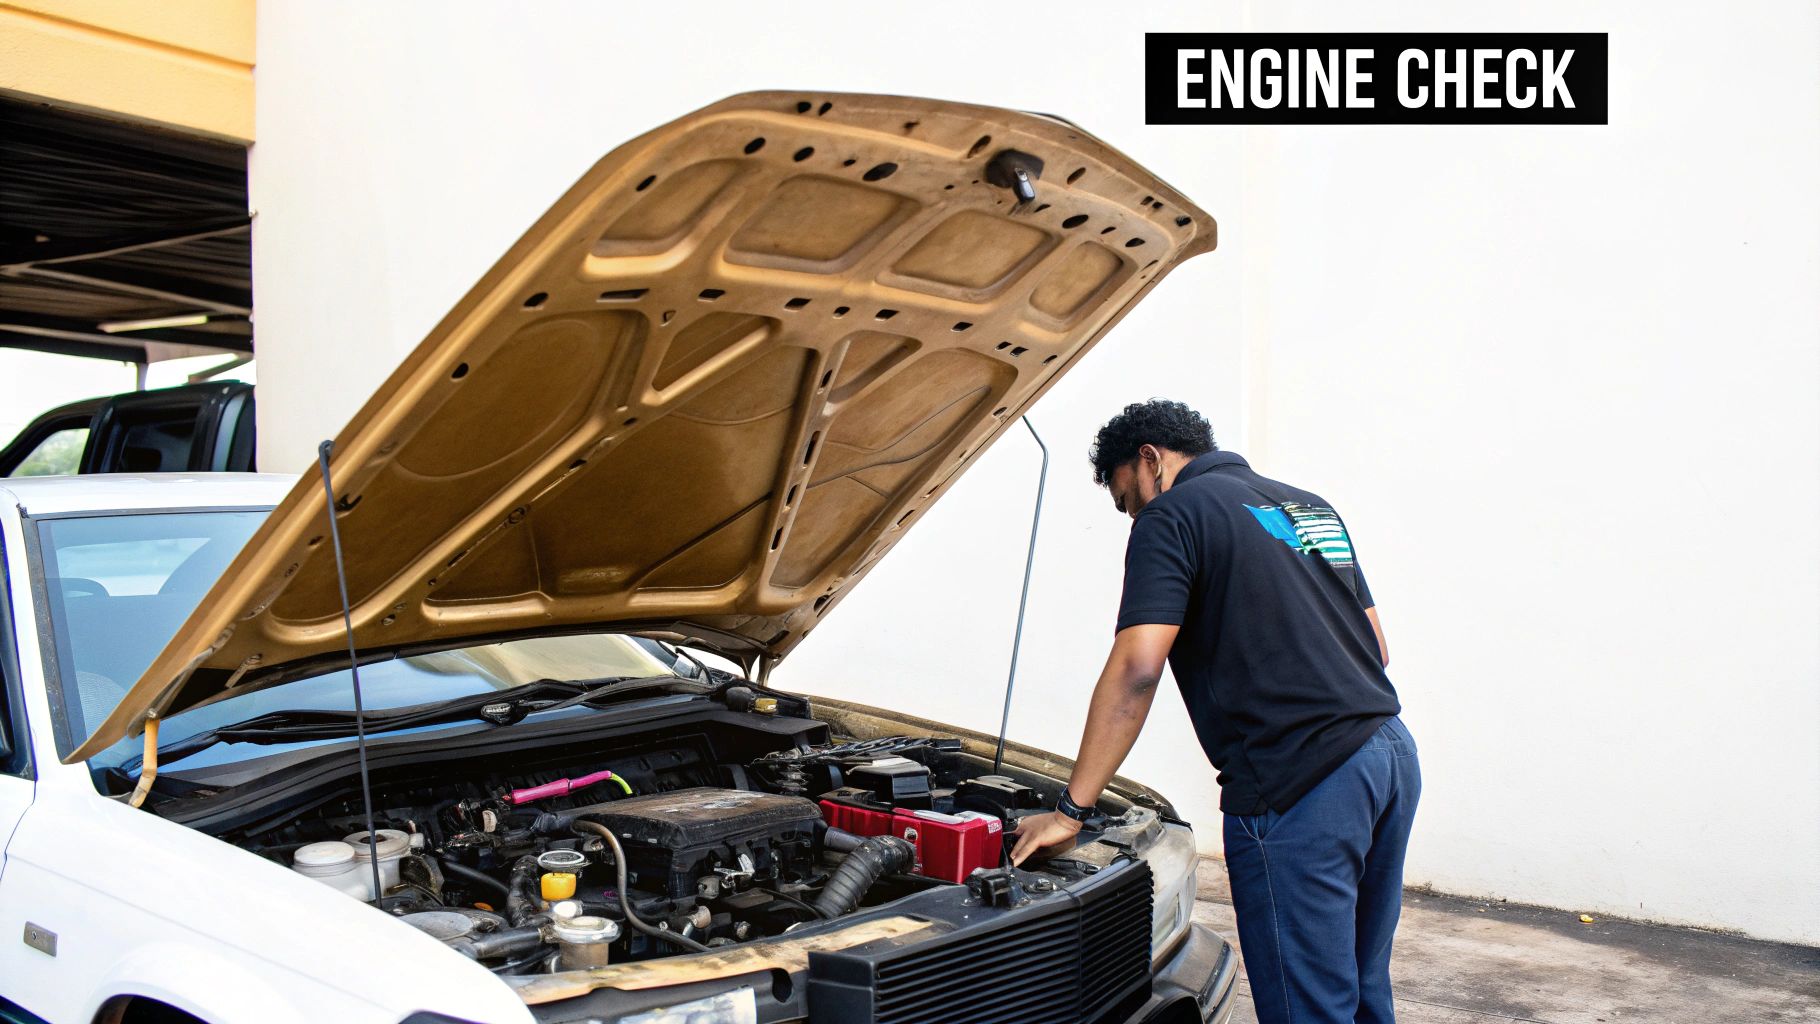
1. Engine Compartment Inspection
The engine compartment is the heart of your commercial vehicle, and a thorough inspection here is non-negotiable for any pre-trip inspection checklist. This step involves a systematic check of all critical components housed under the hood to ensure the power plant is safe, reliable, and ready for the demands of the road. Neglecting this area can lead to catastrophic failures, costly roadside repairs, and significant safety hazards.
The Federal Motor Carrier Safety Administration (FMCSA) mandates this check because a well-maintained engine is fundamental to vehicle control and safety. Major carriers like FedEx and Schneider National build their entire safety protocol around this initial, critical inspection.
What to Check in the Engine Compartment
A comprehensive engine bay check is more than just a quick glance. You must methodically examine several key systems, looking for specific signs of wear, damage, or low fluid levels.
- Fluid Levels: Check the engine oil using the dipstick, ensuring the level is between the "add" and "full" marks. Inspect the power steering fluid and windshield washer fluid, topping them off if necessary. Crucially, check the engine coolant level in the overflow reservoir; never open a hot radiator cap.
- Belts and Hoses: Examine all visible belts (alternator, water pump, power steering) for cracks, fraying, or excessive looseness. Hoses should be firm and free of cracks, bulges, or leaks.
- Engine Components: Look for any signs of fluid leaks, such as oil, coolant, or fuel, on the engine block or on the ground beneath it.
- Battery: Ensure the battery is securely mounted and that the connections are tight, clean, and free of corrosion.
- Air Compressor: If your truck has air brakes, you must verify that the air compressor is securely mounted and not leaking.
Key Insight: Always perform engine compartment checks on level ground with the engine cool. This provides the most accurate fluid readings and prevents potential burns from hot components. Keeping a rag and a flashlight handy will make the process cleaner and more effective, especially during early morning or late-night inspections.
2. Tire and Wheel Assembly Inspection
Your tires are the only part of your commercial vehicle that makes direct contact with the road, making their inspection a critical safety component of any pre trip inspection checklist. A detailed examination of all tires, wheels, and related hardware is essential, as a tire failure at highway speeds can lead to a complete loss of control and catastrophic accidents. This check ensures your vehicle's foundation is sound and ready to handle the load and distance ahead.

The National Highway Traffic Safety Administration (NHTSA) heavily emphasizes tire safety, and for good reason. Major logistics operations like Amazon and long-haul trucking companies mandate daily tire checks as a cornerstone of their safety protocols, recognizing that well-maintained tires prevent costly downtime and protect both the driver and the public.
What to Check in the Tire and Wheel Assembly
A proper tire and wheel inspection requires you to look at every single tire on your truck and trailer, including the inside duals. This systematic process helps you spot potential failures before they happen.
- Tire Condition: Check air pressure on all tires with a reliable gauge. Visually inspect the sidewalls for any cuts, bulges, or abrasions. Examine the tread for sufficient depth, looking for even wear across the surface.
- Tread Depth: The FMCSA requires a minimum of 4/32-inch tread depth on steer tires and 2/32-inch on all other tires. Use a tread depth gauge or the "penny test" to verify.
- Wheels and Rims: Inspect wheels for any cracks, bends, or damage. Look for rust streaks coming from the lug nuts, which could indicate they are loose.
- Mounting Hardware: Check that all lug nuts are present and appear tight. Also, inspect valve stems and caps to ensure they are not cracked, damaged, or missing.
- Spacers and Axles: Ensure there is no debris lodged between dual tires and that axle seals are not leaking.
Key Insight: Always check tire pressure when the tires are cold for the most accurate reading. Pressure increases as tires heat up during operation, which can mask an underinflation issue. Carrying a tire pressure gauge, a tread depth tool, and a small "thumper" or mallet can make your daily inspection more thorough and efficient.
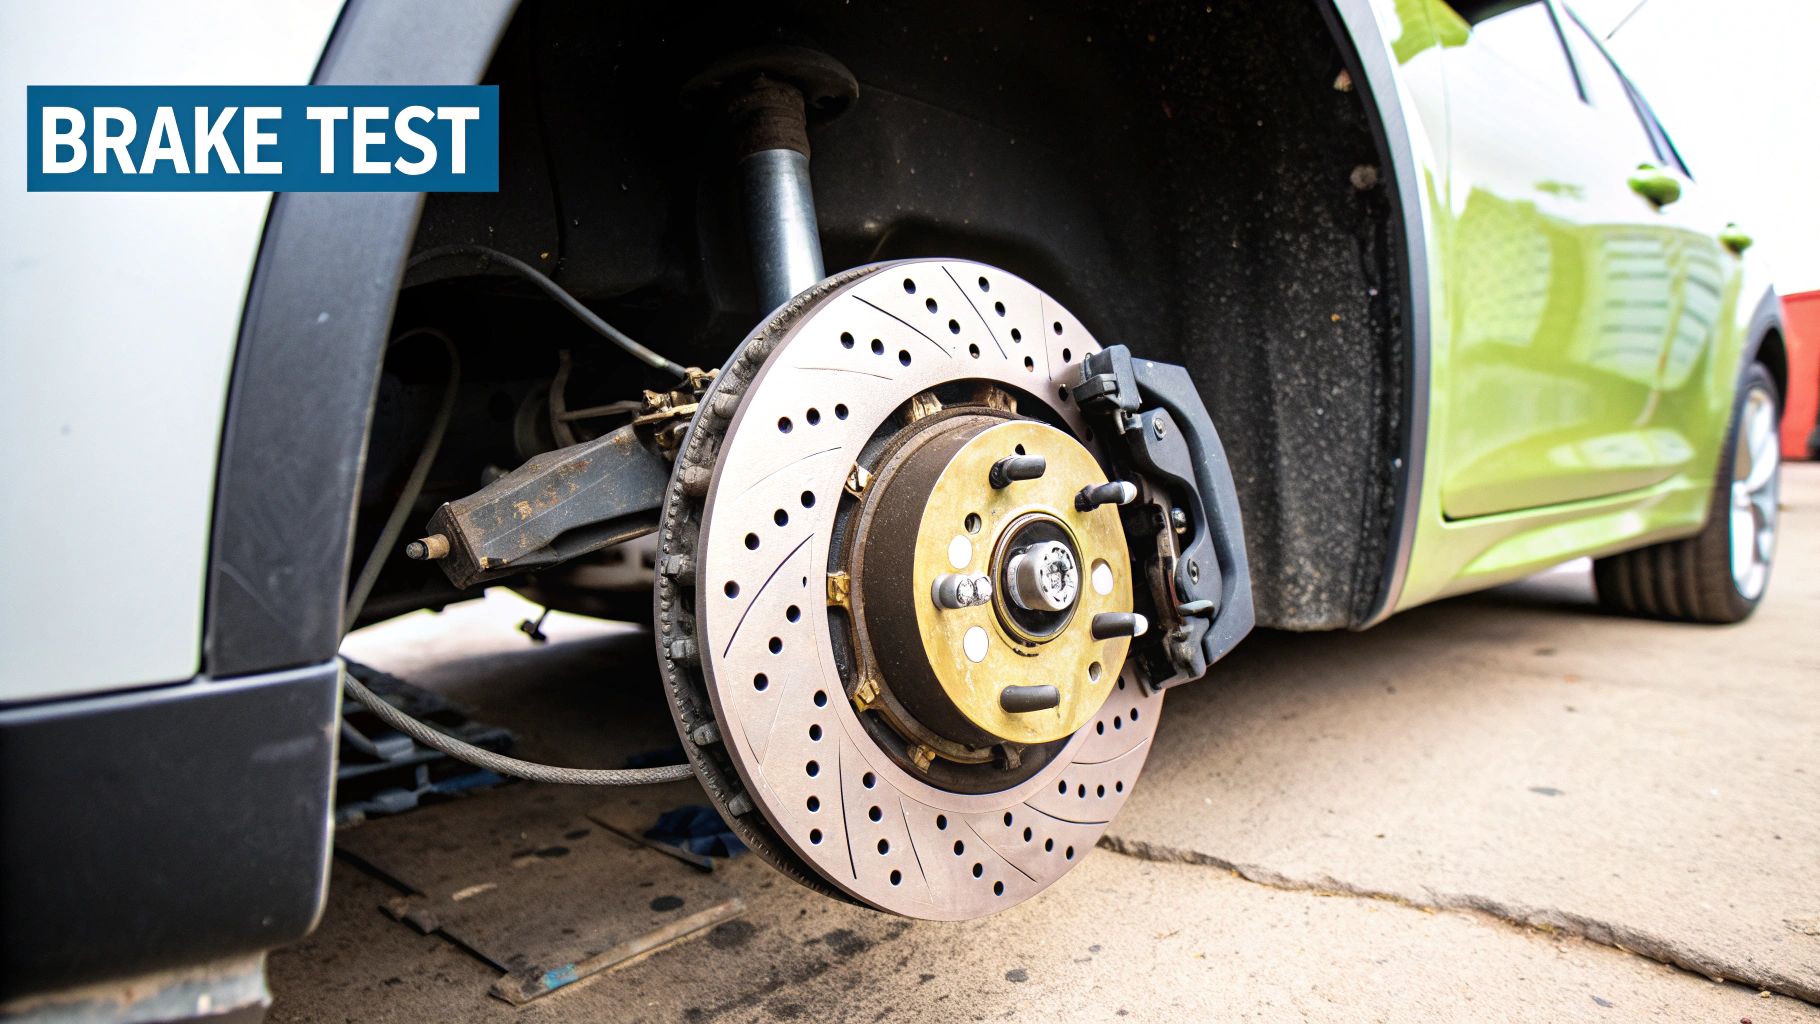
3. Brake System Inspection
The brake system is arguably the most critical safety feature on any commercial vehicle, making its evaluation a cornerstone of any pre-trip inspection checklist. This check involves a detailed assessment of the entire braking apparatus, from the service brakes to the parking brake, to ensure the vehicle can stop reliably and safely. A failure in the brake system can have immediate and devastating consequences, making this inspection a non-negotiable step before every single trip.
This rigorous focus on brake integrity is championed by regulatory bodies like the Commercial Vehicle Safety Alliance (CVSA) and major brake manufacturers such as Bendix. The protocol is also standard practice for emergency services, school districts, and tour bus companies, all of whom understand that public safety depends on flawless brake performance.
What to Check in the Brake System
A proper brake system inspection goes far beyond just pressing the pedal. It requires a systematic approach to identify potential issues before they become dangerous. For vehicles with air brakes, this process is even more detailed.
- Air Brake System (if equipped): You must check that the air compressor cuts in and out at the correct pressures, typically around 100 psi and 125 psi, respectively. Test for leaks by fully charging the system, releasing the parking brake, and holding firm pressure on the service brake for one minute; you should lose no more than 4 psi. Also, test the low air pressure warning alarm and the automatic activation of the spring brakes.
- Brake Components: Visually inspect brake chambers, slack adjusters, and pushrods for security and damage. Ensure slack adjusters do not have more than approximately one inch of free play when pulled by hand. Check brake linings and drums for cracks, damage, or contamination from oil or grease.
- Parking Brake: With the parking brake set, gently try to pull forward in a low gear to ensure it holds the vehicle securely. This is a crucial test of its holding power.
- Service Brakes: As you begin to move, test the service brakes at a low speed (around 5 mph) to check for any unusual pulling, grabbing, or delayed response.
Key Insight: Always listen for audible air leaks around fittings and hoses, especially when the system is fully charged. When testing the service brake, pay close attention to the feel of the pedal; it should be firm, not spongy or soft. Any squealing or grinding noises are immediate red flags that require professional attention before you drive.
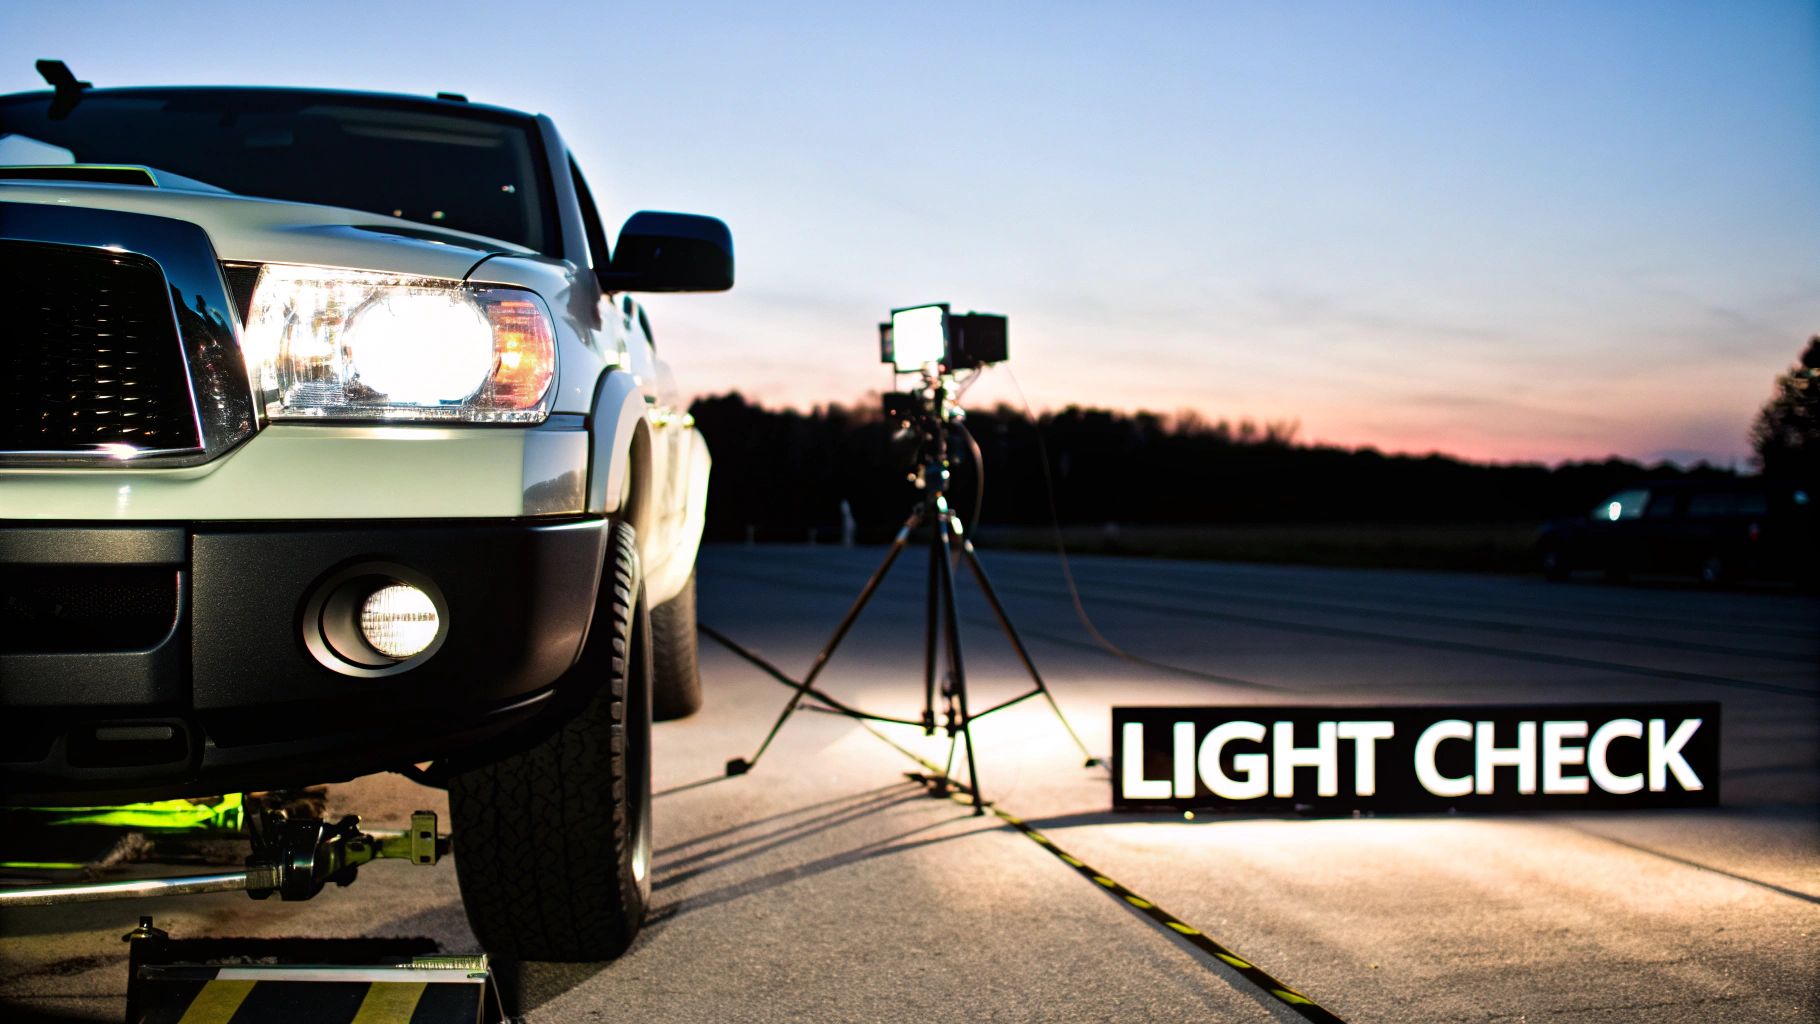
4. Lighting and Electrical System Check
A vehicle's lighting and electrical system is its primary means of communication on the road, making this check a cornerstone of any pre trip inspection checklist. This step involves a systematic verification of all external and internal lights to ensure you can see, be seen, and signal your intentions clearly to other drivers. A malfunctioning light is not just a ticketable offense; it's a major safety risk that can lead to misinterpretation and collisions.
This inspection is rigorously enforced by state motor vehicle departments and championed by organizations like the National Safety Council. Daily lighting checks are standard procedure for operations where visibility is paramount, including police departments, delivery services like DHL, and construction vehicle fleets before they begin work on site.
What to Check in the Lighting and Electrical System
A thorough lighting inspection requires you to activate every light and physically confirm it is working correctly, is the proper color, and is not damaged.
- Headlights: Check both low beams and high beams. Ensure the lenses are clean, and the lights are aimed correctly to avoid blinding other drivers.
- Signal and Hazard Lights: Activate the left and right turn signals for both the front and rear of the vehicle (and trailer, if applicable). Turn on the four-way hazard lights and walk around the entire vehicle to confirm all are flashing.
- Brake and Tail Lights: Verify that all tail lights are illuminated. Have a helper step on the brake pedal or use a reflective surface or a tool to check that all brake lights are functional.
- Clearance and Marker Lights: Ensure all clearance lights on the top corners and marker lights along the sides of the truck and trailer are working. These are critical for defining the vehicle's size at night.
- Fuses and Wiring: While not a daily deep dive, be aware of the fuse box location and visually inspect any accessible wiring for frays, corrosion, or loose connections.
Key Insight: To check your rear lights without a helper, park with the back of your trailer facing a reflective surface like a storefront window or a shiny wall. You can see the reflection of the lights in your mirrors as you activate them. Always carry spare fuses and bulbs for common lights to handle minor issues on the spot and avoid violations.
5. Mirrors and Visibility Assessment
Proper visibility is a fundamental pillar of safe driving, making a thorough evaluation of all mirrors, windows, and visibility aids an essential part of your pre-trip inspection checklist. This step ensures you have a clear, unobstructed 360-degree view around your vehicle, which is critical for maneuvering a large commercial truck, changing lanes, and monitoring traffic. Neglecting this check compromises your spatial awareness and dramatically increases the risk of collisions.
The National Safety Council and various driver education programs emphasize that a driver can only react to hazards they can see. School bus drivers, for example, perform exhaustive mirror checks to ensure student safety around the vehicle, a practice that highlights the life-or-death importance of this inspection step.
What to Check for Mirrors and Visibility
A comprehensive visibility check goes beyond a simple glance in the mirror. You must systematically inspect and test each component designed to keep your field of vision clear.
- Mirrors: Inspect all mirrors, including flat, convex, and fender-mounted mirrors, for cracks, dirt, and obstructions. Ensure they are securely mounted to the vehicle and do not vibrate excessively. Adjust each one from the driver's seat to minimize blind spots.
- Windows and Windshield: Check all glass for illegal stickers, cracks, chips, or other damage that could impede your view. The windshield must be clean inside and out.
- Wipers and Washers: Test the windshield wipers to ensure they operate smoothly at all speeds and don't leave streaks. Verify the washer fluid reservoir is full and that the spray nozzles are aimed correctly at the windshield.
- Obstructions: Ensure there are no loose items inside the cab, such as logbooks, bags, or decorations, that could block your view of the mirrors or windows.
Key Insight: Always adjust your mirrors after you have adjusted your seat to your proper driving position. Your seating position dictates your line of sight, so setting your seat first ensures your mirror adjustments are accurate for your specific perspective, providing optimal coverage of surrounding lanes and blind spots.
6. Fluid Levels and Leak Detection
Proper fluid management is the lifeblood of any commercial vehicle, making this a cornerstone of the pre trip inspection checklist. This step involves a detailed assessment of all critical fluids and a vigilant search for leaks, which are often the first signs of a failing component. Ensuring correct fluid levels prevents mechanical breakdown, protects expensive systems from damage, and avoids environmental contamination.
This practice is deeply ingrained in high-stakes industries where failure is not an option. For instance, aircraft undergo exhaustive fluid checks before every flight, and heavy equipment operators inspect hydraulic levels daily to prevent catastrophic system failures. This level of diligence is equally critical for a commercial truck driver.
What to Check for Fluids and Leaks
A thorough fluid and leak inspection is a multi-point process that covers every major system. You must be methodical, checking not just the levels but also the condition of the fluids and the integrity of their systems.
- Engine Oil: Use the dipstick to verify the oil level is within the manufacturer's recommended range. The engine should be cool for an accurate reading.
- Coolant: Check the coolant level in the overflow reservoir. Never attempt to open a hot radiator cap, as the pressurized system can cause severe burns.
- Power Steering Fluid: Locate the power steering reservoir and ensure the fluid level is adequate. Low levels can make steering difficult and damage the pump.
- Transmission Fluid: This check often requires the engine to be running and the transmission to be in neutral or park. Consult the vehicle's manual for the specific procedure.
- Windshield Washer Fluid: While not critical for engine operation, clear visibility is a major safety factor. Keep this reservoir topped off.
- Leak Detection: Carefully inspect the ground underneath the engine and along the chassis. Look for puddles or fresh drips of oil, coolant, or other fluids that indicate a potential leak.
Key Insight: Pay close attention to the color and consistency of fluids. Engine oil should be amber or black, not milky (which indicates coolant contamination). Coolant should be brightly colored (green, red, or orange) and not rusty or oily. Any deviation from the norm warrants a closer look by a certified mechanic.
7. Coupling and Trailer Connection Inspection
For any driver operating a combination vehicle, the coupling system is the critical link that keeps the tractor and trailer working as one unit. This part of the pre-trip inspection checklist demands meticulous attention, as a failure here can lead to a catastrophic separation on the highway. This inspection involves verifying the security of the mechanical, electrical, and air connections that join the two parts of your rig.
This check is a cornerstone of commercial trucking and is heavily emphasized by hitch manufacturers like Reese and Curt and RV makers like Winnebago. Ensuring a secure connection is not just a best practice; it's a fundamental requirement for preventing rollovers, jackknifes, and other severe accidents caused by trailer detachment.
What to Check in the Coupling System
A proper coupling inspection goes beyond a simple tug test. It requires a hands-on examination of multiple components to confirm they are locked, secure, and functioning correctly.
- Fifth Wheel (For Semi-Trailers): Check that the fifth wheel is securely mounted to the frame and has no missing or damaged parts. Ensure the release handle is in the proper position and the locking jaws are fully closed around the kingpin. There should be no gap between the fifth wheel plate and the trailer apron.
- Air and Electrical Lines: Inspect the air lines (glad hands) and electrical cord for cuts, cracks, or wear. Confirm they are securely connected, with seals intact, and have enough slack to allow for turns without binding but are not dragging on the ground.
- Landing Gear: Make sure the trailer's landing gear is fully raised and the crank handle is secured. Damaged or partially lowered landing gear can catch on road surfaces, causing significant damage.
- Sliding Fifth Wheel: If equipped, check that the locking pins for the sliding fifth wheel are fully engaged and secure.
- Pintle Hook / Ball Hitch (For Other Trailers): For other trailer types, verify the pintle hook or ball hitch is properly latched and locked with any safety pins in place. Check that safety chains are crossed under the trailer tongue and securely attached.
Key Insight: After coupling, perform a "tug test." With the trailer brakes engaged, gently try to pull forward with the tractor. The vehicle should not move, confirming the kingpin is securely locked. This simple action is your final verification that the connection is solid before you start your journey.
8. Emergency Equipment and Safety Device Verification
Beyond the mechanical checks, a complete pre-trip inspection checklist must account for the equipment you'll need if something goes wrong. Verifying your emergency equipment and safety devices ensures you are prepared to handle unexpected roadside situations safely and effectively. This check is not just about compliance; it's about self-sufficiency and the ability to protect yourself, your vehicle, and other motorists in an emergency.
Federal regulations (49 CFR § 393.95) mandate specific emergency equipment for commercial vehicles. Organizations like the American Red Cross and AAA also champion the importance of emergency preparedness, a principle that is absolutely critical for professional drivers who spend countless hours on the road, often in remote areas.
What to Check in Your Emergency and Safety Kit
A thorough check of your safety gear involves more than just seeing if it's there. You must confirm each item is present, accessible, and in good working order.
- Fire Extinguisher: Ensure the extinguisher is properly charged (the needle should be in the green zone), securely mounted, and readily accessible. It must be the correct type and rating for your vehicle.
- Warning Devices: You must have at least three bidirectional reflective triangles. Check that they are not broken and are stored in their container.
- Spare Fuses: If your vehicle uses them, you must have at least one spare fuse for each type required.
- First-Aid Kit and Tools: While not always a federal requirement, a well-stocked first-aid kit, basic tool set, and communication device are essential for practical safety. Check expiration dates on medical supplies.
- Personal Protective Equipment (PPE): Always have items like high-visibility vests, gloves, and safety glasses ready for use during inspections or roadside situations.
Key Insight: Store your emergency equipment where you can get to it quickly and safely, even if your truck is disabled on the shoulder of a busy highway. Don't bury your warning triangles under other cargo. Practice deploying them so you can do it efficiently under pressure.
Pre-Trip Inspection: 8-Point Checklist Comparison
| Inspection Type | Implementation Complexity 🔄 | Resource Requirements ⚡ | Expected Outcomes 📊 | Ideal Use Cases 💡 | Key Advantages ⭐ |
|---|---|---|---|---|---|
| Engine Compartment Inspection | Moderate (technical knowledge needed) | Basic tools, flashlight | Early detection of engine issues, improved fuel economy | Commercial trucking, delivery, school buses | Prevents engine failure, extends engine life |
| Tire and Wheel Assembly Inspection | Moderate (tools needed, time-consuming) | Pressure gauge, tread depth gauge | Prevents blowouts, improves handling and fuel efficiency | Long-haul trucks, racing, delivery fleets | Enhances safety, reduces accident risk, extends tire life |
| Brake System Inspection | High (specialized knowledge required) | Possible wheel removal tools, brake tester | Ensures brake effectiveness, compliance with regulations | Emergency vehicles, buses, commercial trucks | Prevents brake failure, maintains stopping distances |
| Lighting and Electrical System Check | Low to moderate (may need assistant) | Spare bulbs/fuses, mirrors or helpers | Ensures visibility, prevents citations | Police, rental cars, delivery, construction vehicles | Improves communication, maintains legal compliance |
| Mirrors and Visibility Assessment | Low (simple adjustment and cleaning) | Cleaning supplies | Maximizes driver awareness, reduces blind spots | Semi-trucks, school buses, emergency vehicles | Enhances safety, prevents obstructed view citations |
| Fluid Levels and Leak Detection | Moderate (knowledge of fluids needed) | Dipsticks, fluid refills | Prevents system failures, maintains performance | Aircraft, heavy equipment, fleets | Reduces component damage, cuts environmental impact |
| Coupling and Trailer Connection Inspection | High (specific technical skills) | Tools, knowledge of coupling systems | Prevents trailer separation, ensures safe towing | Long-haul trucks, RVs, boat trailers | Ensures compliance, reduces liability risks |
| Emergency Equipment and Safety Device Verification | Low to moderate (organizational focus) | Emergency kits, communication devices | Preparedness for roadside emergencies | Commercial trucks, emergency services, school buses | Meets legal requirements, reduces emergency response time |
Making Your Checklist a Career-Long Habit
Completing a thorough pre-trip inspection is far more than just a task to be checked off or a hurdle to clear for your CDL exam. It is the foundational discipline of a professional driver, a non-negotiable ritual that safeguards your life, your equipment, your cargo, and every other person sharing the road with you. By consistently and diligently applying a comprehensive pre trip inspection checklist, you are not just following rules; you are actively taking command of your environment and mitigating risks before you even turn the key.
The eight core areas we've explored in this guide, from the engine compartment to your emergency equipment, represent the critical systems that keep a commercial vehicle operating safely. Think of this process not as a list of individual items, but as a holistic vehicle health assessment. A single worn tire, a cracked airline, or a burned-out signal light can set off a catastrophic chain of events. Your inspection is the first and most effective line of defense against such failures.
From Checklist to Instinct
The goal is to move beyond simply reciting steps from memory. True mastery is achieved when the inspection process becomes an ingrained habit, an instinct you rely on every single day. You will begin to notice subtle changes in your vehicle, a new sound from the engine, a slight difference in brake response, or the faint smell of a fluid leak. This heightened awareness is what separates a good driver from a great one.
A professional driver's most valuable tool isn't their GPS or their logbook; it's their unwavering commitment to the pre-trip inspection. It’s the routine that prevents emergencies.
This discipline has a direct and profound impact on your career. It minimizes costly and time-consuming roadside breakdowns, protects your Commercial Driver's License and Compliance, Safety, Accountability (CSA) score from violations, and builds a reputation for reliability and professionalism. An immaculate inspection record is a testament to your skill and dedication.
Actionable Next Steps for Aspiring Professionals
To truly internalize this crucial skill, you must bridge the gap between theoretical knowledge and practical application. Reading about checking brake slack adjusters is one thing; feeling the proper tolerance with your own hands is another.
Here are your next steps:
- Systemize Your Routine: Don't just wander around the truck. Adopt a systematic flow, like the one outlined in this article, and stick to it every time. Consistency prevents forgotten steps.
- Verbalize the Process: As you practice, say each step and your findings out loud. This technique, often used during CDL training, reinforces the process in your memory and keeps you focused.
- Seek Hands-On Training: The ultimate step is to learn from seasoned professionals in a real-world setting. Expert instructors can provide immediate feedback, demonstrate proper techniques, and answer questions in a way no article can.
Mastering your pre trip inspection checklist is the first major step toward a long, safe, and successful career in trucking. It is a daily investment in your own safety and professional future.
Ready to turn this knowledge into a career? The best way to master the pre-trip inspection is with hands-on training from expert instructors. Patriot CDL provides the comprehensive, real-world experience you need to take these checklist items from the page to professional practice, ensuring you start your journey with the confidence and skills to succeed.