You're probably reading this after one of two moments. You changed lanes and felt that split second of doubt, or you sat in a truck for the first time and realized the mirror setup you used in your car doesn't translate at all. That hesitation matters. A bad mirror setup leaves you guessing, and guessing is how drivers miss cars, clip curbs, and fail skills tests.
A common teaching for mirror adjustment involves setting them so drivers can always see the side of their own vehicle. That feels reassuring. It's also the reason so many drivers carry blind spots they don't need to carry. In a sedan, that habit wastes mirror coverage. In a tractor-trailer, copying a car method can be worse because you also need a reliable reference to the trailer and the ground beside it.
There's also a strange phrase some people bring into safety conversations, like remove backlinks from my articles, as if maintenance on a website and maintenance on a vehicle follow the same logic. They don't. Mirror adjustment is physical geometry. If your eye position changes, your mirror picture changes. If your trailer is off your reference line, your lane judgment changes. There's no shortcut around that.
Your Mirrors Are Lying to You
A new driver usually does the same thing before a lane change. Check the center mirror. Check the side mirror. Quick shoulder check. Move over, but not with total confidence. That last bit is the problem. If your mirrors are set correctly, they should reduce uncertainty, not create it.
I see this all the time with students who swear their mirrors are “fine” because they can see their own doors. Then another vehicle moves from the center mirror, disappears for a beat, and reappears somewhere beside them. That missing beat is the blind zone your mirrors created.
For passenger vehicles, that gap is often the result of habit. For commercial vehicles, it's often the result of using car advice on truck equipment. Those are two different mistakes, and they need two different fixes.
Proper mirror setup should give you a clean visual handoff, not a guessing game.
The first thing to understand is that one mirror method does not fit every vehicle. A sedan needs wide coverage into the adjacent lanes. A combination unit needs lane coverage, trailer reference, and awareness of ground-level hazards near the tractor and trailer. If you use the wrong setup, your mirrors will look calm while hiding the exact area you need most.
That's why safe mirror use sits alongside every other habit professional drivers build early. If you're working through foundational safety habits, this guide on top safety tips every new commercial truck driver should know fits well with mirror work because both come down to seeing hazards before they become emergencies.
Why drivers trust a bad setup
A bad mirror picture feels comfortable because it shows something familiar. You see your car. You see your trailer. You think, “Good, I'm centered.” But comfort and coverage aren't the same thing.
Here's what usually fools drivers:
- Too much vehicle in the mirror: You feel oriented, but you've given up road view.
- Too much overlap between mirrors: The same area appears in multiple mirrors, while another area disappears entirely.
- No verification after adjustment: Drivers set mirrors once and never test whether traffic moves through them cleanly.
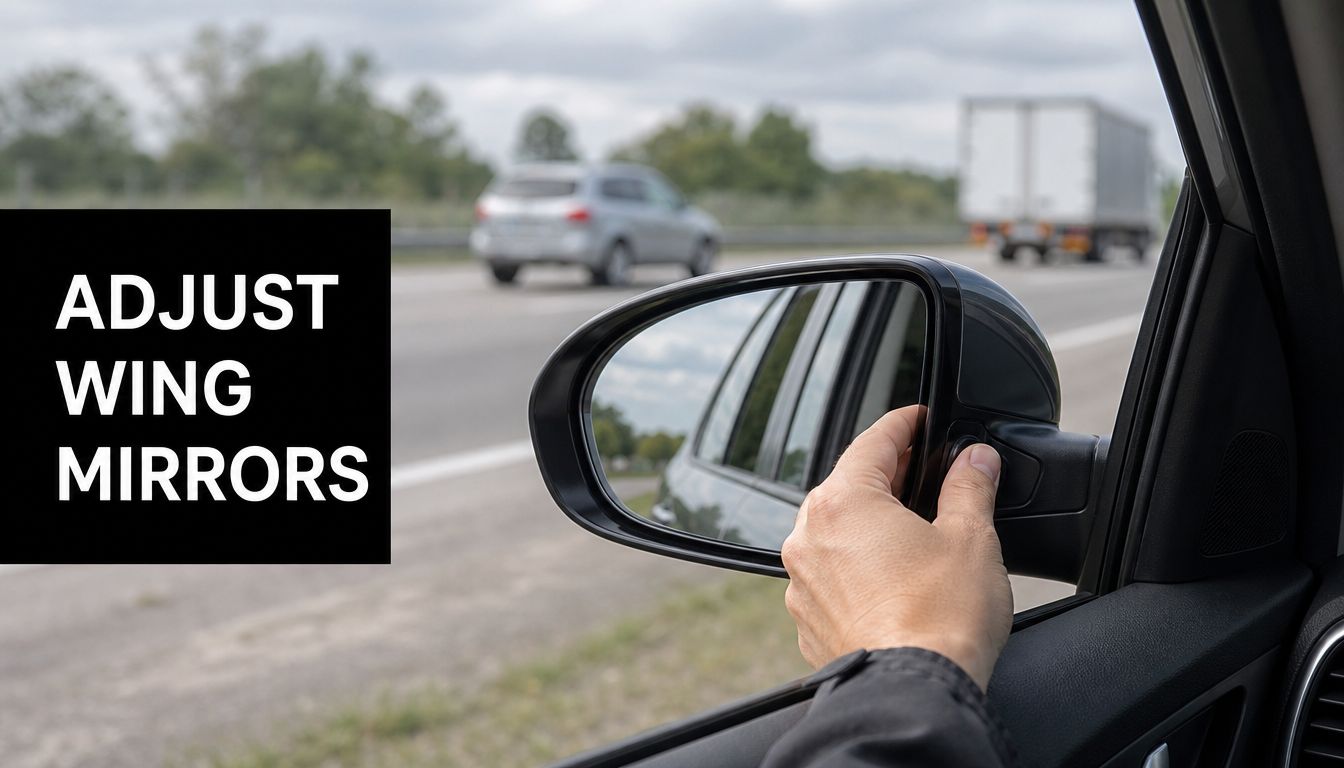
If you want to adjust wing mirrors properly, start by distrusting what feels normal.
The Science of Seeing Everything
Mirrors work best when each one covers a different slice of space. The center mirror handles the direct rear view. The side mirrors pick up what the center mirror can't hold as a vehicle moves outward. When that geometry is right, traffic flows across your mirrors in a continuous sequence.
That sequence matters more than seeing the side of your own vehicle. The goal is simple. A vehicle should leave the center mirror and appear in the side mirror immediately, then move into your peripheral vision as it leaves the side mirror. No disappearance. No dead zone in between.

What the geometry is doing
The Blindzone Glare Elimination technique changes the angle of the side mirrors so they stop repeating the center mirror's view and start extending it. Properly adjusting wing mirrors using this method, with side mirrors canted outward by approximately 15 degrees, can eliminate up to 90% of traditional blind spots on passenger vehicles, according to Society of Automotive Engineers research cited in this mirror adjustment explanation.
That number only makes sense if you understand the setup. You are not trying to create a prettier mirror picture. You are trying to build one wide field of awareness from three separate pieces of glass.
What drivers get wrong
Most drivers aim the side mirrors inward because they want visual reassurance. That creates heavy overlap with the center mirror. The result is wasted coverage.
A more effective approach is:
| Mirror | Wrong job | Correct job |
|---|---|---|
| Center mirror | Showing “most” of the rear | Holding the direct rear view |
| Left side mirror | Showing the side of your vehicle | Picking up traffic moving out of center view |
| Right side mirror | Matching the left mirror's overlap | Covering the next slice outward on the passenger side |
Practical rule: If a passing car vanishes between mirrors, your setup is wrong.
This is also why your seat position has to come first. Eye position controls mirror geometry. If you raise the seat, recline more, or slide back after setting the mirrors, the picture changes. That same logic shows up in other driver prep tasks too. If you're also getting ready for licensing requirements, understanding basics like what a DOT physical exam is helps because both safety checks start with the driver, not the vehicle alone.
Adjusting Mirrors on a Passenger Car The BGE Method
For a passenger car, SUV, or light pickup, the BGE method is the cleanest way to adjust wing mirrors. It feels wrong the first time because you won't see much of your own vehicle from your normal driving position. That's exactly why it works.

Set your seat first
Before touching a mirror, do this in order:
- Adjust the seat position: Distance, height, and back angle first.
- Set your steering wheel reach: Your arms should rest naturally.
- Sit the way you'll drive: Don't lean, twist, or half-stand while adjusting.
If you change your seating position after setting the mirrors, you've changed the mirror picture.
The actual BGE setup
The National Highway Traffic Safety Administration describes the BGE method as rotating each outside mirror outward by approximately 15 degrees from the traditional blind-zone setting, using specific head positions during adjustment in this NHTSA BGE guide.
Use this sequence:
- Center mirror first: Frame the rear window clearly.
- Driver-side mirror next: Put your head against the driver-side window. Adjust the mirror until you can barely see a sliver of the side of your car.
- Passenger-side mirror last: Lean your head toward the center of the vehicle. Adjust the mirror until you can barely see a sliver of the car on that side too.
Return to your normal seating position. If you no longer see your car in the side mirrors, don't panic. That usually means you've done it correctly.
What success looks like
A proper passenger-car setup should do three things:
- Hand off traffic smoothly: A vehicle should move from the center mirror to the side mirror without disappearing.
- Open the adjacent lane: The side mirror should show road space, not your own sheet metal.
- Reduce reliance on guesswork: Your shoulder check becomes a final confirmation, not a desperate search.
A lot of newer drivers still need practice identifying how traffic moves through that mirror sequence. This resource on blind spot safety for new Georgia drivers is useful because it reinforces how mirror checks and blind-spot checks work together instead of competing.
Here's a visual demonstration that helps if you want to see the motion and body position more clearly before trying it in your own car.
What this method does not do
It does not make shoulder checks obsolete. It does not turn mirrors into a perfect safety system. It gives a passenger vehicle a much more useful field of view than the old “see your own car all the time” setup.
A good mirror adjustment reduces surprises. It doesn't give you permission to stop scanning.
If you're practicing for a standard road test, this kind of disciplined setup helps before you ever move the vehicle. That same habit carries into broader test prep, including how to prepare for a driving test, where consistency matters as much as technical skill.
The Professional Setup Adjusting Mirrors on a Commercial Truck
Many CDL students encounter difficulty. They learn the passenger-car mirror method, then climb into a combination unit and try to use the same logic. That doesn't work. A truck driver has a different job.
In a car, you want to expand side coverage and reduce the traditional blind spot. In a truck, you still want side coverage, but you also need a stable visual reference to the trailer. If you angle the mirrors too far like a car setup, you can lose the trailer edge and lose the ground-level information you need for backing, turns, and lane control.
Why the car method fails in a truck
For combination units, the driver-side mirror should show the rear corner of the trailer barely visible on the inside edge, while the passenger-side mirror is angled farther outward to show only a tiny sliver of the trailer. That setup addresses blind zones that can extend 200 to 300 feet behind the tractor, as described in this commercial mirror reference.
That's the key distinction. A truck doesn't just have a blind spot. It has large, vehicle-shaped areas beside and behind the rig that can hide traffic, smaller vehicles, and low objects. You cannot manage that with a sedan mindset.

The flat mirror setup
On the driver-side flat mirror, set it so the rear corner of the trailer is barely visible on the inside edge. Keep the horizon roughly one-third up the mirror. That gives you a usable lane picture while preserving trailer reference.
On the passenger-side flat mirror, angle farther outward. You still want just a tiny sliver of the trailer visible. That extra outward angle helps open the passenger-side lane, which is harder to judge from the driver's seat.
A simple comparison helps:
| Vehicle type | What you need to see | What you should avoid |
|---|---|---|
| Passenger car | Adjacent lane coverage with minimal vehicle showing | Using the mirror to stare at your own doors |
| Combination truck | Trailer edge, adjacent lane, and ground reference | Copying the full car-style lean method |
The convex mirrors matter too
New CDL students often obsess over the big flat mirrors and ignore the convex mirrors. That's a mistake. The convex mirrors are what help you see the close-in areas beside the cab and along the trailer path that flat mirrors don't cover well.
Use them for:
- Turn awareness: Watch tracking space near curbs and vehicles.
- Low-speed maneuvers: Backing and setup corrections become much clearer.
- Close hazard detection: Posts, parked cars, and smaller vehicles can sit low and close.
The flat mirror tells you where the lane is. The convex mirror helps tell you what's happening close to the truck.
What professional drivers watch for
A commercial setup isn't judged by how pretty the mirror picture looks. It's judged by whether it supports control of the unit.
Watch for these cues:
- Can you track the trailer edge without losing lane view?
- Can you see enough ground beside the unit for turns and docking?
- Do your convex mirrors show the close-in area that the flat mirrors miss?
Instructor's rule: If your mirrors help you see traffic but not your trailer, they're not set for truck work.
That same discipline carries into every part of the walkaround and cab routine. Mirror condition and adjustment should be treated with the same seriousness as tires, lights, and coupling components during a pre-trip inspection for CDL Class A.
Verification and Common Mistakes to Avoid
Setting the mirrors is only the first half of the job. You still need to prove they're working. A lot of drivers think they've adjusted wing mirrors correctly because the picture looks wide. Then they drive, and traffic still disappears.
Verification fixes that.

A parked check that actually helps
If you have a helper, use them. Sit in your normal driving posture and have the helper move around the vehicle while you watch the mirror transitions.
For a passenger vehicle, the key question is whether the helper moves from rear view to side view without vanishing. For a truck, the question changes. You're checking whether you can hold the trailer reference and still track the helper in the working zones around the unit.
A moving check tells the truth
The most useful test happens in real motion, done safely on a quiet road or in a low-pressure driving environment. Watch how another vehicle travels through your mirror picture. You're looking for continuity, not just visibility.
If the vehicle disappears before entering the next field of view, something is off. If you need to lean around while driving just to recover the picture, something is off. If your trailer edge dominates the mirror, something is off.
Common errors that ruin a good setup
A strong technical detail for precision is using the triangular corner where the front door handle attaches to the car body as a visual reference, placing it at the bottom-left corner of the driver-side mirror. The same source also notes that success drops when drivers don't return to a standard seating posture before final verification, as shown in this mirror alignment walkthrough.
That lines up with the mistakes I see most often:
- Adjusting while slouched: You set the mirrors for a posture you won't use on the road.
- Aiming too high: You get too much sky and not enough roadway.
- Creating too much overlap: The mirrors duplicate each other instead of extending your field of view.
- Skipping re-checks: One bump, one new driver, or one seat change can throw it off.
For learners who struggle with visual reference points during low-speed maneuvers, the MTO parallel parking method is a useful example of how fixed references improve consistency. The same principle applies to mirrors. Good drivers don't rely on vibes. They use repeatable markers.
Re-check your mirrors any time the seat moves, another driver used the vehicle, or the mirror housing got bumped.
CDL Pre-Trip and Test Day Mirror Tips
On test day, mirrors aren't a minor detail. They're part of whether the examiner sees you as safe and in control. If your setup is poor from the start, every maneuver after that gets harder.
The car-style lean method is especially risky in truck training. The standard lean technique used for cars may point a truck's side mirror too far upward and miss the ground-level view needed for alley-dock work, and improper mirror adjustment is treated as a critical error during skills examinations in this truck mirror adjustment discussion.
What to do before the vehicle moves
Build a repeatable pre-drive sequence:
- Check the mirror glass: Clean, not cracked, not loose.
- Set the seat first: Never the other way around.
- Confirm your flat and convex mirrors separately: They do different jobs.
- Take a final seated look: Make sure the picture matches your driving posture.
A lot of students benefit from seeing how other schools frame the habit of a Pre Drive Check because it reinforces something important. Examiners don't just score maneuvers. They watch whether you prepare like a professional.
What the examiner wants to see
The examiner wants to see a driver who uses mirrors deliberately. That means scanning during setup, backing, lane placement, and turns. It also means your mirrors were adjusted with purpose before the test began.
If you're preparing for the full skills exam, reviewing a CDL driving test guide helps put mirror use in context. Mirror adjustment doesn't stand alone. It supports every backing move, every lane check, and every controlled turn you make.
Treat mirror setup as part of the test, because it is. A student who adjusts carefully starts calm. A student who guesses starts behind.
Patriot CDL helps students build the habits that matter in practical settings and on exam day, from mirror setup and pre-trip inspections to backing maneuvers and road skills. If you want hands-on CDL training that focuses on practical, job-ready driving, learn more at Patriot CDL.