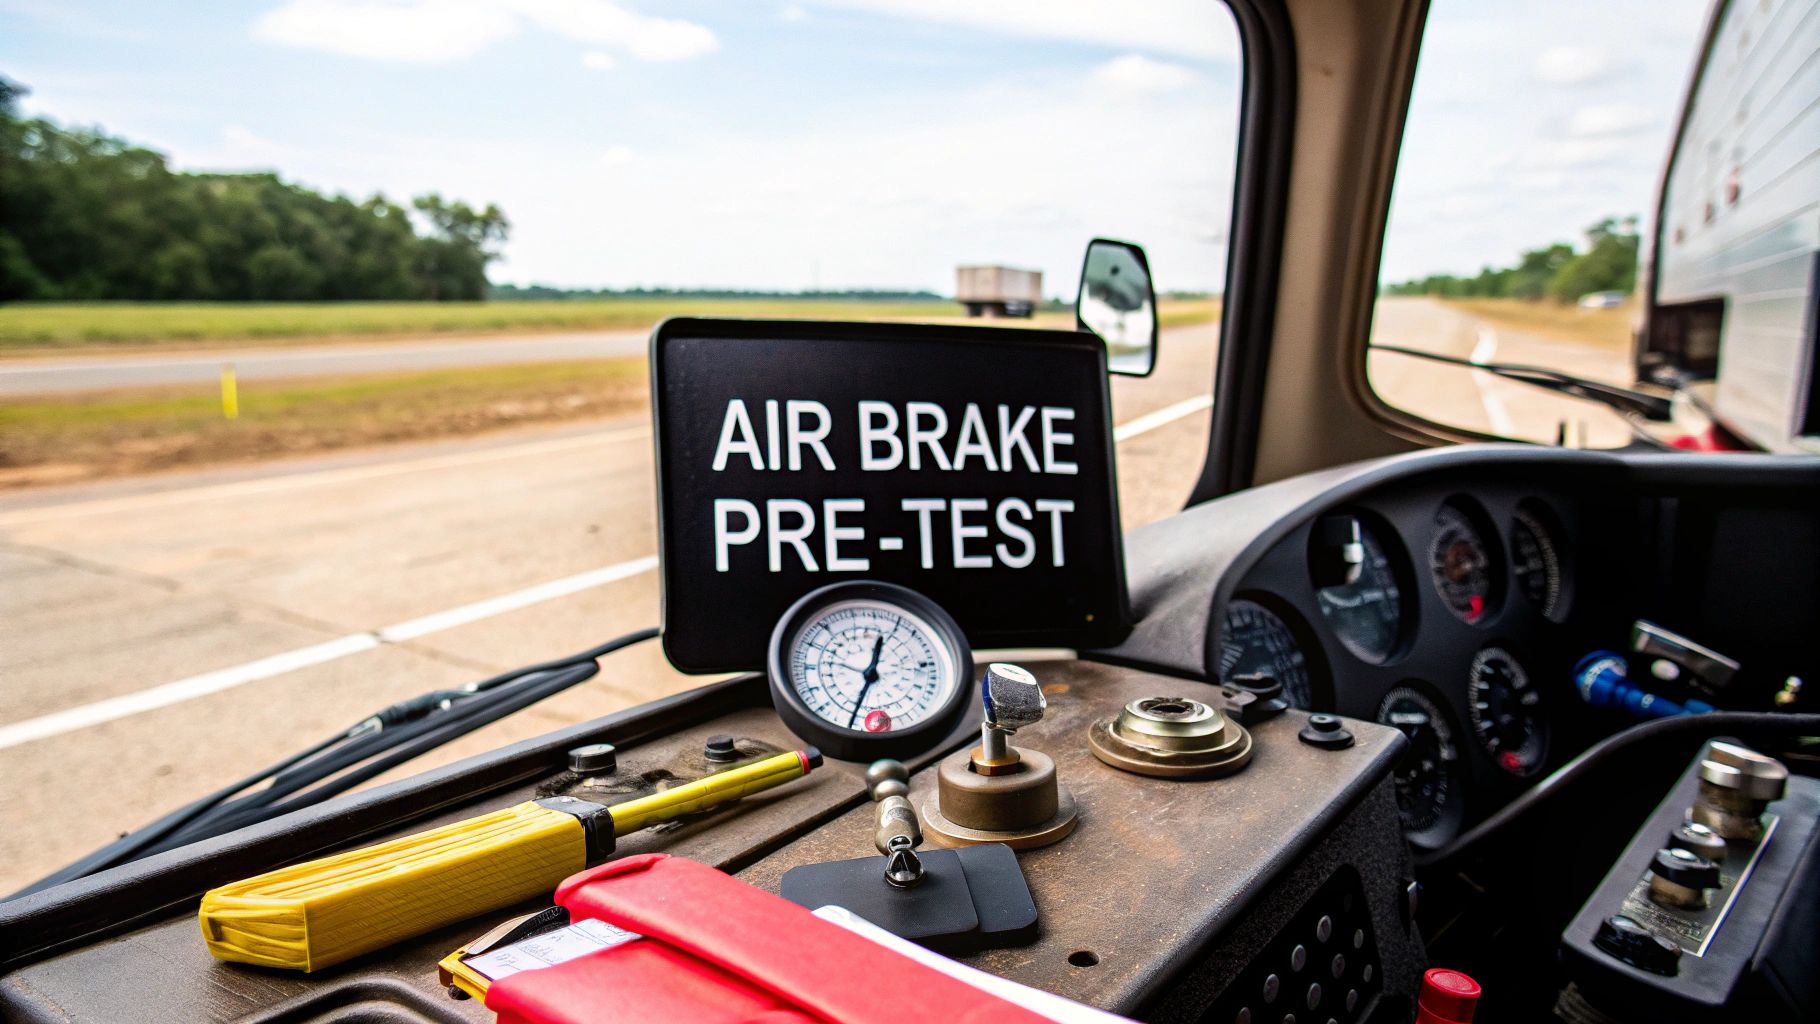
The air brake pre-test isn't just another box to check off. Think of it as the single most important safety routine you'll run before you even think about putting the truck in gear. Getting this down cold isn't just for the CDL examiner—it's about making absolutely sure your rig can stop on a dime, keeping you and everyone else on the road safe.
Why Mastering the Air Brake Pre-Test Is Non-Negotiable

For a professional driver, the air brake pre-test is a fundamental skill, something that should become second nature. It's the daily discipline that can make the difference between a smooth run and a disaster. When you truly understand why you're doing each check, it stops being a memorized script and becomes a critical diagnostic tool.
When you're listening for an air leak, you're doing more than just waiting for a hiss. You're confirming that your truck can hold the pressure required to bring 80,000 pounds to a halt on the interstate. That's exactly why the examiners are so meticulous about this part of the test.
The Foundation of On-Road Safety
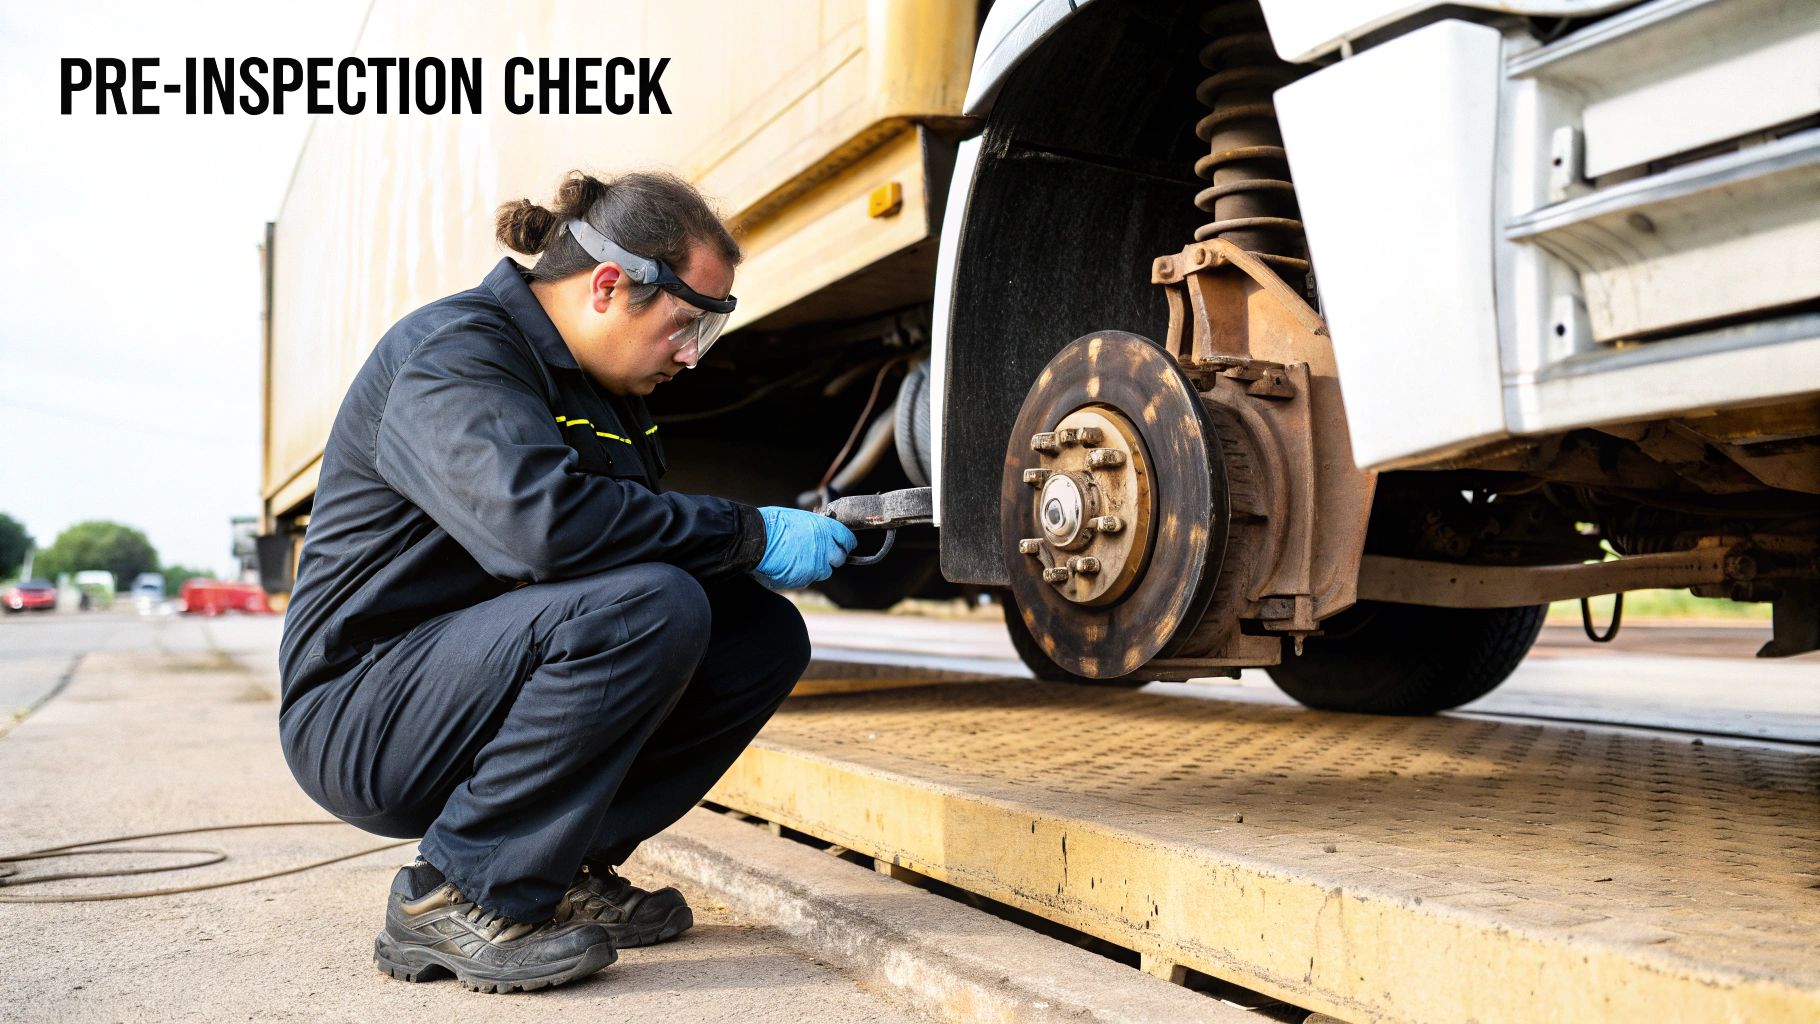
Your air brake system is the heart of your truck’s safety net. Every single component has a job to do, and if one part fails, the whole system can be compromised. Your pre-trip inspection is your one and only chance to catch a small problem before it turns into a huge one out on the highway.
The modern CDL air brake test puts a massive emphasis on this pre-trip check. Examiners won't hesitate to fail a candidate on the spot for a critical mistake, and that just reflects how vital this is in the real world. I've seen it time and again: drivers who develop a consistent, step-by-step inspection routine are the ones who pass with flying colors.
This isn't just about passing a test. It’s about building the muscle memory and instincts you need for a long, safe career behind the wheel. It’s a mark of professionalism. To get a better handle on all the moving parts, you can dive deeper into study materials.
Your air brake pre-test is the first line of defense against a mechanical failure. That five-minute check could be the only thing standing between a normal stop and a catastrophic loss of control.
Core Components of the Air Brake Pre Test Inspection
Before we get into the full step-by-step walkthrough, you need to know the major players in the system. Knowing these parts inside and out is essential for both passing your exam and doing a proper inspection every day. The table below breaks down the key components you'll be focusing on during your inspection.
| Component/System | What You Are Checking For |
|---|---|
| Air Compressor & Governor | Ensures it builds air to the correct pressure (120-140 PSI) and cuts out properly. |
| Air Tanks (Reservoirs) | Holding compressed air without leaks; you'll also drain them to remove moisture. |
| Brake Chambers & Slack Adjusters | Looking for damage, security, and proper movement (no more than 1 inch of pushrod travel). |
| Brake Linings & Drums | Checking for sufficient thickness (at least 1/4 inch), cracks, or contamination from oil/grease. |
| Hoses & Couplings | Looking for cracks, chafing, or audible leaks; ensuring gladhands are securely connected. |
| Low-Pressure Warning Devices | Verifying that the warning light and buzzer activate before pressure drops below 55 PSI. |
Familiarizing yourself with what each part does and what a "good" versus "bad" one looks like is half the battle. This knowledge is what separates a driver who is just going through the motions from one who truly understands their vehicle.
Performing the In-Cab Air Brake Inspection
Alright, you're in the cab. This is where you put your book knowledge to the test and show the examiner you really understand how these air brake systems work. It's not just about reciting steps from a manual. You've got to listen to the truck, watch the gauges, and feel how the system responds.
The first big check is all about the air compressor and governor. Think of it as the heart and brain of the system. You need to prove that it can build up the right amount of air pressure and hold it there.
Governor Cut-In and Cut-Out Test
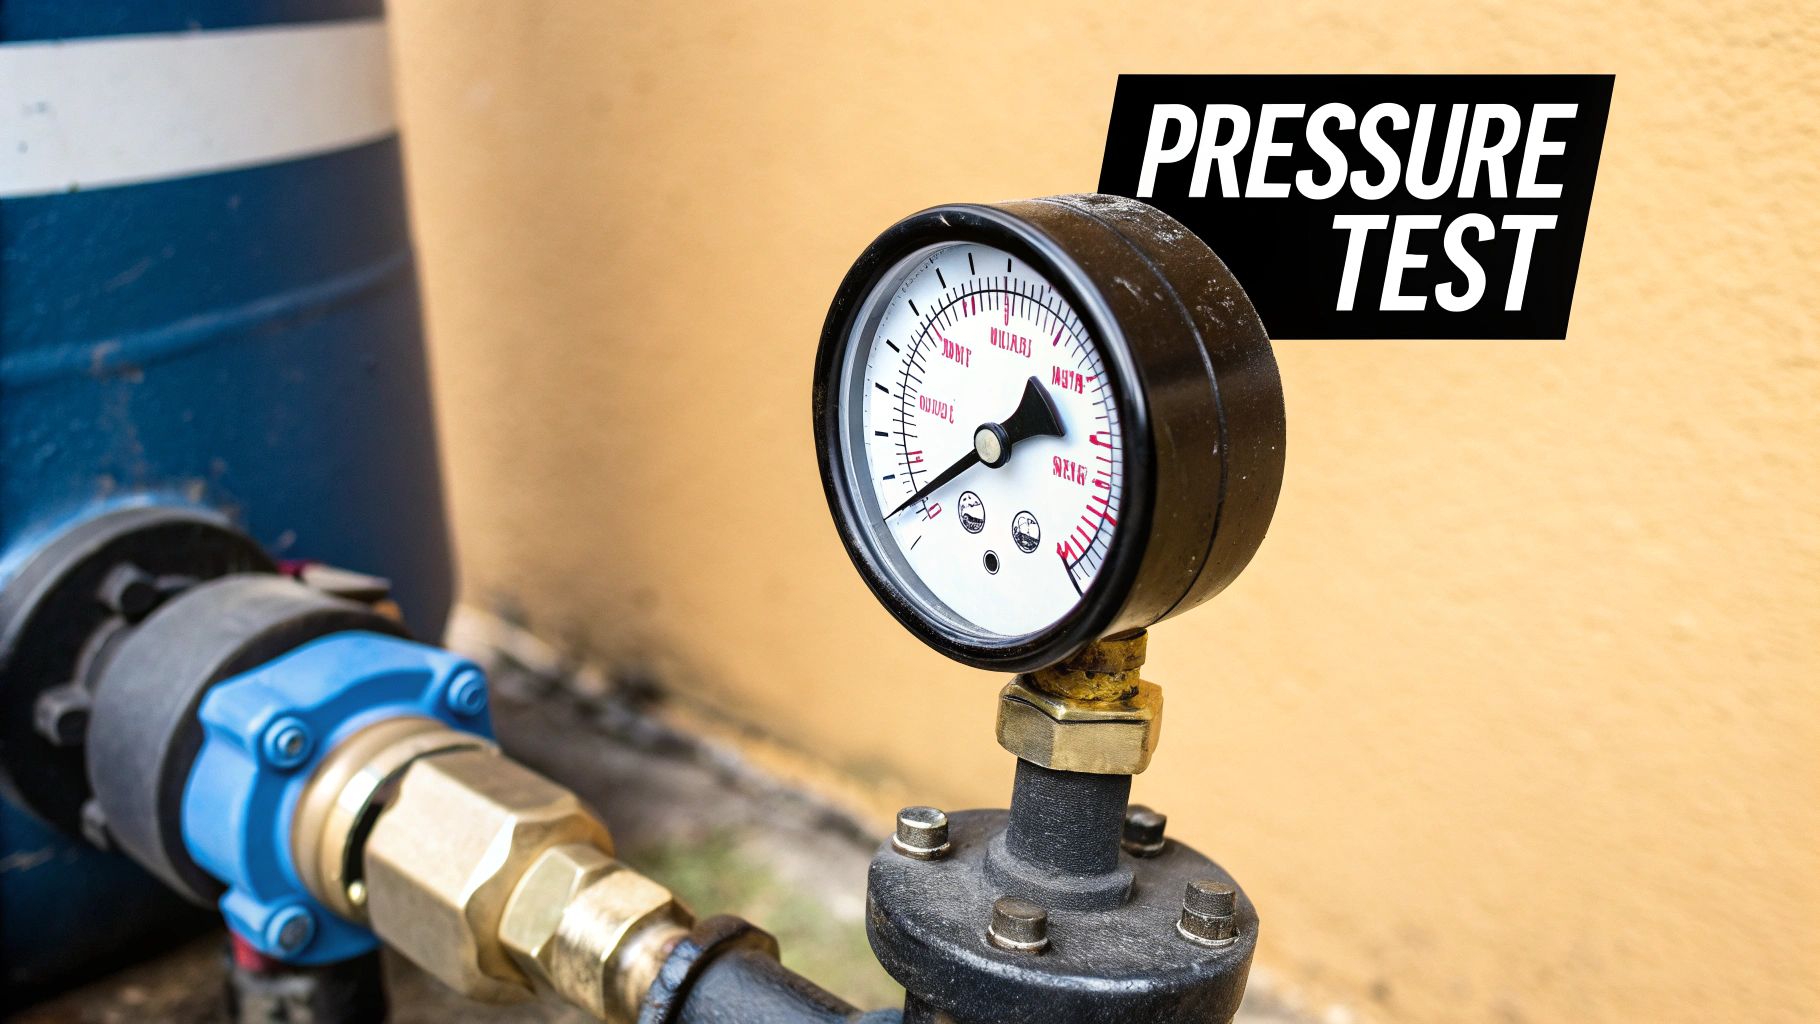
First up, let’s make sure the governor knows when to tell the compressor to take a break. With the truck running, your eyes should be glued to the primary and secondary air tank gauges. You'll see them steadily climbing.
Your job is to watch for the exact moment the needles stop rising. This should happen somewhere between 120 and 140 PSI. You’ll hear a distinct 'psssht' sound as the air dryer purges—that’s your cue. That sound tells you the governor has "cut out" and the system is fully charged. You need to call out the exact pressure on the gauge when this happens.
Now for the other side of the coin: the "cut-in" pressure. You need to show the examiner that the system knows when it’s time to start building air again. To do this, you’ll start pumping the brake pedal, slowly and steadily, to bleed air out of the tanks.
Keep your eyes locked on those air gauges as you fan the brake pedal. Watch the needles drop. The second they stop dropping and start to climb again, that’s your cut-in point. You need to call it out. For a pass, this has to happen at or above 100 PSI.
Testing the Low Air Warning System
With the governor test out of the way, it’s time for one of the most critical safety checks you’ll perform: the low air warning. You’re proving that if your air pressure ever gets dangerously low on the road, the truck will scream at you before it's too late.
Turn the key to the "on" position but keep the engine off. Start fanning the brake pedal again. You're listening and looking for two things to happen simultaneously: a warning light on the dash and a buzzer going off.
- What you see: A red warning light will pop up on the dashboard.
- What you hear: A loud, impossible-to-ignore buzzer or alarm will sound.
- The magic number: Both of these warnings absolutely must kick in before the pressure in either tank drops below 55 PSI.
Getting this wrong is a common reason for an automatic fail on the CDL test. It’s non-negotiable. When the light and buzzer come on, you need to immediately tell the examiner it happened and state the exact pressure reading on your gauge. Nailing this sequence shows you have the muscle memory to keep your rig—and everyone else—safe.
How to Nail the Air Loss and Leak Tests
Alright, let's talk about the part of the pre-trip that really makes people sweat: the air loss and leak tests. This is where the examiner pays close attention. I've seen plenty of good drivers get tripped up here, but it's actually pretty simple once you know what you're doing.
You’re just showing the examiner that your air system is tight under two different conditions—first with the brakes off (static) and then with the brakes on (applied).
Before you even start, make sure you've got the truck set up right. The engine needs to be off, but the key has to be in the "on" position so your gauges have power. The truck must be secured with wheel chocks. Make sure you've built your air pressure all the way up, somewhere between 120-140 PSI, and then release the parking brakes.
The Static Leak Test
First up is the static test. With the brakes released, your system should be buttoned up tight. Tell the examiner you're starting the one-minute static leak test. Let the needles on your air gauges settle for a moment, then start your timer.
In that one minute, you can't lose more than 2 PSI. Honestly, on a well-maintained truck, that needle shouldn't move at all. If you see it dropping, you've got a leak somewhere that needs to be found and fixed.
The Applied Leak Test
Once you've passed the static test, it's time for the applied leak test. This one mimics what happens when you're holding the truck on a hill with your foot on the brake, so it puts the system under more stress.
Push the brake pedal all the way to the floor and hold it there. Again, let the air gauges stabilize before you start your one-minute timer. This is where the numbers really matter, and they're different depending on what you're driving.
Critical PSI Drop Limits to Memorize:
- Straight truck or bus: You can't lose more than 3 PSI in one minute.
- Tractor-trailer combination: You can't lose more than 4 PSI in one minute.
Going over these limits is an automatic fail. More importantly, it means the truck is not safe to be on the road.
This visual guide gives you a good idea of how to physically check for leaks.
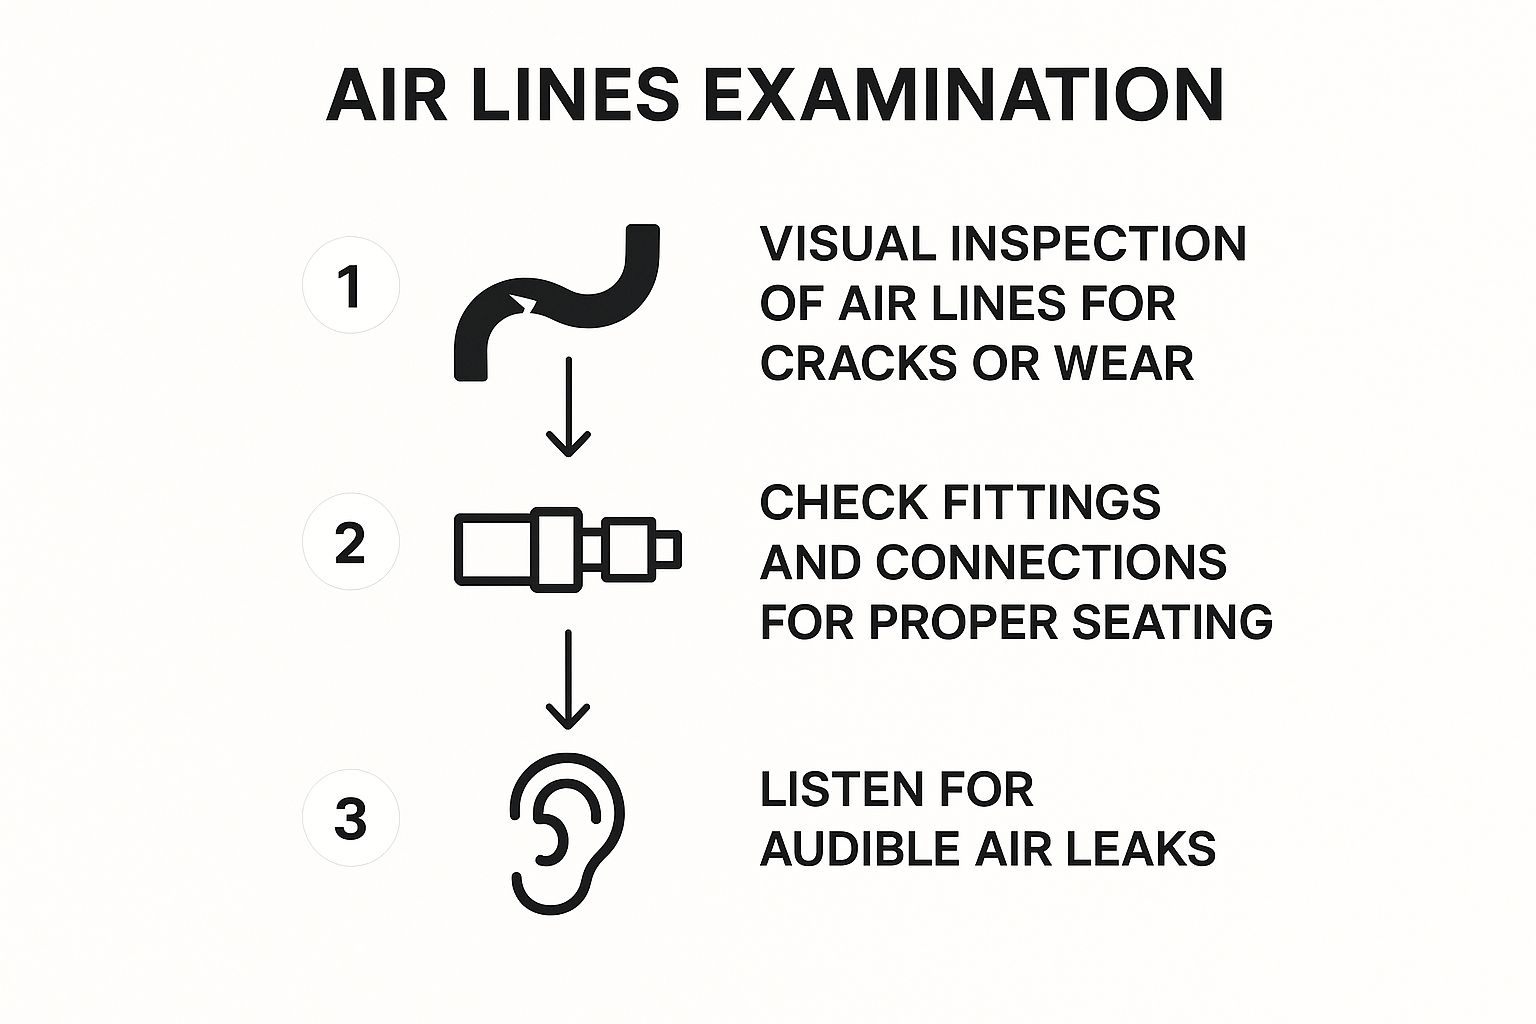
It’s a great reminder that a proper inspection is more than just watching gauges; you have to use your eyes and ears, too.
A smart tip? When you're doing these timed tests, be quiet and listen. With the engine off, you can often hear the faint hiss of an air leak from a bad gladhand seal, a cracked hose, or a loose fitting. Finding a leak before it becomes a major problem is what separates the pros from the rookies. It's all about knowing the numbers and being able to back them up with a solid, hands-on inspection.
Testing Your Parking and Service Brakes
Alright, now that you've finished the leak tests, it's time for the hands-on part of the air brake pre test: making sure the brakes can actually stop the truck. This involves a few simple "tug tests" to check your parking and service brakes.
Remember, the examiner isn't a mind reader. You have to walk them through every single step you take. Think of it as narrating your actions out loud so they know you understand why you're doing what you're doing. These tests are straightforward, but doing them in the right order is what proves you know your stuff.
Verifying the Trailer Parking Brake
First up, let's make sure the trailer brakes can hold the entire rig by themselves.
To do this, you'll release the tractor's spring brakes while keeping the trailer brakes set. Push in the red trailer air supply valve, but leave the yellow tractor parking brake valve out.
Now, put the truck into a low gear (first or drive works fine). Just ease into the throttle a little bit—you're not trying to go anywhere. You should feel the rig being held back firmly. That's the trailer brakes doing their job.
Once you feel them grab, tell the examiner what's happening.
State clearly: “I’m gently pulling against the engaged trailer brakes. They’re holding, which tells me the trailer parking brake is working correctly.”
That’s it. You’ve just confirmed a critical safety system is good to go.
Checking the Tractor Parking Brake
Next, we'll flip the script and test the tractor's spring brakes. Pull the red trailer air supply valve back out (setting the trailer brakes) and push the yellow tractor parking brake valve in (releasing them). Now, only the tractor's powerful spring brakes are holding you.
Do the exact same thing as before. Put it in a low gear and give it just a little bit of throttle. The truck shouldn't budge. This quick tug confirms your tractor's brakes are functioning properly.
Again, narrate your actions.
Tell the examiner: “Now I’m testing the tractor parking brake. I’m gently pulling forward, and the brakes are holding the truck. This confirms the tractor parking brake is working properly.”
Performing the Service Brake Check
The final check is for the service brakes—the ones you control with your foot pedal. To get started, release all the parking brakes. Push in both the red and yellow valves.
Let the truck start rolling forward, but keep it slow. You don't want to go any faster than 5 mph.
Once you're moving, apply the foot brake firmly but smoothly. This is all about feel. You need to pay attention to how the truck reacts.
Here’s what you’re looking for:
- A Smooth Stop: The truck should come to a stop without any jerking, grabbing, or weird noises.
- No Pulling: This is a big one. The truck must stop in a straight line. If it yanks you to the left or right, that's a red flag for a brake adjustment issue or a failing part.
After you've come to a complete stop, report back to the examiner.
Say: "I am now testing the service brake. The truck stopped smoothly and did not pull to either side, indicating the service brakes are working correctly."
And with that, you’ve wrapped up the physical brake check portion of your inspection.
Smart Study Strategies for the Written Exam
The hands-on part of the air brake pre test gets a lot of attention, and for good reason. But acing the written exam is just as crucial. This isn't about just repeating steps; it's about proving you truly understand the why behind every part of the air brake system. A smart study plan is what separates the people who walk in nervous from those who walk in confident.
Look, you can't just memorize the CDL manual and expect to pass. The best way I've seen drivers prepare is by using high-quality practice tests—the kind that mimic the real exam. They're perfect for getting used to how questions are worded and, more importantly, for showing you exactly where you need to hit the books again.
Make Your Brain Work for It
Forget reading the same chapter over and over until your eyes glaze over. The secret is active recall. This just means you actively pull information out of your brain instead of passively shoving it in. Quiz yourself. Explain a concept out loud to someone, even if it's just your dog. This process builds much stronger memory connections that won't fail you when the pressure is on.
Another game-changer is spaced repetition. Don't try to cram for eight hours the night before the test; that's a recipe for burnout. Instead, break it up. Study for 60-90 minutes a day over a week. This is far more effective for locking that knowledge in for the long haul.
It's like working out. You can't go to the gym once for 10 hours and expect to be fit. Consistent, shorter sessions build real strength. The same goes for building your knowledge base.
Zero in on What Really Matters
The written exam hits on a few key topics every single time. If you can nail these areas, you're putting yourself in a great position to pass. Make sure you can explain these concepts inside and out:
- Parts and Pieces: You absolutely have to know every major component of the air brake system. Be ready to point them out and explain what they do, from the air compressor all the way to the brake chambers.
- Brake Lag: This is a big one. You need to understand what brake lag is, the different parts that make it up (perception time, reaction time, and actual brake lag), and how low air pressure can dramatically increase your total stopping distance.
- Downhill Braking: This is a huge safety topic. You must know the proper way to brake on long, steep downgrades to keep your brakes from overheating and failing when you need them most.
- The Magic Numbers (PSI): Get these numbers down cold. Know the governor cut-in and cut-out pressures (around 100 psi and 120-140 psi) and the low-pressure warning alarm (anything below 55 psi).
Use Practice Tests to Get the Win
The CDL Air Brake Test is a major checkpoint. The written portion usually has about 25 questions, and you'll typically need to get 80% right to pass. It’s no surprise that truck driving schools see success rates well over 90% from students who relentlessly use practice tests as part of their study routine. There's no better way to build real confidence.
Of course, air brakes are just one piece of the puzzle. A solid grasp of the fundamentals is what makes a great driver. To round out your knowledge, check out our resources on the general knowledge test. Preparing for it alongside your air brake studies will make you a much stronger candidate for the entire CDL exam. By mixing focused study with tons of practice, you’re not just memorizing—you’re building a real foundation for a safe and successful career.
Tackling Common Air Brake Pre-Test Questions
Even after hours of studying, it's totally normal to have some "what if" questions pop into your head on test day. Nerves can do that. Let's walk through some of the most common things that trip people up so you can go into your test with an extra layer of confidence.
Think of this as your final pre-flight check before the real deal. We'll cover why people fail, how to recover from a mistake without panicking, and the key differences you need to know between vehicle types.
What Are the Most Common Reasons People Fail?
You might be surprised to hear this, but the biggest reason people fail isn't that they don't know the material. It's because they skip steps or get the critical numbers wrong under pressure. Examiners aren't just listening for facts; they're watching to see if you have a smooth, repeatable routine burned into your muscle memory.
Here are the errors I see most often:
- Forgetting to talk it out: You absolutely have to say what you're doing and seeing, step-by-step. The examiner isn't a mind reader. If you don't say it, you didn't do it.
- Mixing up PSI limits: This one is huge. Confusing the 3 PSI static leak limit for a straight truck with the 4 PSI limit for a combination rig is a classic mistake and an immediate red flag.
- Rushing the low air warning test: You have to show the examiner that the warning light and buzzer come on before the pressure drops below 55 PSI. Missing this is a critical safety failure in their eyes.
- Doing checks out of order: A jumbled, disorganized sequence tells the examiner you haven't really mastered the procedure. You need to practice your script until it’s second nature.
The test is as much about proving you have a safe, repeatable process as it is about hitting the right numbers. A smooth, confident performance shows the examiner you’re in total control.
What Should I Do If I Make a Mistake During the Test?
First things first: don't panic. A small mistake isn't always an automatic fail. Honestly, how you react to a slip-up can tell the examiner a lot about your ability to think clearly under pressure—a skill every pro driver needs.
If you catch yourself missing a step or saying the wrong thing, the best move is to address it calmly. Just say something like, "Examiner, I apologize, I believe I missed a step there. With your permission, I'd like to correct it now."
Most of the time, they'll appreciate that you caught your own error. It shows you know the right way to do things, even if you had a momentary lapse. Just be aware that mistakes on the most critical safety items, like the main brake checks, might be an instant fail with no do-overs. The key is to stay composed and prove you know your stuff.
Is the Air Brake Test the Same for All Commercial Vehicles?
The core principles are the same, but the details matter. The basic tests for the governor cut-in and cut-out, the leak tests, and the low air warnings are standard across all air brake vehicles. Where things change is when you get into combination vehicles.
The biggest difference is the applied leak test. A combination vehicle is allowed to lose up to 4 PSI in one minute, while a straight truck is only allowed 3 PSI. If you're testing in a tractor-trailer, you also have to show you can test the trailer's service and emergency brakes, which means knowing how to properly use that red trailer air supply valve.
Always make sure you're studying for the specific class of vehicle you'll be testing in. The best way to lock in these details is by running through realistic question sets. You can really sharpen your skills with our third air brakes practice test.