


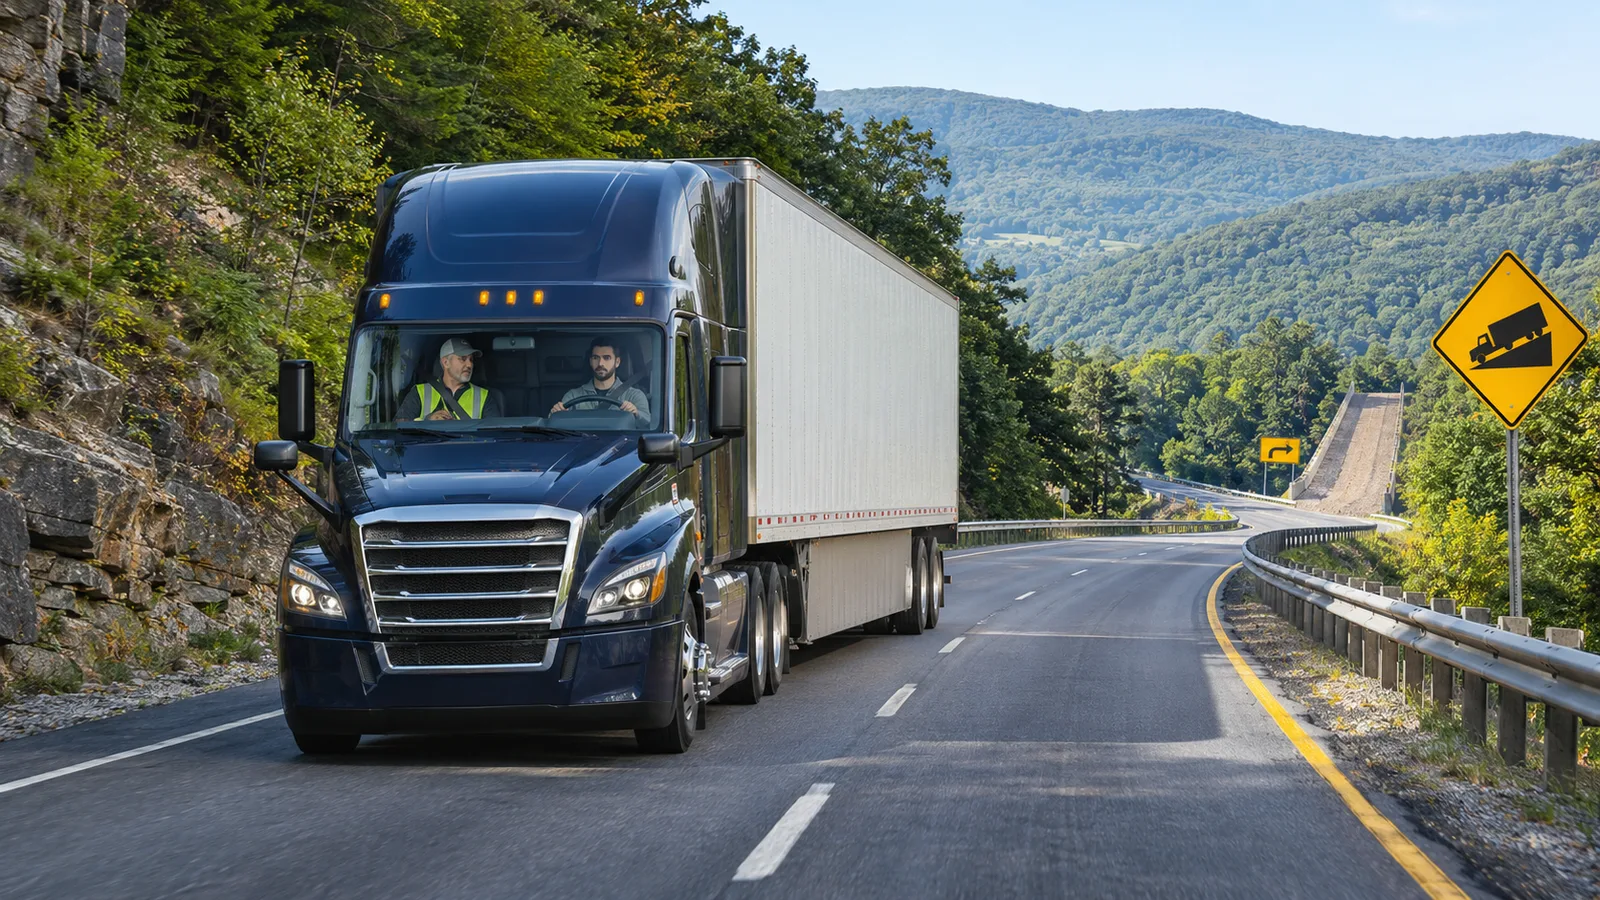
A long downgrade is not simply a flat road pointed downhill. Gravity is continuously adding energy to a commercial vehicle, and a heavy combination can gain speed even when the accelerator is released. A safe descent therefore begins before the crest: the driver reads the route, confirms the brake system is ready, selects a conservative speed and gear, and preserves the service brakes for controlled applications and unexpected hazards.
This guide turns the Pennsylvania Commercial Driver's License Manual's mountain-driving principles into a practical training routine. It distinguishes federal equipment and operating requirements from driving technique, explains how brake fade develops, and shows how a student can organize decisions without guessing at a universal speed or gear. Vehicle-specific controls differ, so every driver must also follow the manufacturer's instructions, carrier procedures, posted signs, and the directions of a qualified instructor.
Contents
Legal and training baseline
Federal rules and the CDL manual answer different questions. Under , a commercial motor vehicle must be operated according to the laws, ordinances, and regulations of the jurisdiction where it is driven, unless an FMCSA rule imposes a higher standard of care. A posted truck speed, grade advisory, lane restriction, or traffic-control device is therefore not optional guidance.
Equipment readiness is also a requirement. says a CMV may not be driven unless the driver is satisfied that listed safety equipment is in good working order, including service brakes and trailer-brake connections, the parking brake, steering, tires, wheels and rims, mirrors, coupling devices, lights, and emergency equipment. generally requires all installed brakes to be capable of operating, subject to stated exceptions.
The supplies the practical method: consider weight, grade length and steepness, road conditions, and weather; choose an appropriate speed; select a low gear before descending; use engine braking as the principal control; and preserve the service brakes. Those practices do not replace the law or manufacturer instructions. They organize the driver's decisions within them.
Read the grade before the crest
The best downhill correction happens while the truck is still slow. Route planning should identify mountainous segments, truck restrictions, construction, forecast conditions, and known escape ramps. FMCSA's advises drivers to plan for weather, road conditions, detours, and mountainous routes, and it warns that noncommercial navigation tools may omit CMV height, weight, or other restrictions.
Collect the information that changes the descent
As the grade approaches, look for warning signs that state the percentage, length, curves, truck speed, brake-check area, lane-use rule, or escape-ramp location. Note whether traffic is compressing ahead. Check mirrors for vehicles beside the trailer before choosing a lane. A downhill plan must include the next curve and the traffic beyond it, not only the first straight section.
Vehicle weight matters because gravity acts on the whole combination. Grade length matters because heat accumulates over time. Steepness matters because speed can rise faster. Surface and weather matter because available traction can change how safely braking or a retarder may be used. Treat these as separate inputs; one favorable factor does not cancel the others.
Confirm the truck is ready before committing
A downgrade is the wrong place to discover a defect that a pre-trip or en-route inspection could have revealed. The inspection is not a quick glance at the dashboard. It includes the brake system and the components that support stable control: tires, wheels, suspension, steering, coupling, air and electrical connections, and cargo securement. Review the detailed foundation-brake inspection plan and the commercial tire inspection guide before practicing mountain routes.
Build a brake-readiness picture
For an air-brake vehicle, complete the prescribed checks appropriate to the vehicle and training stage. Confirm normal pressure build and warning-device behavior, inspect readily visible hoses and connections, and verify that dashboard indicators behave as expected. Check the tractor and trailer rather than assuming one healthy unit makes the combination safe. If a warning appears or braking response is questionable, stop in a safe place and have the condition evaluated; do not use the downgrade as a test.
ABS is valuable, but it does not create additional friction, repair bad brakes, or choose a safe speed. The Pennsylvania manual explains that ABS helps prevent wheel lock during hard applications and helps the driver retain control; it does not necessarily shorten stopping distance. A malfunction indication requires proper attention even though normal braking may remain. Never treat an ABS lamp as permission to improvise a diagnosis while descending.
Use brake-check areas deliberately
If the route provides a brake-check area, enter it lawfully and use it as intended. Secure the truck before leaving the cab. Inspect without touching hot brake components, and never crawl under an unsupported vehicle. A burning odor, smoke, an abnormal pull, a warning light, an air-system problem, or a weak response is a reason to stop the descent plan and obtain qualified help.
Select the safe speed and gear before the downgrade
The transmission must be in an appropriate lower gear before speed builds. The Pennsylvania manual warns that a driver who waits may be unable to complete the downshift and may even lose engine-braking effect. With an automatic or automated manual transmission, use the controls exactly as the manufacturer directs; selecting a lower range at excessive speed may be rejected by the system or may damage components. There is no responsible universal gear number for every truck.
Choose a speed that gives the system a margin
Start with every posted requirement and advisory. Then account for gross weight, grade, curves, traffic, pavement, weather, equipment condition, and familiarity with the route. Select a speed that allows the gear and engine braking to control most of the descent without continuous service-brake pressure. If the truck immediately accelerates beyond the intended band, the plan was too aggressive; reduce speed safely before continuing rather than accepting a growing problem.
Set the truck before the crest
Finish the slowdown while the road still helps you. Select the appropriate gear, establish lane position, scan mirrors, and verify the path ahead. Do not coast in neutral. Do not cross the crest fast and expect a late downshift to repair the plan. Smooth preparation also gives following traffic time to recognize the change in speed.
Use engine braking and service brakes as a system
On a long or steep downgrade, the manual describes the service brakes as a supplement to the engine's braking effect. The practical goal is to avoid converting all the truck's downhill energy into brake heat. Engine braking, an appropriate gear, a conservative entry speed, and planned service-brake applications share the work.
Apply the CDL manual's controlled-braking pattern
Once the correct low gear and safe speed are established, the Pennsylvania manual instructs the driver to apply the brakes firmly enough to feel a definite slowdown. When speed is approximately five mph below the selected safe speed, release the brakes; the manual describes an application of about three seconds. When the vehicle returns to the safe speed, repeat. This is a training framework from the manual, not permission to ignore traffic, curves, traction, vehicle instructions, or a lower posted speed.
The release period matters because continuous light pressure can keep generating heat without providing a clear cooling interval. Yet “release” never means allowing speed to run past the planned maximum. If repeated applications no longer keep the truck within the selected band, take that as a warning that the descent plan or the braking system is not working as expected.
Know the limits of retarders and cruise control
Engine brakes and retarders can help control speed, but their behavior varies by vehicle, load, drive-axle traction, and system settings. On wet, icy, snowy, or otherwise slippery surfaces, an aggressive retarder can contribute to loss of traction. Follow the manufacturer's instructions and instructor guidance. Do not use cruise control as a substitute for active downhill speed management, and never assume the truck will prevent overspeed by itself.
Recognize brake fade before control disappears
Braking converts motion into heat. Excessive use can raise temperatures until the friction system produces less braking effect. The Pennsylvania manual describes fade as the need to apply the brakes harder and harder for the same stopping power; continued heavy use can progress until the vehicle cannot be slowed or stopped normally. Poor adjustment can worsen the problem because some brakes stop carrying their share and the remaining brakes overheat sooner.
Treat changing response as an emergency warning
Warning signs can include a different pedal feel, increasing application for the same slowdown, an air or brake warning, a strong hot odor, smoke, or a vehicle that will not remain in the planned speed band. A driver should not wait for several signs to agree. If braking response changes, focus on maintaining control, warn other road users as appropriate, look for an escape path, and use a designated escape ramp if normal control is lost.
Do not try to cool brakes with unsafe improvisation
Do not continue at the same speed while hoping the system recovers. Do not touch hot components, and do not pour water on overheated brakes. If a safe stopping area is reached while control remains normal, secure the vehicle and obtain qualified direction before continuing. A schedule never outranks a brake warning.
Protect space throughout the descent
A safe speed is only useful when the driver also preserves room to use it. Increase the visual lead, leave a generous following interval, and avoid traveling beside another vehicle where an escape path disappears. The techniques in the following-distance and space-cushion guide remain important, but on a downgrade the driver should expect speed differences and braking demands to change quickly.
Scan beyond the vehicle directly ahead
Look through and around traffic for brake lights, sharp curves, stopped queues, debris, and slow vehicles. Check mirrors to monitor the trailer and faster traffic approaching from behind. If another truck is descending slowly, do not let impatience pull you into a pass that removes your safety margin. A lane change on a grade must still follow a complete mirror, signal, gap, and trailer-clearance process; review the controlled lane-change plan.
Keep curves separate from braking surprises
Reduce speed before the curve while the combination is straight. Enter at a speed that allows smooth steering without a hard mid-curve brake application. A top-heavy or partially loaded trailer may respond differently than expected. The safest plan removes speed early and avoids combining maximum steering demand with maximum braking demand.
Adjust for weather, construction, and unfamiliar roads
Rain, snow, ice, loose material, darkness, and work zones reduce the margin available for a downgrade. Slow earlier, increase space, and use engine-braking or retarder features only as the vehicle manufacturer and current traction conditions permit. The speed that worked on a dry morning is not automatically safe on the same grade at night or during a storm.
Use an escape ramp when normal braking control is lost
Escape ramps are designed to stop runaway vehicles using loose material, an upgrade, or both. The Pennsylvania manual is direct: know where the ramps are and use one if the brakes are lost. Passing a ramp while hoping overheated brakes will recover trades a designed safety option for uncertainty.
Commit to the ramp
If the vehicle cannot be controlled with the normal braking system, activate warning devices as appropriate, keep both hands on the wheel, align the combination, and enter the available escape ramp. Do not try to save equipment by avoiding the ramp. Once stopped, secure the situation as conditions allow, call emergency services, and follow responder instructions. The truck requires inspection and recovery; it does not return to service because the brakes later feel cooler.
Downgrade action table
| Stage | Driver action | What the action protects | Stop or escalate when |
|---|---|---|---|
| Route planning | Identify grades, truck restrictions, weather, brake-check areas, and escape ramps | Time and decision margin | The route is unsuitable or restrictions cannot be confirmed |
| Pre-trip/en route | Inspect brakes, tires, wheels, steering, coupling, connections, and warning indicators | Mechanical readiness | A required item is defective or response is questionable |
| Before the crest | Reduce speed and select the appropriate lower gear | Engine-braking control | The gear will not engage or the truck cannot hold the planned band |
| During descent | Scan far ahead, preserve space, and use controlled brake applications | Stopping capacity and escape options | Braking effort increases or warnings appear |
| Curve or poor surface | Slow before the curve and adjust for available traction | Steering and rollover margin | Weather or surface exceeds the vehicle's safe operating condition |
| Loss of control | Warn traffic and use an available escape ramp | Life and roadway safety | Normal braking cannot control the vehicle |
Worked training scenario
A student and instructor approach a signed six-mile downgrade in a loaded tractor-trailer on a clear, dry morning. The road has several curves, a truck speed advisory, a brake-check area before the crest, and an escape ramp several miles down. Traffic is moderate. This example is a decision sequence, not a universal speed prescription.
Step 1: prepare before the grade
The student has already reviewed the route and knows the escape-ramp location. At the brake-check area, the vehicle is secured and the required checks are completed. No warning indicators or visible defects are present. The student notes the posted controls, the vehicle's load, and the instructor's vehicle-specific directions.
Step 2: enter slower and in the proper gear
Before the crest, the student reduces speed while the truck is still on level ground, selects the appropriate lower gear, establishes the right lane, and checks mirrors. The selected entry speed is below the ordinary highway limit because the grade, load, curves, and truck advisory require a larger margin.
Step 3: hold a planned speed band
Engine braking controls most of the descent. When speed reaches the selected safe maximum, the student applies the service brakes firmly enough to create a definite slowdown, reduces speed by roughly five mph as described in the manual, and releases. The student continues scanning beyond the vehicle ahead and avoids riding the brakes between applications.
Step 4: respond to a change, not to pressure
Halfway down, traffic compresses before a curve. The student sees brake lights early, makes a controlled application while straight, and enters the curve with space available. A faster vehicle closes from behind, but the student does not raise speed to satisfy it. If braking response had weakened or the truck had exceeded control, the plan would have shifted immediately toward the signed escape ramp.
The lesson is not that one number or gear solves every hill. The lesson is the sequence: inspect, read, slow, gear, scan, control, reassess, and preserve an escape option.
Practical mountain-downgrade checklist
- Confirm the route is legal and appropriate for the vehicle.
- Check current weather, road work, closures, and mountain conditions.
- Identify long grades, brake-check areas, truck advisories, and escape ramps.
- Complete the required brake and vehicle inspections.
- Verify normal air-system and warning-indicator behavior when applicable.
- Confirm tractor and trailer connections are secure.
- Consider vehicle and cargo weight.
- Read grade length, steepness, curves, and posted controls.
- Choose a conservative safe speed before the crest.
- Select the appropriate lower gear before acceleration begins.
- Follow manufacturer instructions for engine brakes and retarders.
- Do not coast in neutral.
- Use engine braking as the principal speed-control method.
- Use deliberate service-brake applications instead of continuous riding.
- Keep speed inside the planned band.
- Scan ahead for traffic, curves, signs, and stopped queues.
- Check mirrors and monitor the trailer.
- Maintain a generous following interval and an escape path.
- Reduce speed before curves while the combination is straight.
- Adjust further for rain, snow, ice, darkness, or construction.
- Treat a changing brake response, warning, odor, or smoke as urgent.
- Use an available escape ramp if normal braking control is lost.
- After an emergency stop, call for help and do not continue without inspection.
Build the skill in supervised CDL training
Downgrade control should develop from explanation to demonstration, then supervised practice. First, the student identifies grade information and explains the plan aloud. Next, the instructor demonstrates vehicle-specific gear selection, brake applications, retarder limits, mirror work, and emergency options. The student then practices on an appropriate route while the instructor evaluates preparation, control, scanning, smoothness, and judgment.
Debrief the decisions, not only the final speed
After the route, discuss where the student first recognized the grade, why the entry speed and gear were chosen, how often the service brakes were needed, what traffic changed the plan, and where the escape ramp was located. If the driver held the correct speed only by continuous brake pressure, the outcome was not a successful technique. The goal is repeatable control with braking capacity in reserve.
Patriot CDL provides hands-on Class A and Class B training at 7800 Bristol Pike, Levittown, PA 19057. To discuss supervised training and course availability, call . Training supports skill development; it does not guarantee a license, test result, or job.
Official sources used
- , including Section 2 on mountain driving and braking.
- .
- .
- .
- .
Frequently asked questions
How should a CDL driver choose a safe downhill speed?
Choose a speed before the descent that accounts for vehicle and cargo weight, grade length and steepness, road surface, weather, curves, traffic, and every posted limit or advisory. It must be low enough for the selected gear and engine braking to control most of the descent while preserving service-brake capacity.
When should a truck driver select a lower gear for a downgrade?
Select the appropriate lower gear before the truck begins descending and before speed builds. Enter the grade slowly enough for the transmission to accept the gear, follow the vehicle manufacturer's instructions, and do not depend on a downshift after the combination is already accelerating.
What is brake fade on a commercial truck?
Brake fade is a loss of braking effectiveness associated with excessive heat. The driver may need increasing brake application to produce the same slowdown, and continued overheating can leave too little braking ability to control or stop the vehicle.
Should a CDL driver use an escape ramp after losing braking control?
Yes. If the truck cannot be controlled with its normal braking system, use an available escape ramp instead of passing it while hoping the brakes recover. Keep the vehicle aligned, follow the ramp, and contact emergency services after the truck stops.