


A low-air-pressure warning is not an invitation to watch the gauge for a few more miles. It tells the driver that an air-brake system may be losing the stored energy needed for controlled service braking. The truck may still respond normally at first, but the margin is shrinking. If pressure continues to fall, braking performance can be reduced and spring brakes may apply automatically at the vehicle manufacturer’s specified range.
The correct plan is simple in priority but demanding in execution: keep control, preserve the air that remains, move toward the nearest safe stopping location, stop deliberately, secure the vehicle, and do not resume driving until the cause has been addressed. This guide is based on the current , , and official FMCSA brake-system guidance. Always follow the specific vehicle manufacturer’s instructions and the carrier’s emergency procedures.
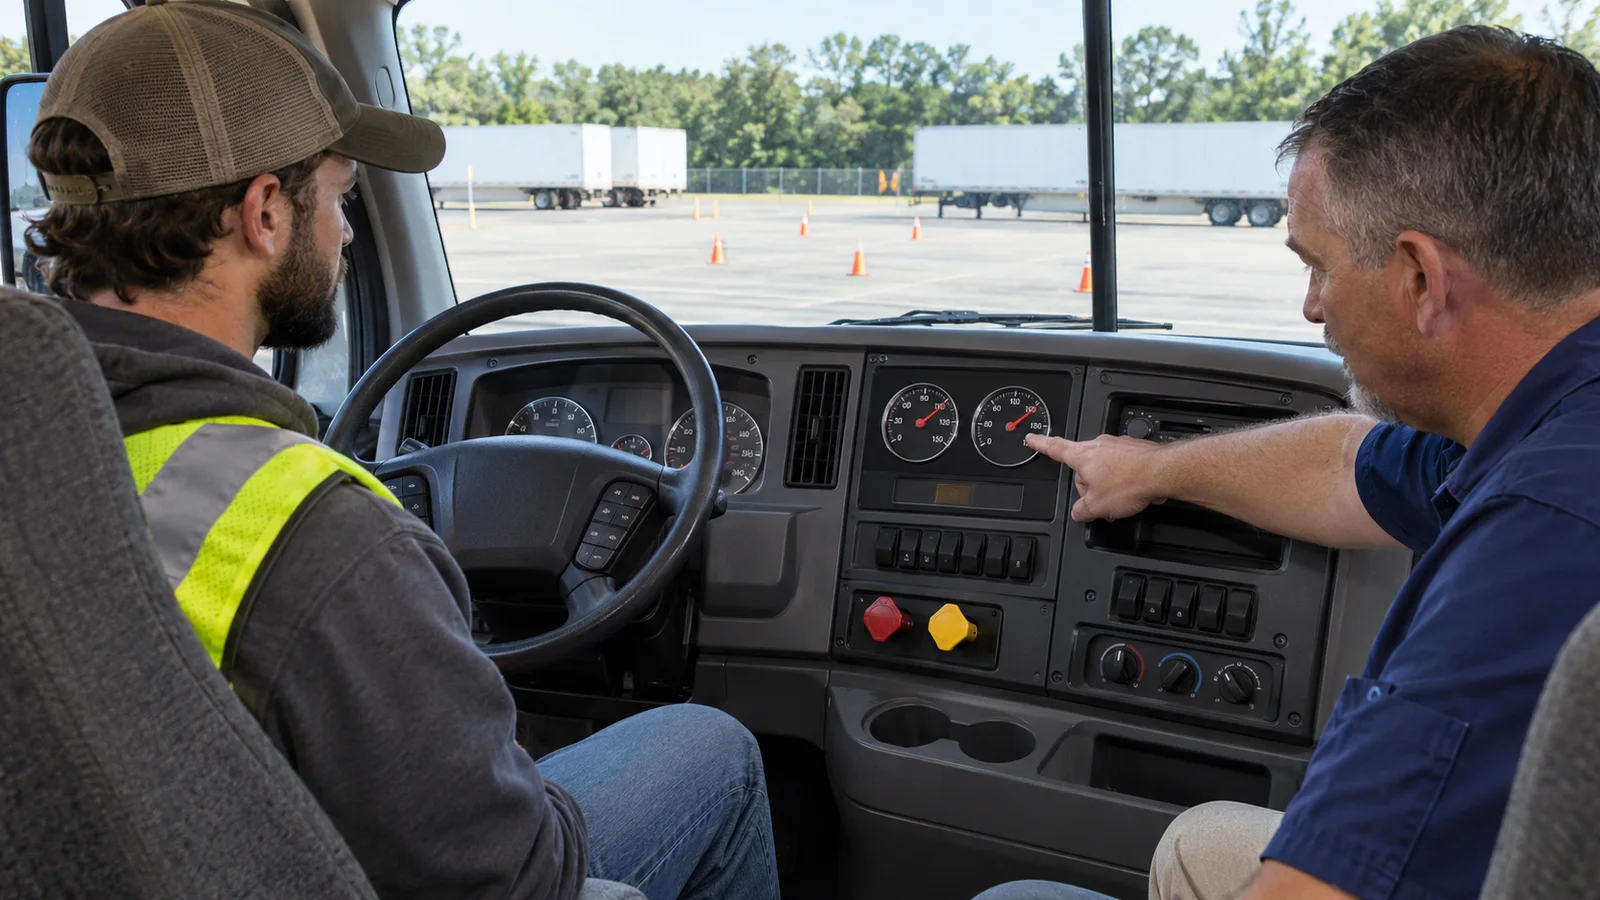
How stored air supports commercial-vehicle braking
An air-brake system uses an engine-driven compressor to charge storage tanks. The governor controls when the compressor cuts in and cuts out. When the driver applies the service brake, compressed air acts through the system to apply the foundation brakes. Releasing the brake exhausts some air, so the compressor must replace it. This is why repeated unnecessary pedal applications consume the reserve.
Service, parking, and emergency functions are related but different
PennDOT’s manual describes three braking functions. The service system applies and releases the brakes during normal driving. The parking system holds the vehicle when the parking-brake controls are used. The emergency function uses parts of the service and parking systems when part of the brake system fails. Drivers need to understand the relationship without treating the parking-brake valve as a substitute service pedal.
Pulling a parking-brake control while moving can cause an abrupt application or wheel lock. It is not the standard response to a low-air warning. Use remaining service braking to make a controlled stop, and follow the exact emergency instructions for the vehicle. Improvised control use can make a pressure problem into a loss-of-control problem.
Dual systems provide separation, not permission to continue
Most heavy vehicles use dual air systems with primary and secondary circuits. Each circuit has its own reservoirs, lines, and gauge indication, while both contribute to braking functions. If one side loses pressure, braking may not be fully available at every axle and stopping distance can increase. A second gauge that still looks normal does not make continued operation acceptable.
Before driving, both systems must build to the required operating range for the vehicle. A student should learn the normal cut-in and cut-out behavior, gauge relationship, warning activation, and spring-brake test under supervised conditions. The purpose is to recognize a deviation, not merely memorize a number for the knowledge test.
What the pressure gauges and low-air warning mean
Federal rule 49 CFR 393.51 requires air-braked commercial vehicles to have a pressure gauge and warning signal, subject to the detailed equipment and date provisions in the rule. For power units not covered by the referenced manufacturing standard when built, the rule specifies a visible gauge and a continuous audible or visible warning at 55 psi and below, or one-half governor cutout pressure, whichever is less. The current Pennsylvania manual instructs students that the warning should activate before pressure drops below 55 psi in either system.
Read both the number and the trend
A gauge reading is a snapshot; its direction tells the story. Pressure that falls with every application and does not recover, unequal primary and secondary readings, frequent compressor cycling, a warning that appears earlier than expected, or pressure that builds unusually slowly can signal a leak or system problem. The warning may be a light, buzzer, or older mechanical device, but it must be treated as a brake-system warning, not a nuisance alarm.
Know the difference between cut-in and the low-air range
Normal governor cut-in means the compressor begins replenishing air as pressure decreases through its operating range. A low-air warning means the system has moved far below that normal operating cycle. Waiting for the compressor to “catch up” is not a safe strategy if a leak, failed compressor drive, frozen valve, broken line, or another malfunction is consuming or preventing pressure.
| Observation | Possible meaning | Driver decision | Do not |
|---|---|---|---|
| Both gauges rise normally and warning turns off during startup | System is building toward operating pressure | Complete every required pre-trip air-brake check before moving | Depart before the checks are complete |
| One gauge falls faster than the other | Possible leak or problem in one circuit | If moving, begin a safe stop; if parked, do not depart | Assume the other circuit makes the truck safe |
| Low-air light or buzzer activates while driving | Pressure reached the warning range | Preserve air and stop safely without delay | Continue to the destination or repeatedly pump the brake |
| Pressure rises after a temporary drop | Compressor may be replacing air, but the cause remains unknown | Remain stopped until the system is evaluated and checks pass | Treat recovery as proof the defect disappeared |
| Parking or tractor-protection valves move at low pressure | Spring-brake protection is applying at the manufacturer’s range | Vehicle should already be stopped and secured during a test | Intentionally fan air while driving |
The response while the vehicle is moving
The moment the low-air warning activates, the driver has two linked jobs: control the combination and conserve enough braking capacity to stop in a safe location. A short mental sequence is useful: recognize, scan, signal, preserve, stop. The sequence should be rehearsed in discussion before a driver needs it.
Recognize the warning and confirm the gauges
Keep eyes on the road, then make a brief instrument scan. Confirm whether the primary, secondary, or both readings are low or falling. Listen for unusual air loss and notice whether the compressor appears to be recovering pressure, but do not turn the emergency into a diagnostic exercise. The warning itself is enough reason to stop.
Scan for a controlled stopping path
Look far ahead for a wide shoulder, turnout, rest area, or other immediate refuge. Check mirrors for traffic and trailer position. Avoid a sharp lane change or abrupt steering input. The space-management habits in the following-distance and space-cushion guide matter here because extra room allows a deliberate stop instead of a panic maneuver.
Signal the problem and reduce speed progressively
Activate hazard flashers when appropriate and communicate the move. Ease off the accelerator. Use the service brake deliberately rather than fanning the pedal. Each unnecessary release and reapplication can consume more stored air. Make the minimum number of controlled applications needed to slow and stop while keeping the vehicle straight.
Do not wait for automatic spring-brake application
The Pennsylvania manual explains that the parking-brake and tractor-protection controls should close at the manufacturer’s specified low-pressure range, typically tested between 20 and 45 psi. That automatic protection is not a normal stopping plan. If it occurs while the vehicle is moving, it can create an abrupt and potentially unstable stop. The driver’s goal is to be safely parked before pressure reaches that range.
Choose and complete a safe stop
The nearest safe place is more important than the most convenient repair location. Do not pass a usable refuge in hopes of reaching a terminal or favorite shop. The combination should be moved out of the traffic stream with the shallowest practical steering input and stopped as far from moving traffic as the surface permits.
Avoid creating a second emergency
Do not coast at speed looking for a perfect location. Do not cut across lanes. Do not use an exit that requires additional heavy braking if a closer safe shoulder is available. If you are on a downgrade, select the earliest workable refuge; never allow the truck to gain speed while the air reserve is decreasing. The mountain downgrade plan explains why gear and speed must be established before a grade.
Secure the vehicle after it stops
Once stationary, follow the vehicle manufacturer’s and carrier’s securement procedure. Place the transmission in the correct secure position, apply parking controls only as intended, shut down as required, and use wheel chocks when needed. Do not release parking brakes or crawl under a disabled vehicle on the roadside. The safe shutdown routine provides a consistent parked-vehicle sequence.
Protect a roadside stop
If the truck is stopped on the traveled portion or shoulder, comply with applicable hazard-flasher and warning-device requirements. Place the required devices for the actual road configuration as soon as it is safe, using the roadside warning-device guide. Stay out of traffic lanes and use the protected side of the vehicle whenever practical.
What to do after stopping
Report the exact location, direction, vehicle identifiers, gauge readings, which warning activated, whether pressure is still falling, any audible leak, recent brake behavior, and whether the vehicle is fully clear of traffic. If there is smoke, fire, a collision, blocked traffic, or immediate danger, contact emergency services according to the situation and company procedure.
Do not diagnose beyond your training and safe access
A driver may be able to see a disconnected line, damaged hose, or obvious leak from a protected position. That does not authorize roadside repair. Do not place your body under the vehicle, between units, or beside traffic. Do not tighten, cap, clamp, or bypass an air-brake component unless you are qualified and the procedure is specifically authorized.
Pressure recovery is information, not clearance to drive
The compressor may raise pressure after the truck stops. The warning may turn off. Neither result proves the system is safe. An intermittent leak, compressor problem, frozen component, governor fault, damaged line, or abnormal application loss can return as soon as the vehicle moves. The carrier or qualified technician must determine the next step, and the vehicle must pass its required checks before returning to service.
Document the defect precisely
A useful report is more specific than “low air.” Record the gauge behavior, warning type, road conditions, braking actions, any observed leak, and the repair or inspection outcome. This supports the maintenance process described in the post-trip inspection and DVIR handoff guide. If a defect affects safe operation, it must be addressed before the vehicle is dispatched again.
Separate the parked inspection test from an on-road emergency
CDL students intentionally reduce air pressure during the parked inspection to verify that warning devices and spring brakes work. That controlled test is performed on level ground with the vehicle secured, wheels chocked when necessary, and the engine and controls set according to the testing procedure. It must never be imitated while driving.
Test low-air warning activation while secured
During the supervised check, the electrical power is on and the engine is off after the system has been charged. The student reduces pressure with controlled brake applications and watches for the warning before the pressure drops below the threshold described in the current manual. If the warning does not activate correctly, the vehicle is not ready for road operation.
Test automatic spring-brake application separately
Continuing the secured test allows the student to observe when the parking-brake and tractor-protection valves close at the manufacturer’s specification. This demonstrates the protection system; it is not a target pressure for driving. A vehicle that fails the check requires correction before use.
Connect the test to component inspection
Gauge and warning tests do not replace a visual brake inspection. Inspect hoses, chambers, drums or discs, linings, mounting, slack-adjuster condition where applicable, and visible leaks according to training and carrier procedures. Review the foundation brake component plan and never mask a mechanical defect by repeatedly adjusting or manipulating a control.
Worked scenario: low-air warning during a level highway trip
Andre is driving a tractor-semitrailer in the right lane on a level interstate. Traffic is moderate, the road is dry, and a wide paved shoulder begins ahead. The low-air buzzer sounds and the warning light appears. A brief gauge check shows the primary circuit falling while the secondary circuit is higher but also no longer at its usual operating level.
Andre keeps the combination straight, activates the hazard flashers, and scans ahead and in the mirrors. Because he maintained following space, he can ease off the accelerator without a sudden brake application. He selects the broad shoulder instead of trying to travel several miles to the next exit.
Andre signals the move and uses one progressive service-brake application to reduce speed, releasing only as needed to keep control. He does not fan the brake pedal and does not pull the parking-brake control. The truck enters the shoulder with a shallow angle and stops fully outside the traffic lane while air remains available.
After securing the vehicle, Andre places warning devices for the divided highway when it is safe. He reports the location, gauge readings, warning activation, and an audible leak near the rear of the tractor. He does not crawl beneath the truck or attempt to repair the line. Roadside service identifies the defect, completes the repair, and performs the required air-system checks before the carrier authorizes movement.
The successful part of the scenario is the sequence: the warning was accepted immediately, stored air was preserved, a nearby refuge was chosen, and diagnosis waited until the vehicle was safely stopped. Had Andre continued toward the exit or repeatedly pumped the pedal, the pressure margin could have disappeared before the truck was out of traffic.
Low-air-pressure warning checklist
Use this checklist for classroom study, a parked-vehicle inspection, and instructor-led discussion. Always use the current vehicle-specific procedure and never intentionally lower air pressure while the vehicle is moving.
Before driving
- Identify the primary and secondary gauges and their normal operating pattern.
- Know the vehicle’s manufacturer-specified cut-in and cut-out behavior.
- Build full operating pressure before beginning the air-brake checks.
- Test the warning device using the current secured inspection procedure.
- Verify automatic spring-brake and tractor-protection operation while parked.
- Check leakage, pressure buildup, governor operation, and service-brake response.
- Inspect visible hoses, chambers, foundation brakes, and compressor drive components.
- Do not depart if either gauge, warning device, or required test is abnormal.
If the warning activates while moving
- Maintain lane control and keep your eyes primarily on the road.
- Briefly confirm which gauge is low or falling.
- Check mirrors and scan for the nearest safe stopping location.
- Activate hazard flashers and communicate the move as appropriate.
- Ease off the accelerator and reduce speed progressively.
- Use deliberate service-brake applications; do not fan the pedal.
- Avoid abrupt steering, lane changes, and control movements.
- Do not pull the parking-brake control as a substitute service brake.
- Stop before automatic spring-brake protection can apply.
- Move fully out of traffic and secure the vehicle.
After stopping
- Place warning devices when required and safe to do so.
- Report location, gauge readings, warning behavior, and recent brake response.
- Listen and look from a protected position for an obvious air leak.
- Do not crawl under the vehicle or improvise an air-system repair.
- Do not continue merely because pressure rises or the warning turns off.
- Arrange qualified inspection or roadside service through the carrier.
- Document the defect and the completed repair accurately.
- Complete all required air-brake checks before returning to service.
Frequently asked questions
It means pressure in at least one service reservoir system has reached the warning range and available braking capacity may be decreasing. The driver should treat the light, buzzer, or other continuous warning as an urgent brake-system condition, monitor both gauges, and begin a controlled move to a safe stop.
What should a CDL driver do when the low-air warning comes on while driving?Keep control, check traffic, activate warning signals as appropriate, and use the remaining service-brake capacity to bring the vehicle to the nearest safe stopping place. Avoid unnecessary brake applications, do not continue the trip, and follow the vehicle manufacturer’s and carrier’s emergency procedures.
Should a driver pump the brake pedal to restore air pressure while moving?No. Each air-brake application uses stored air, and repeated unnecessary applications can reduce pressure faster than the compressor replaces it. The driver should make a controlled stop with deliberate brake applications rather than fanning or pumping the pedal.
Can a truck continue after the air pressure rises again?Not until the cause is identified and the vehicle is confirmed safe. A temporary pressure recovery does not explain a leak, compressor problem, frozen component, gauge issue, or abnormal air use. The defect must be reported, repaired or evaluated under carrier procedures, and the complete air-brake checks must pass before return to service.
Make the warning response automatic
A low-air-pressure warning is manageable when the driver responds early. Know the normal gauges, recognize the warning range, preserve stored air, and stop at the nearest safe place before automatic protection takes control away from the driver. Pair that response with accessible emergency equipment and a disciplined inspection routine.
If you are preparing for a Pennsylvania CDL and want supervised air-brake instruction that connects the manual to a real commercial vehicle, contact Patriot CDL at or visit 7800 Bristol Pike, Levittown, PA 19057. You can also review our guide to finding CDL training near you.
Official sources
- , Section 5, Air Brakes.
- .
- .